I have done a video showing some of the battery life results I have been getting for the past 2 weeks that give a good estimation of how the device performs while using the ART runtime. I have been fairly please getting 6-7 hours of screen on time consistently even though I have the worst signal in my room. I want to compare it to Dalvik and have switched back now to test it thoroughly to be able to compare. Once the testing is complete I will write a comparison post comparing the performance between the two.
I have finally created an intro for my videos as I will be pushing my YouTube channel alongside my blog. I have embedded it below as it is my first step into the video universe. I used CyberLink PowerDirector 12 to create it as it offers great 4k editing that is GPU accelerated. I was surprised that I was able to edit and render 4k videos so easily using this program.
I found a nice spot to test out the OnePlus One’s 4k DCI mode. The Original File was 56 seconds with a bit rate of 64.7 mbps and stereo audio at 192 kbps at a sample rate of 48kHz. The file was 433 mb and has a resolution of 4096×2160 with a frame rate of 24 fps. I have included the full information about the video below it. Enjoy!
Format : MPEG-4
Format profile : Base Media
Codec ID : isom
File size : 434 MiB
Duration : 56s 234ms
Overall bit rate : 64.7 Mbps
Encoded date : UTC 2014-07-27 17:52:02
Tagged date : UTC 2014-07-27 17:52:02
Video
ID : 1
Format : AVC
Format/Info : Advanced Video Codec
Format profile : Baseline@L5.1
Format settings, CABAC : No
Format settings, ReFrames : 1 frame
Format settings, GOP : M=1, N=24
Codec ID : avc1
Codec ID/Info : Advanced Video Coding
Duration : 55s 936ms
Bit rate : 64.8 Mbps
Width : 4 096 pixels
Height : 2 160 pixels
Display aspect ratio : 1.896
Frame rate mode : Variable
Frame rate : 24.000 fps
Minimum frame rate : 23.841 fps
Maximum frame rate : 24.181 fps
Color space : YUV
Chroma subsampling : 4:2:0
Bit depth : 8 bits
Scan type : Progressive
Bits/(Pixel*Frame) : 0.305
Stream size : 432 MiB (100%)
Title : VideoHandle
Language : English
Encoded date : UTC 2014-07-27 17:52:02
Tagged date : UTC 2014-07-27 17:52:02
Audio
ID : 2
Format : AAC
Format/Info : Advanced Audio Codec
Format profile : LC
Codec ID : 40
Duration : 56s 234ms
Source duration : 56s 241ms
Bit rate mode : Constant
Bit rate : 192 Kbps
Nominal bit rate : 96.0 Kbps
Channel(s) : 2 channels
Channel positions : Front: L R
Sampling rate : 48.0 KHz
Compression mode : Lossy
Stream size : 1.29 MiB (0%)
Source stream size : 1.29 MiB (0%)
Title : SoundHandle
Language : English
Encoded date : UTC 2014-07-27 17:52:02
Tagged date : UTC 2014-07-27 17:52:02
mdhd_Duration : 56234
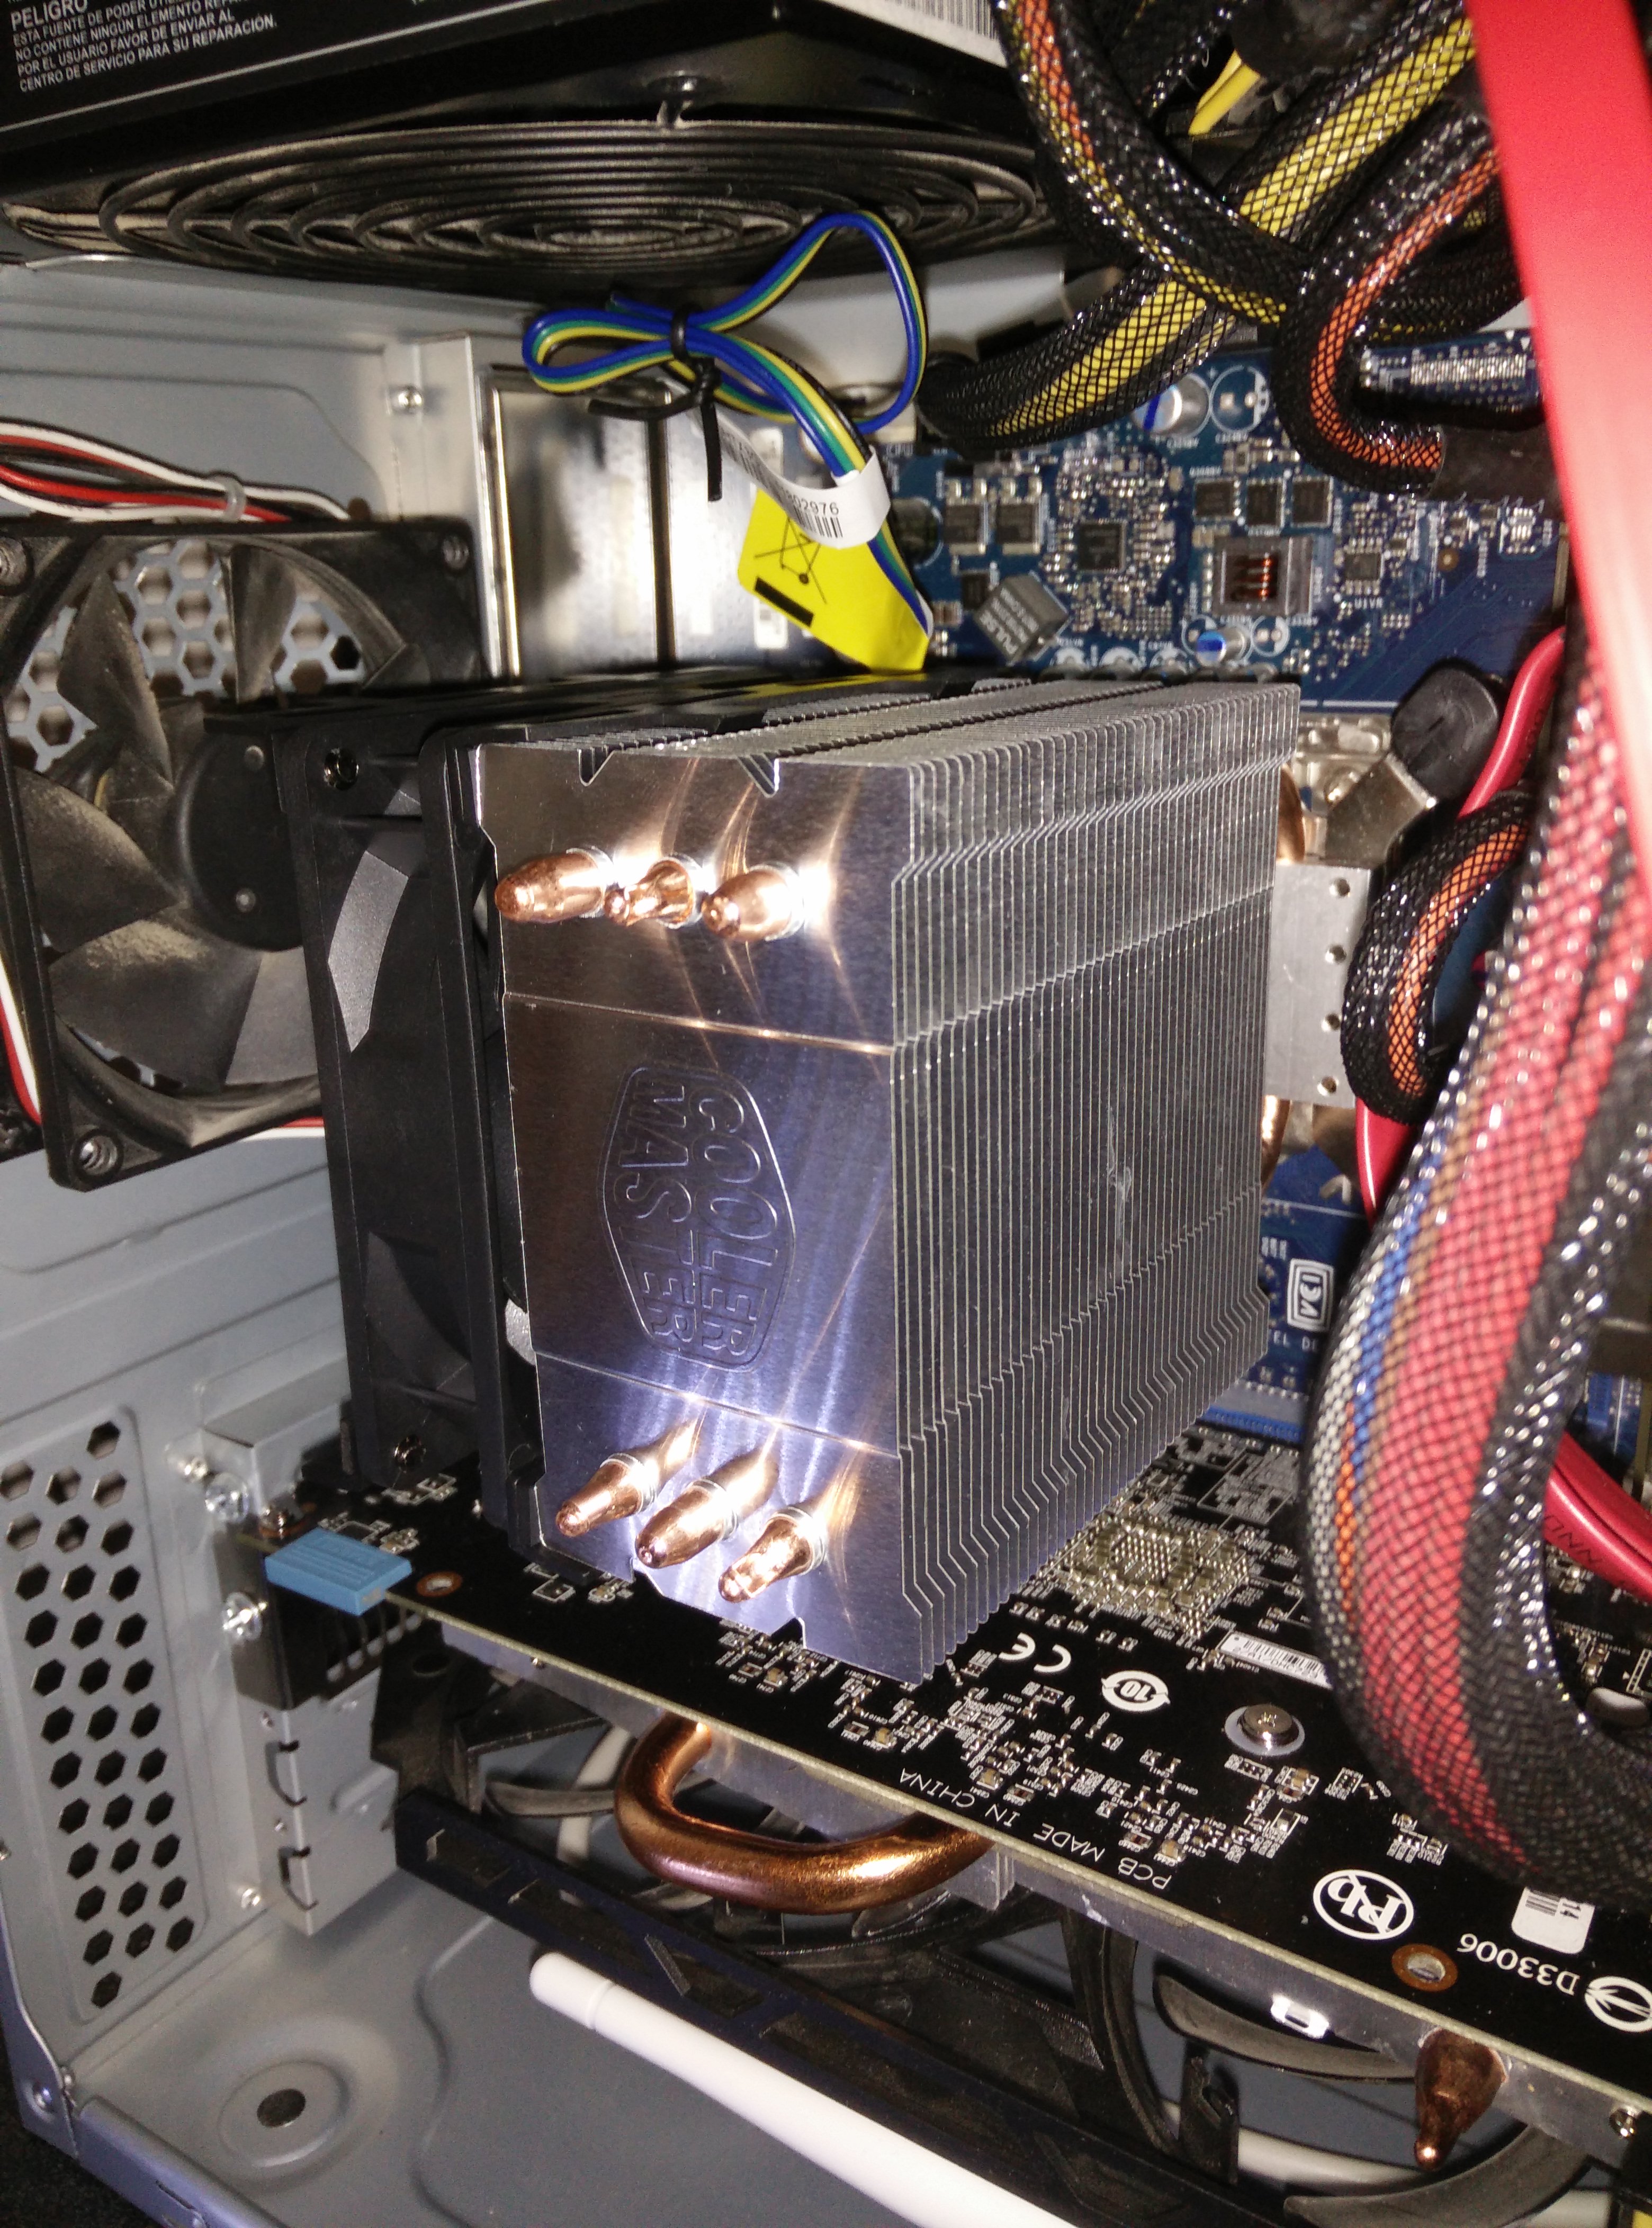
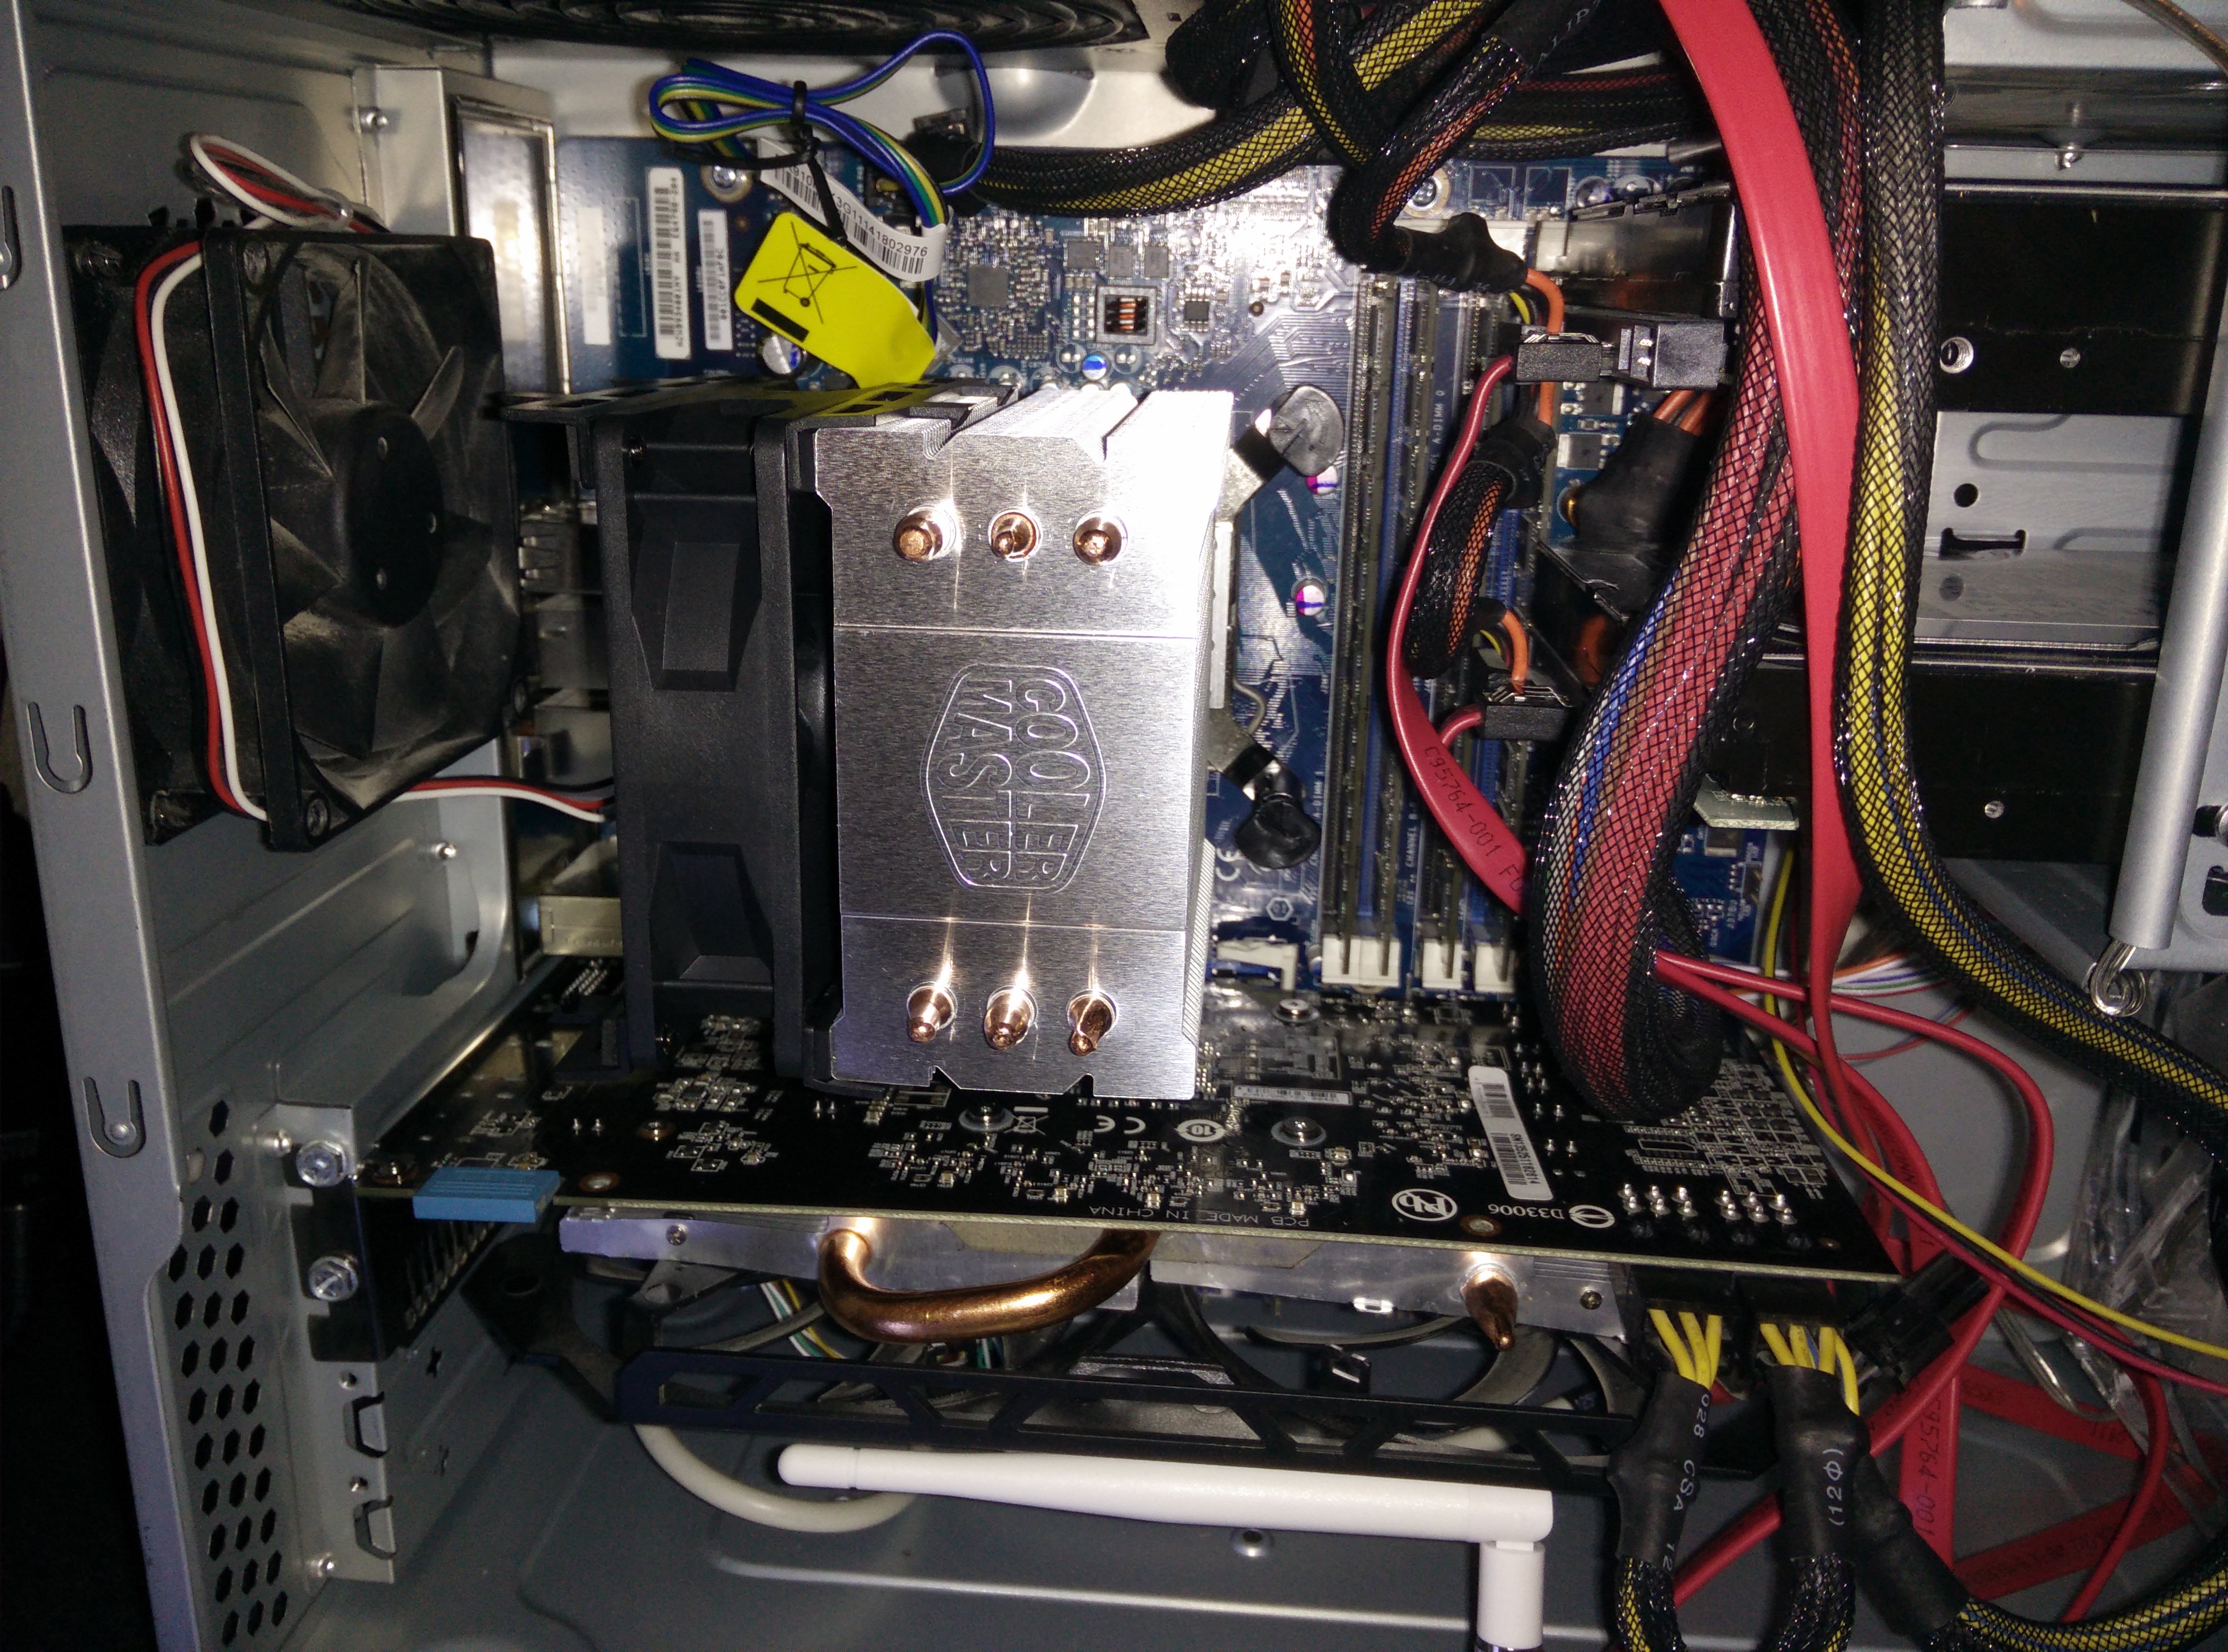
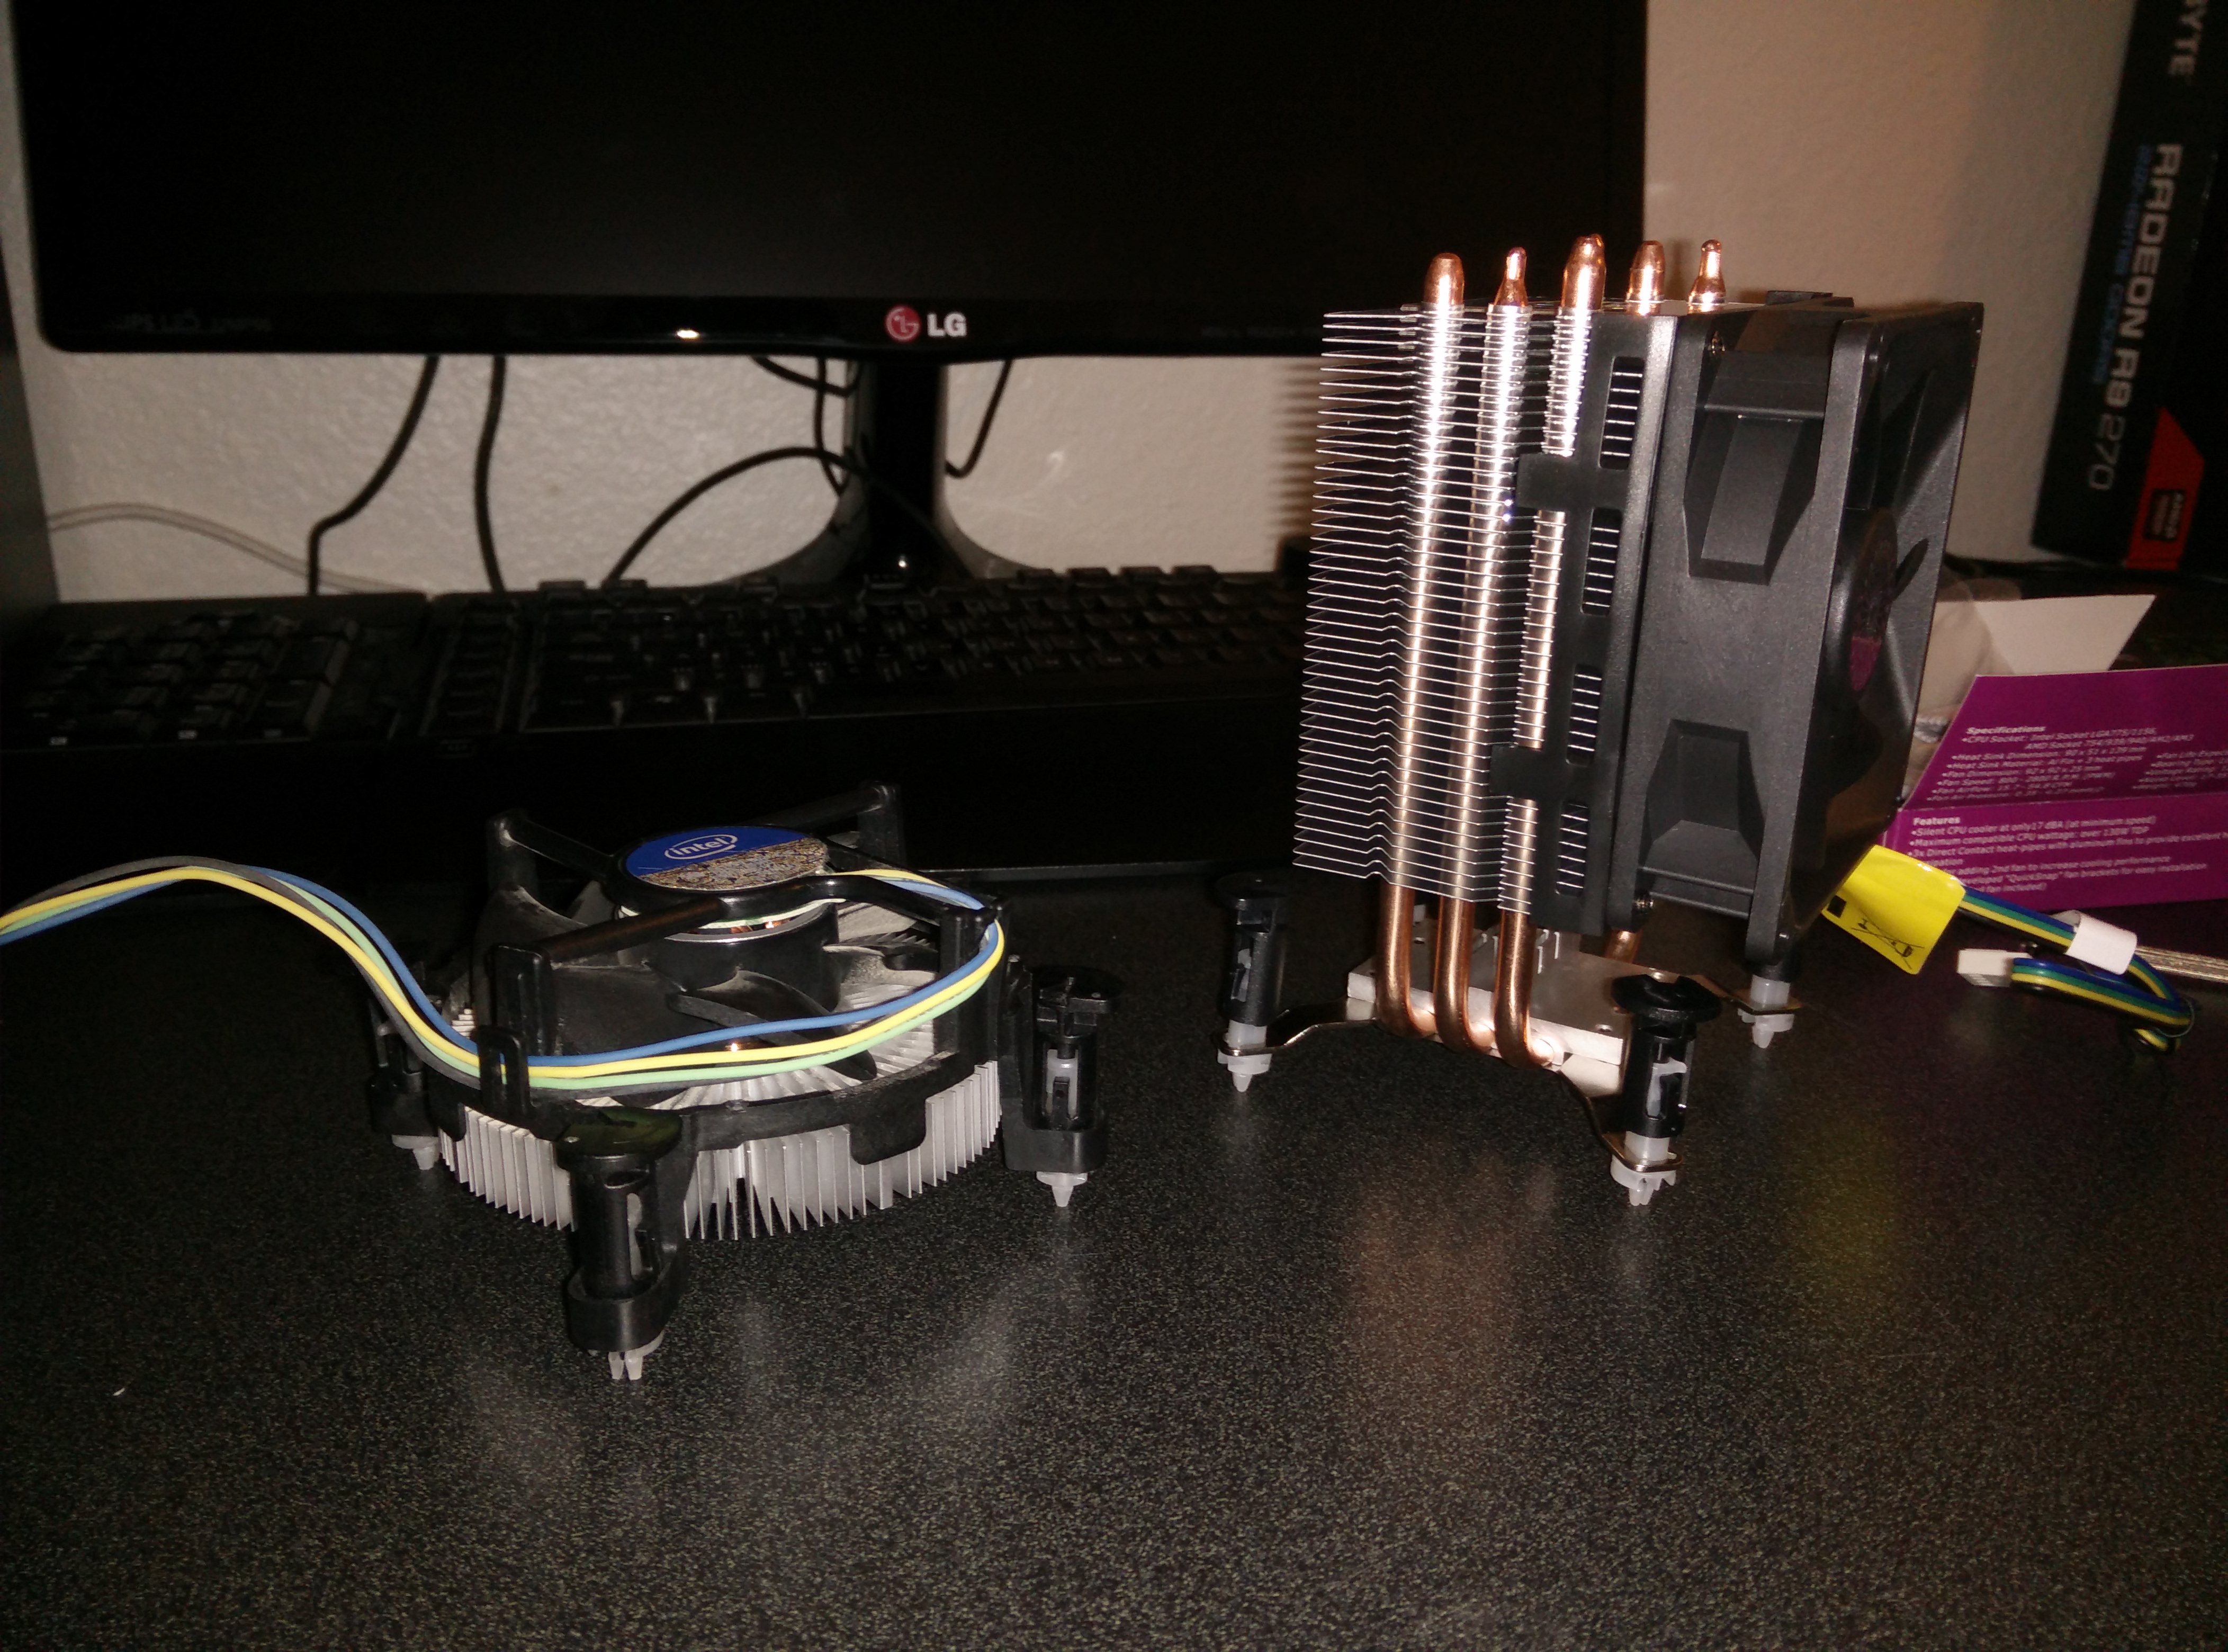
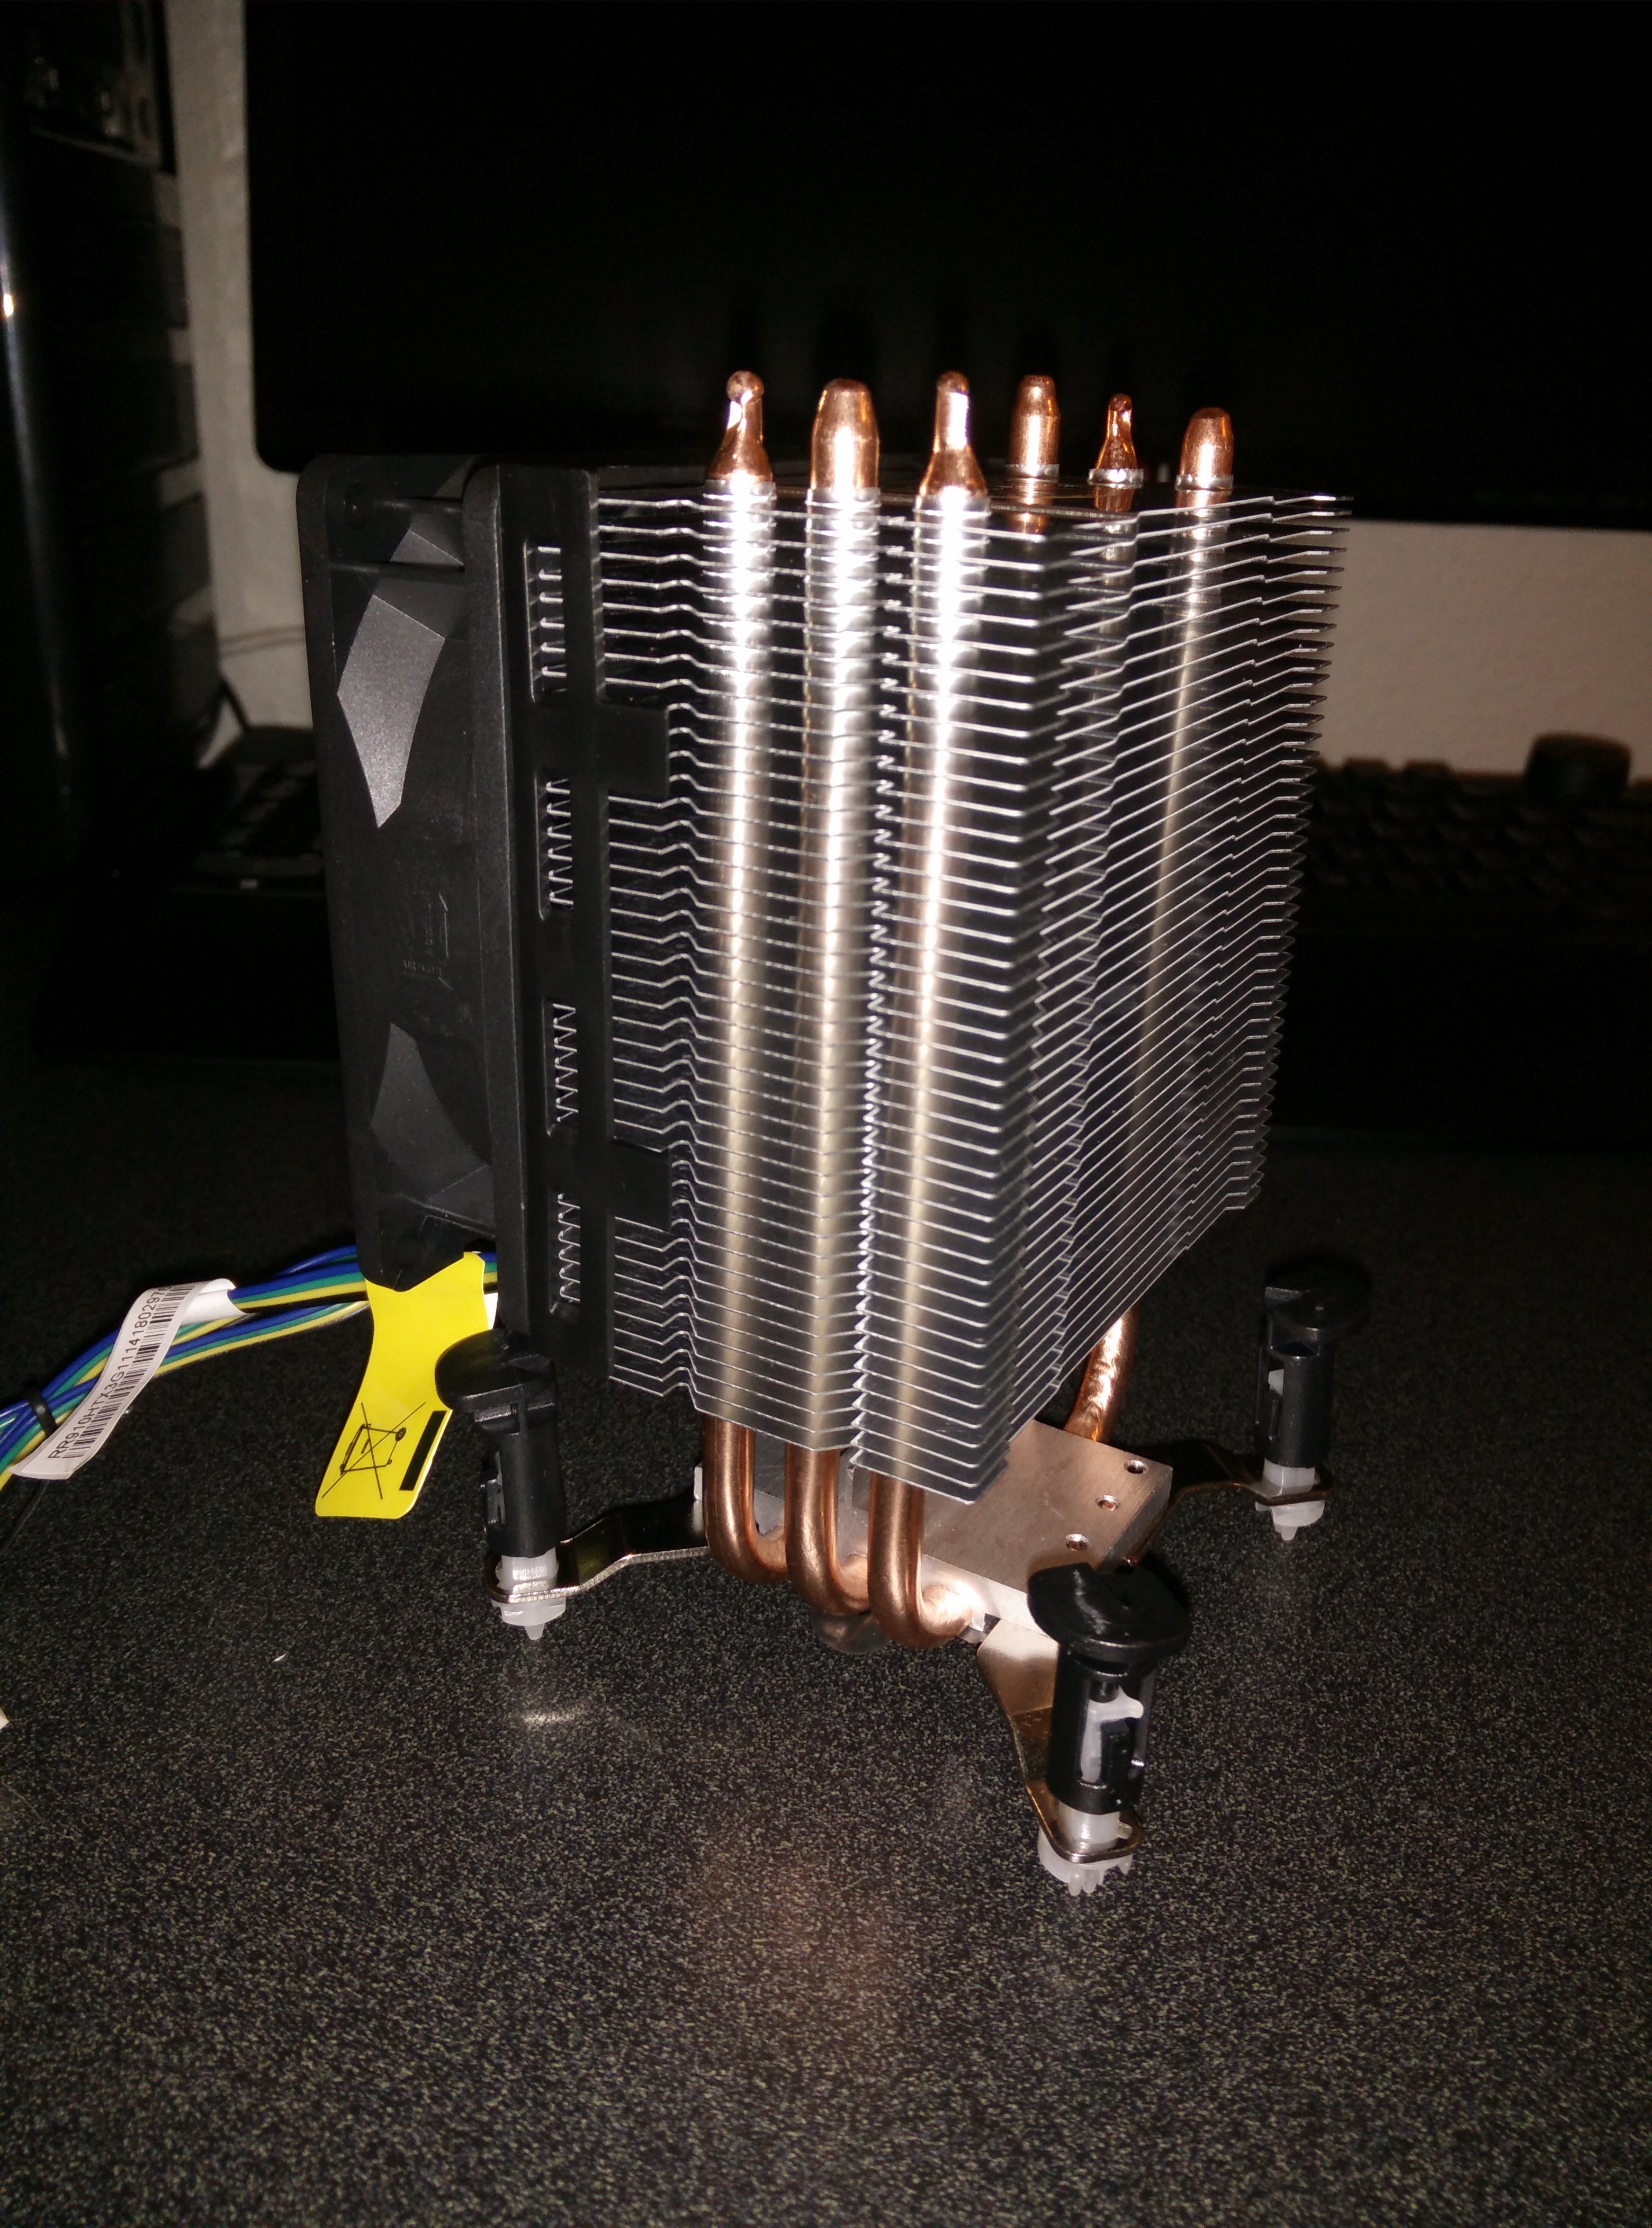
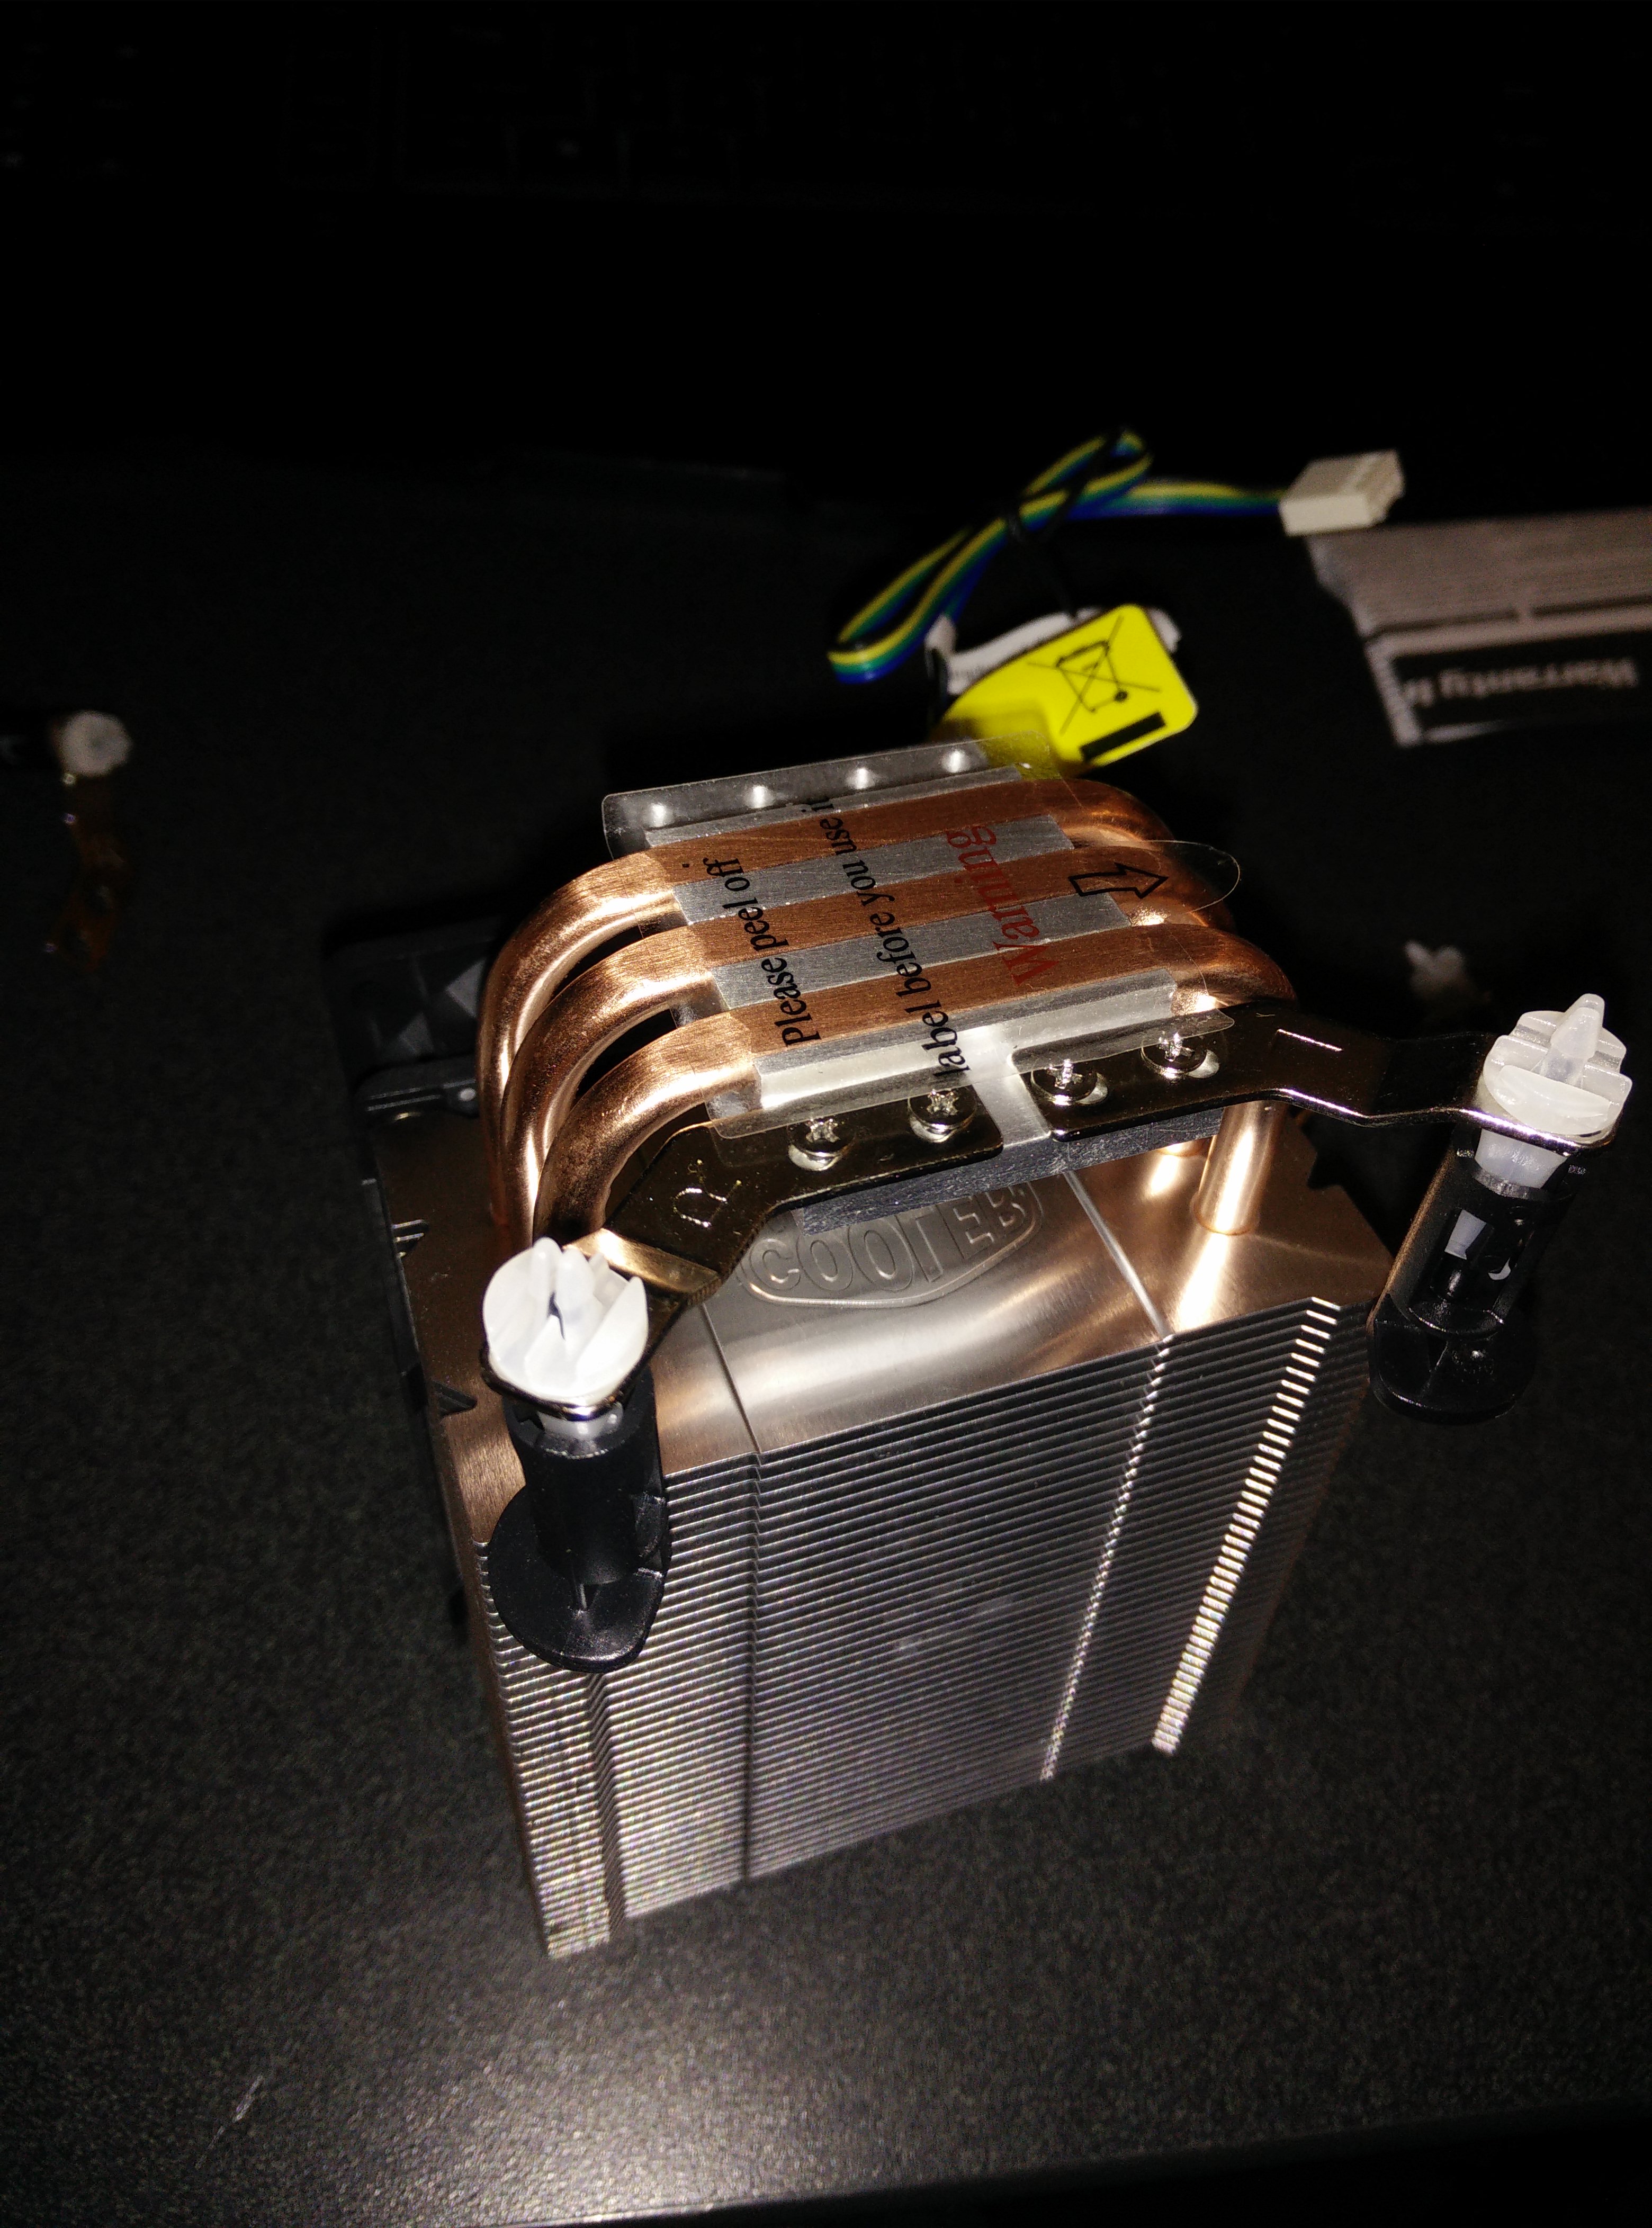
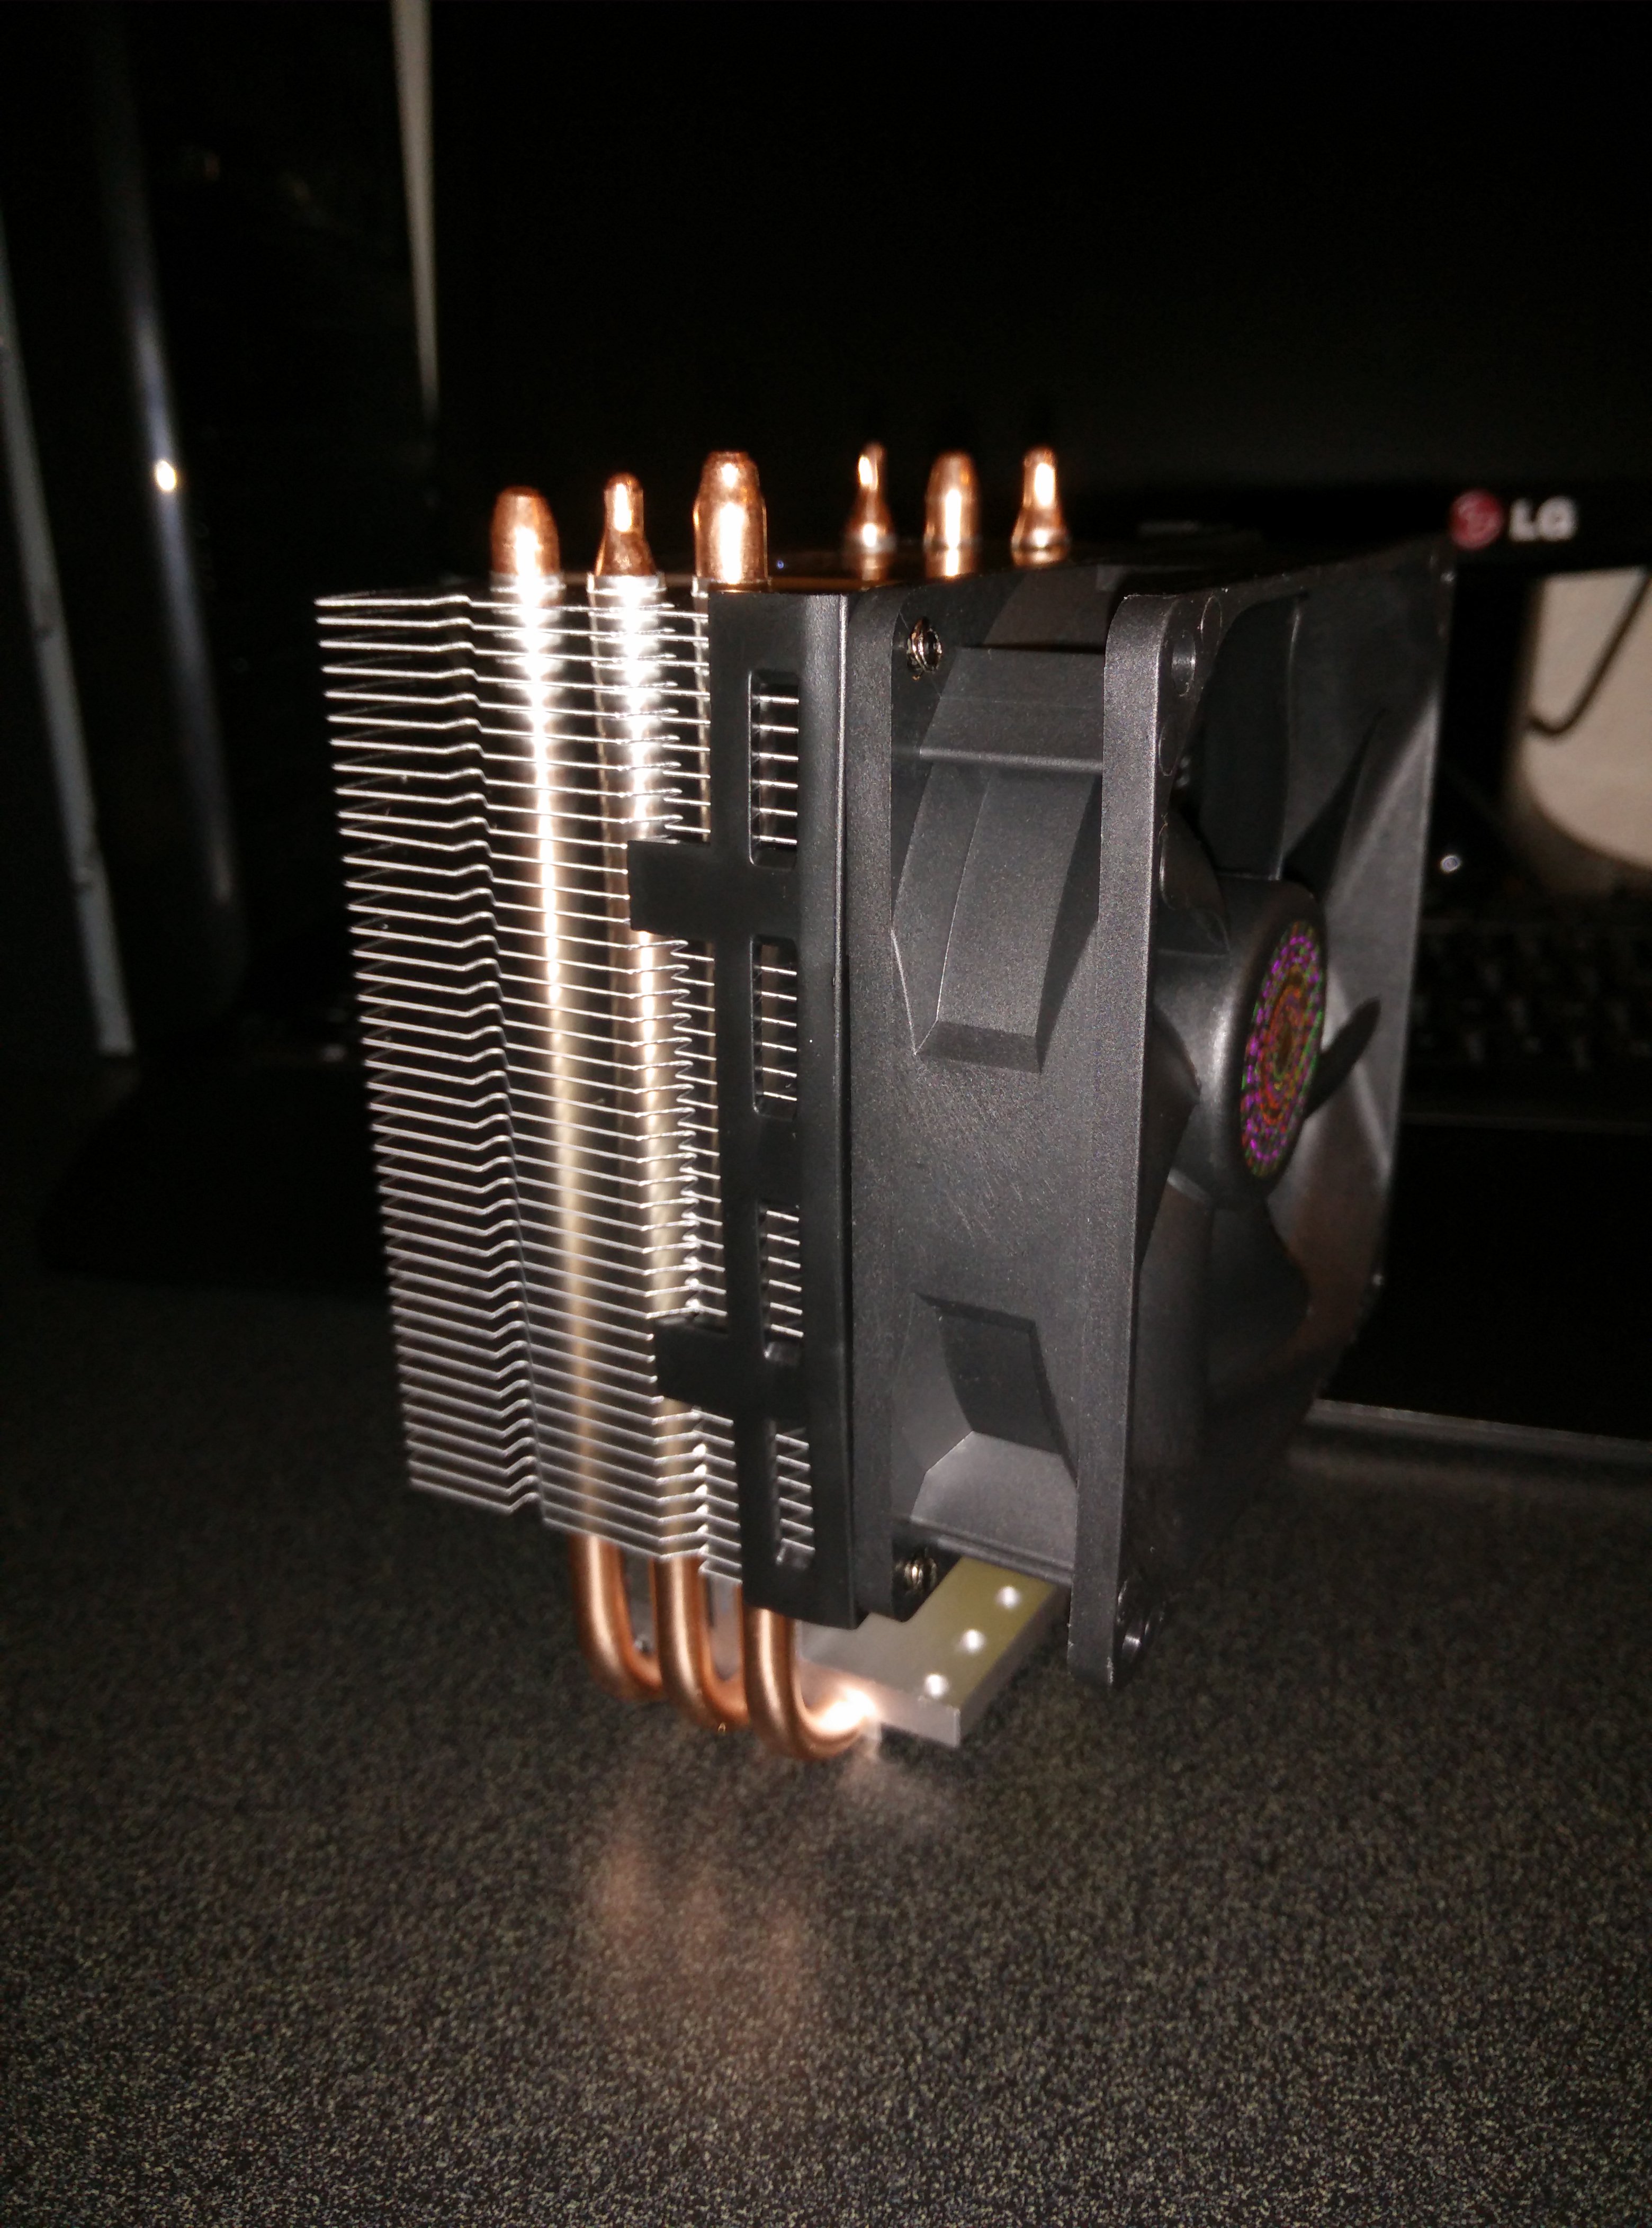
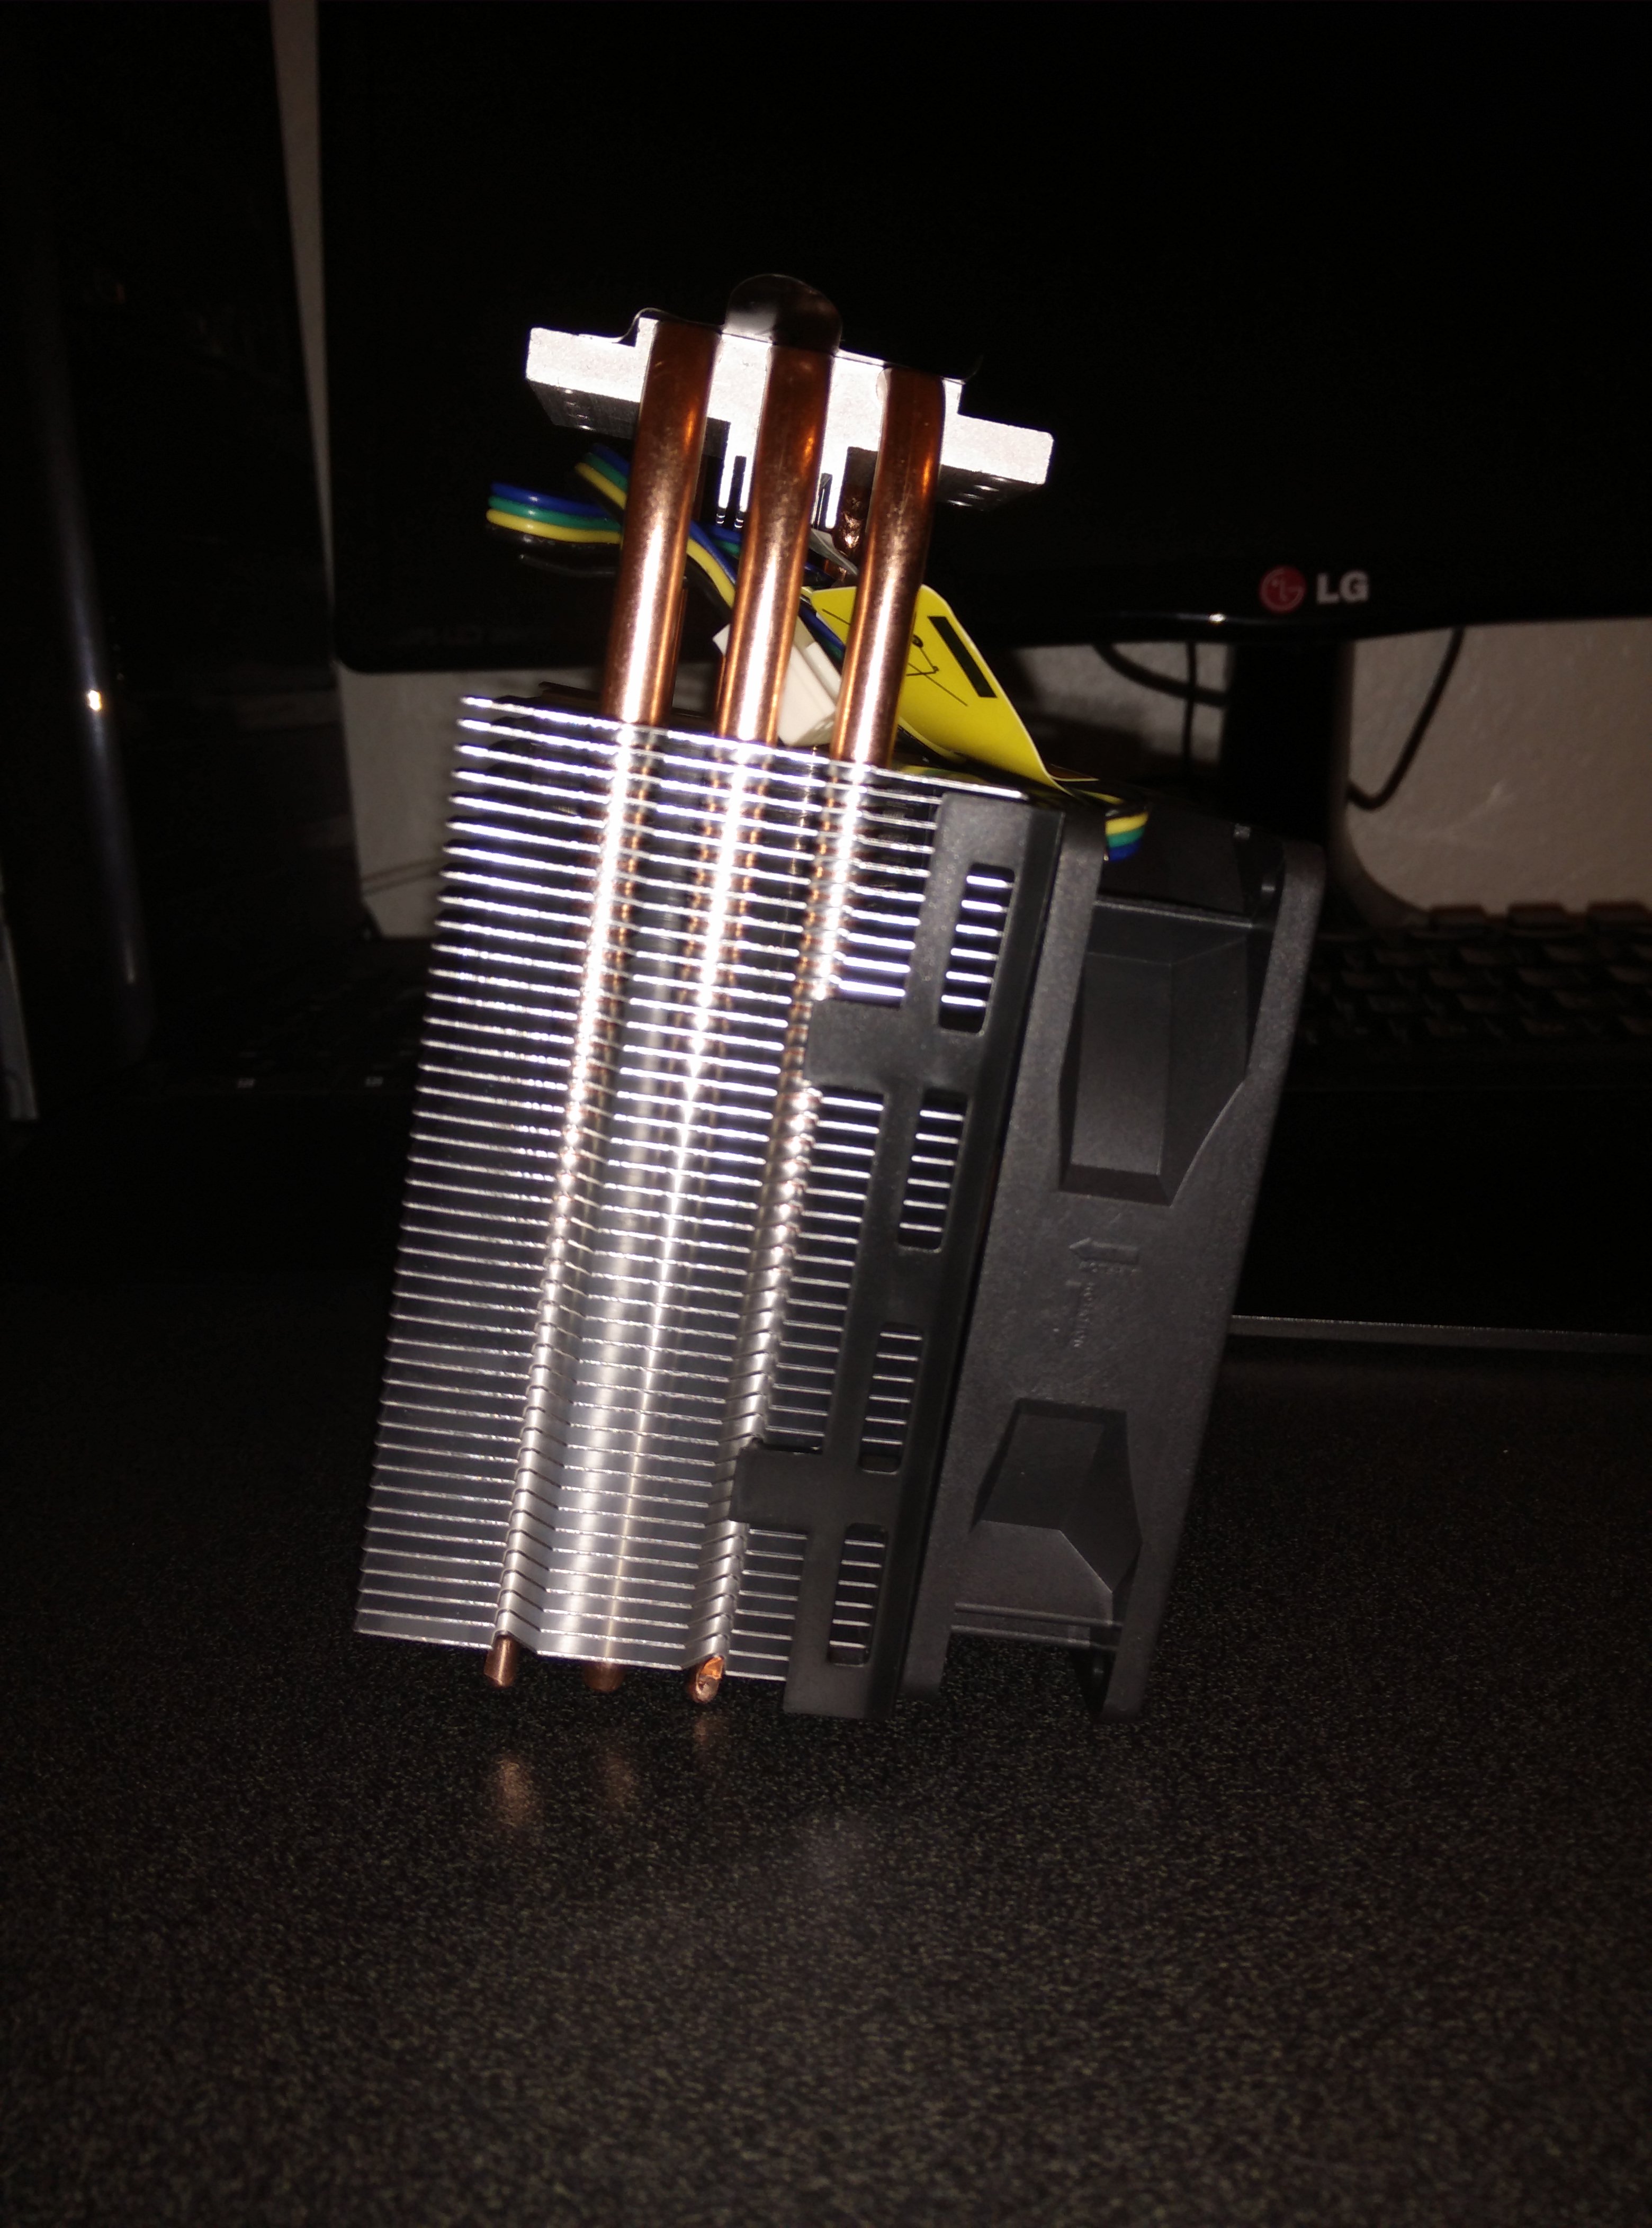
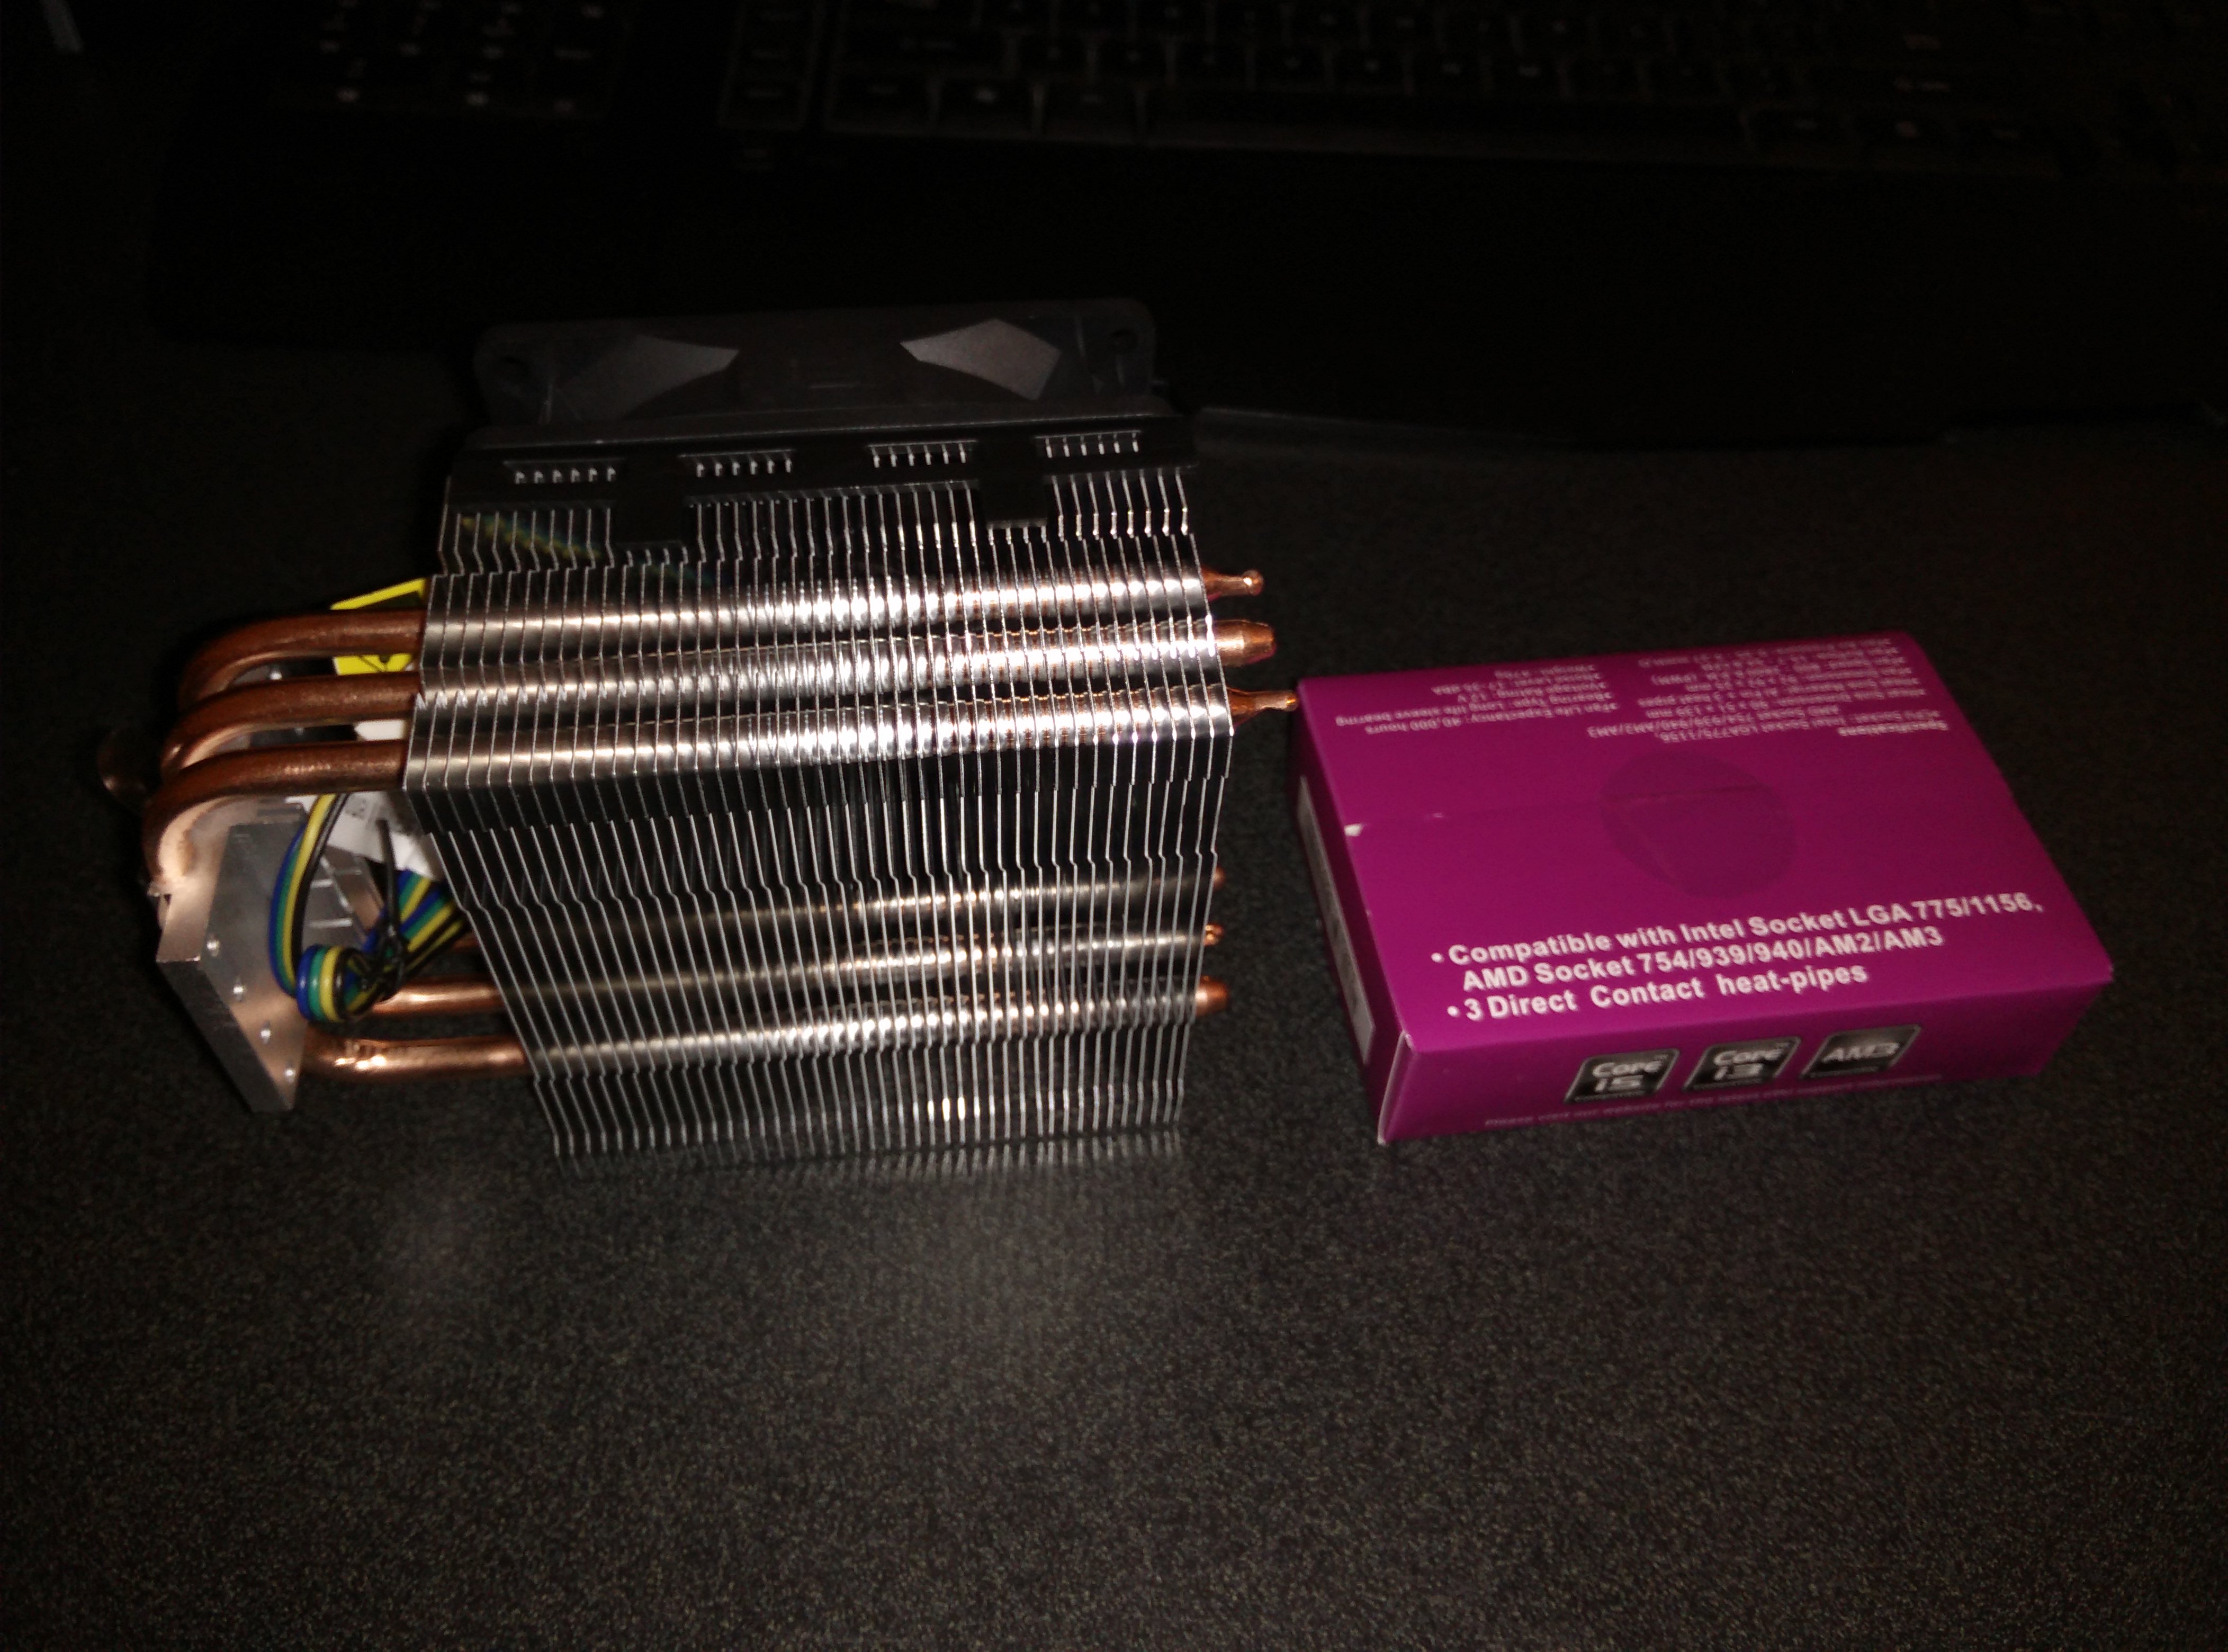
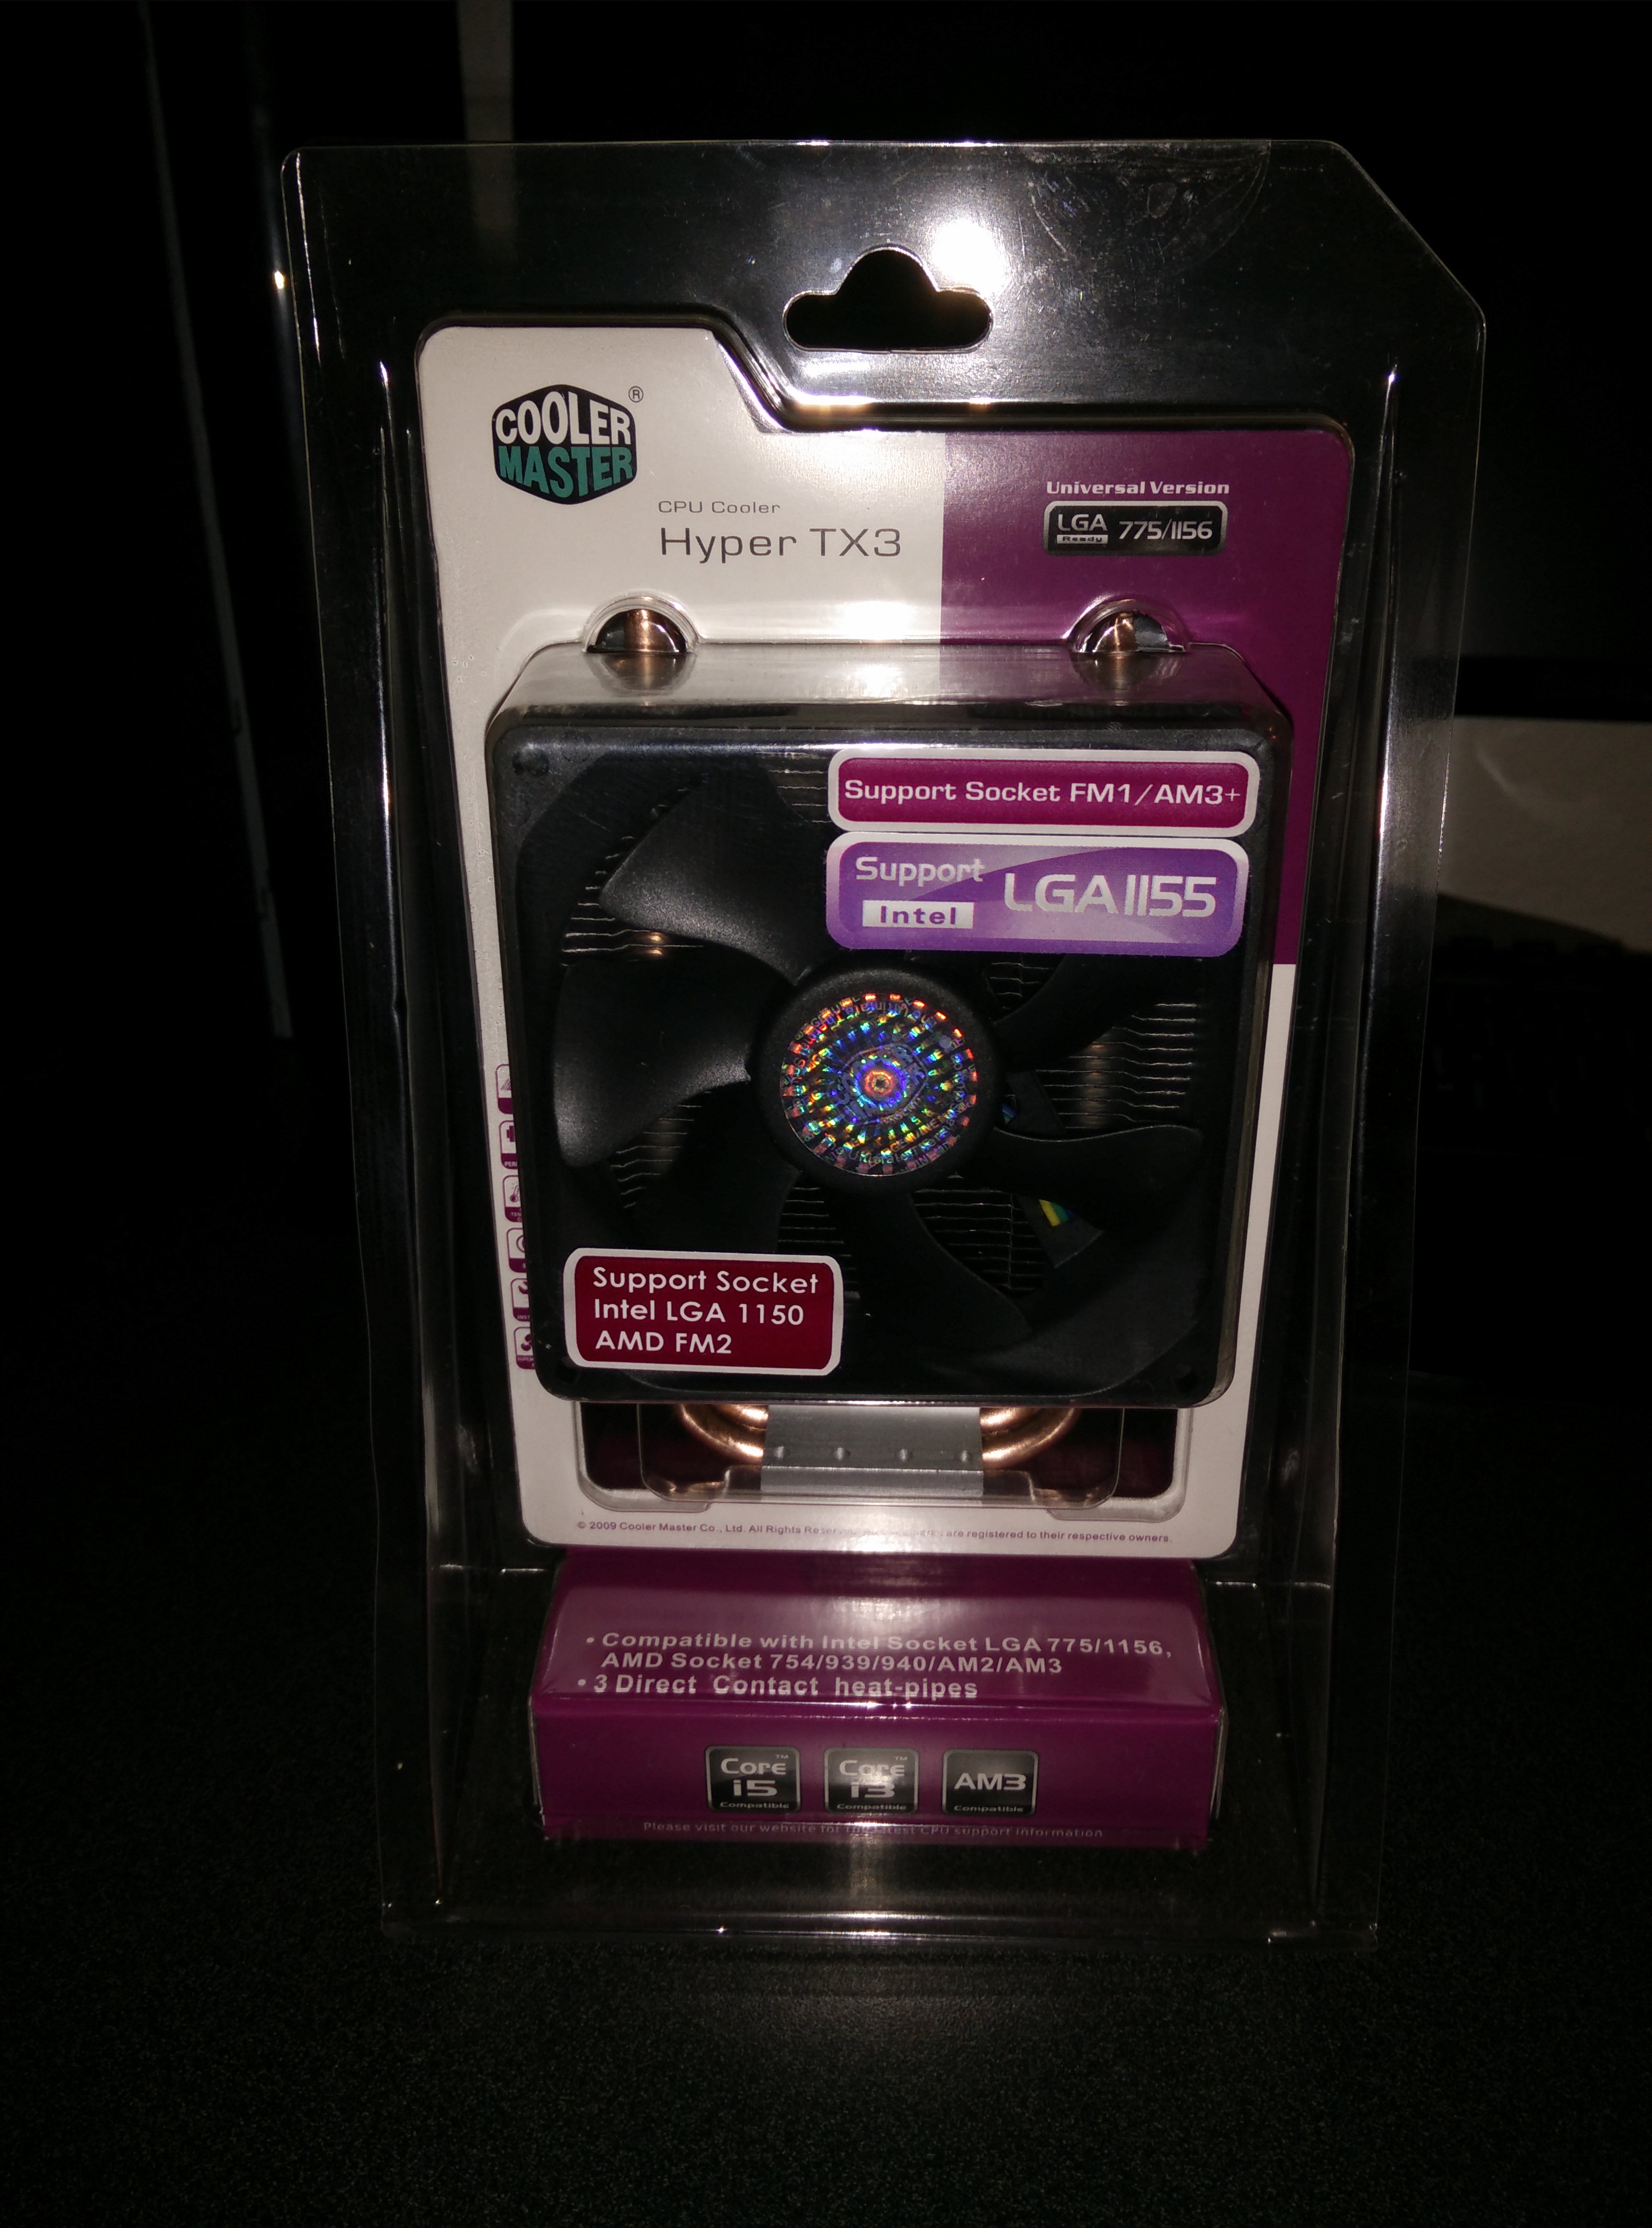
There isn’t much to say, it is huge and I had to mount the fan on the other side to suck through the heatsink instead of push through it. It may lower efficiency a bit but it is doing fine. Temperatures went from 40 to 35 while idle and 85 to 60 while under full load. This is good enough for me and while running an overclock of 3.2Ghz the temperatures were around 70 under full load. I am using an Intel Core i5-750 @2.66Ghz stock clocks and when I say full load I mean running prime95 for 10 minutes.
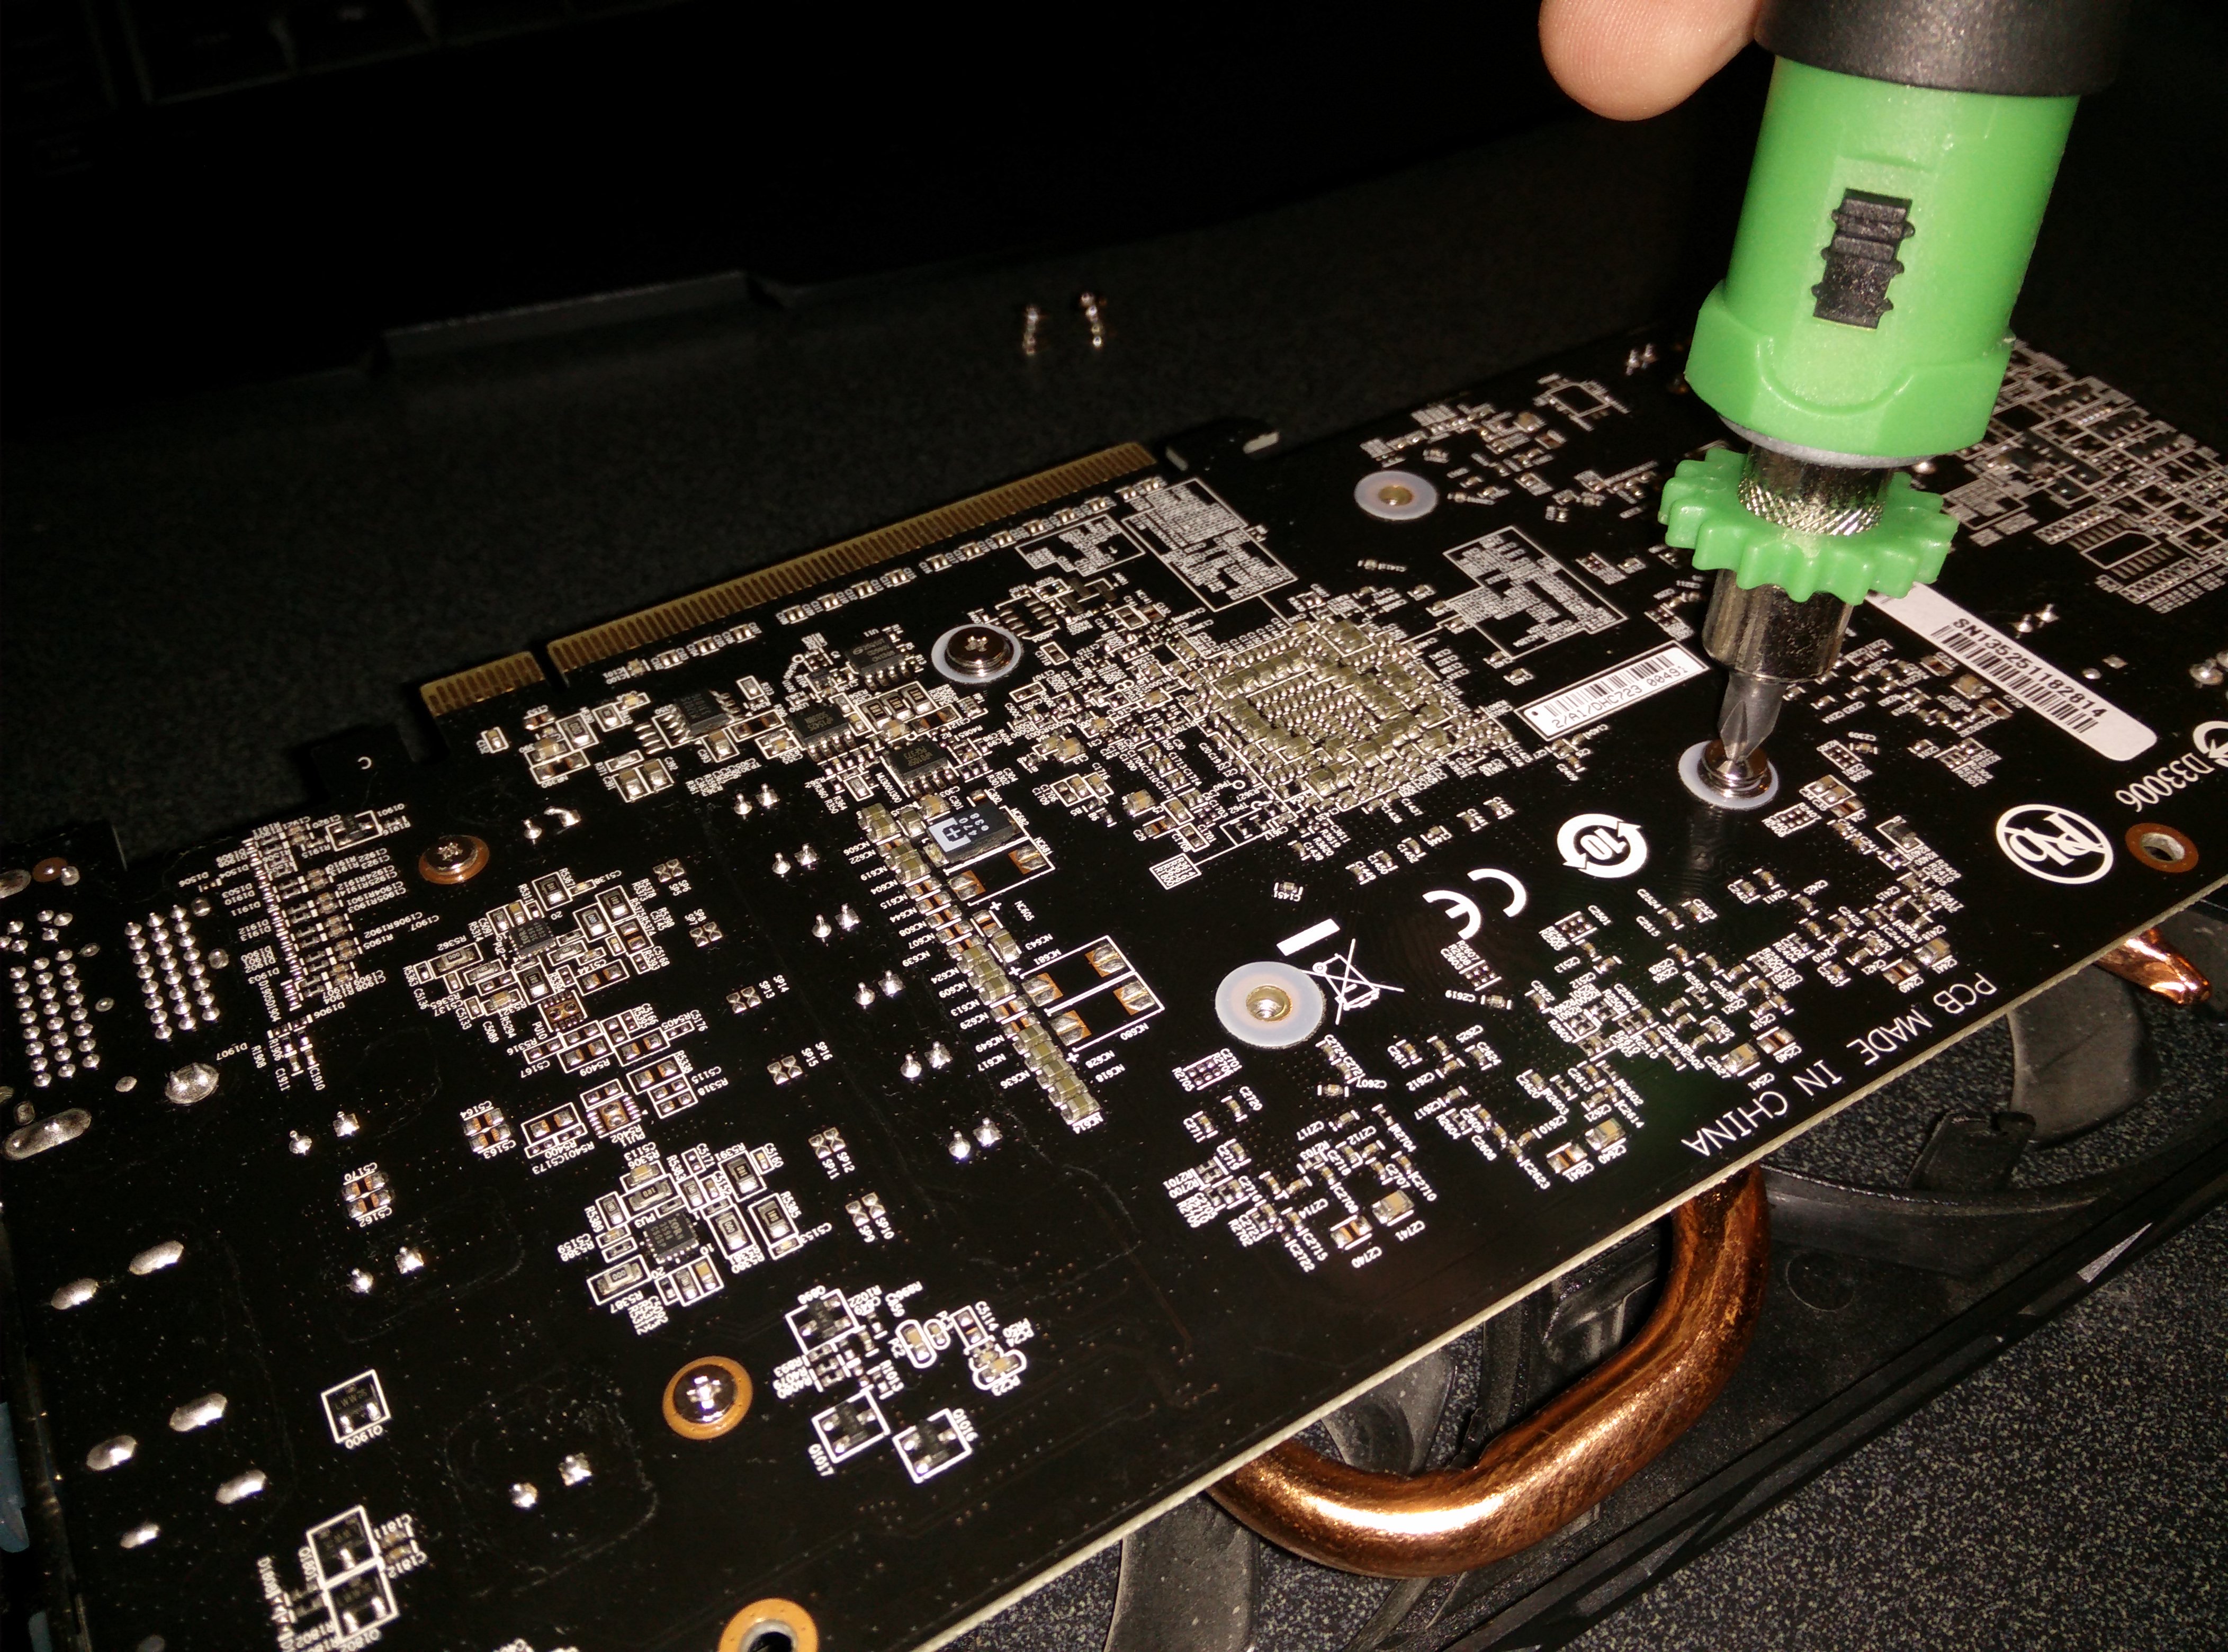
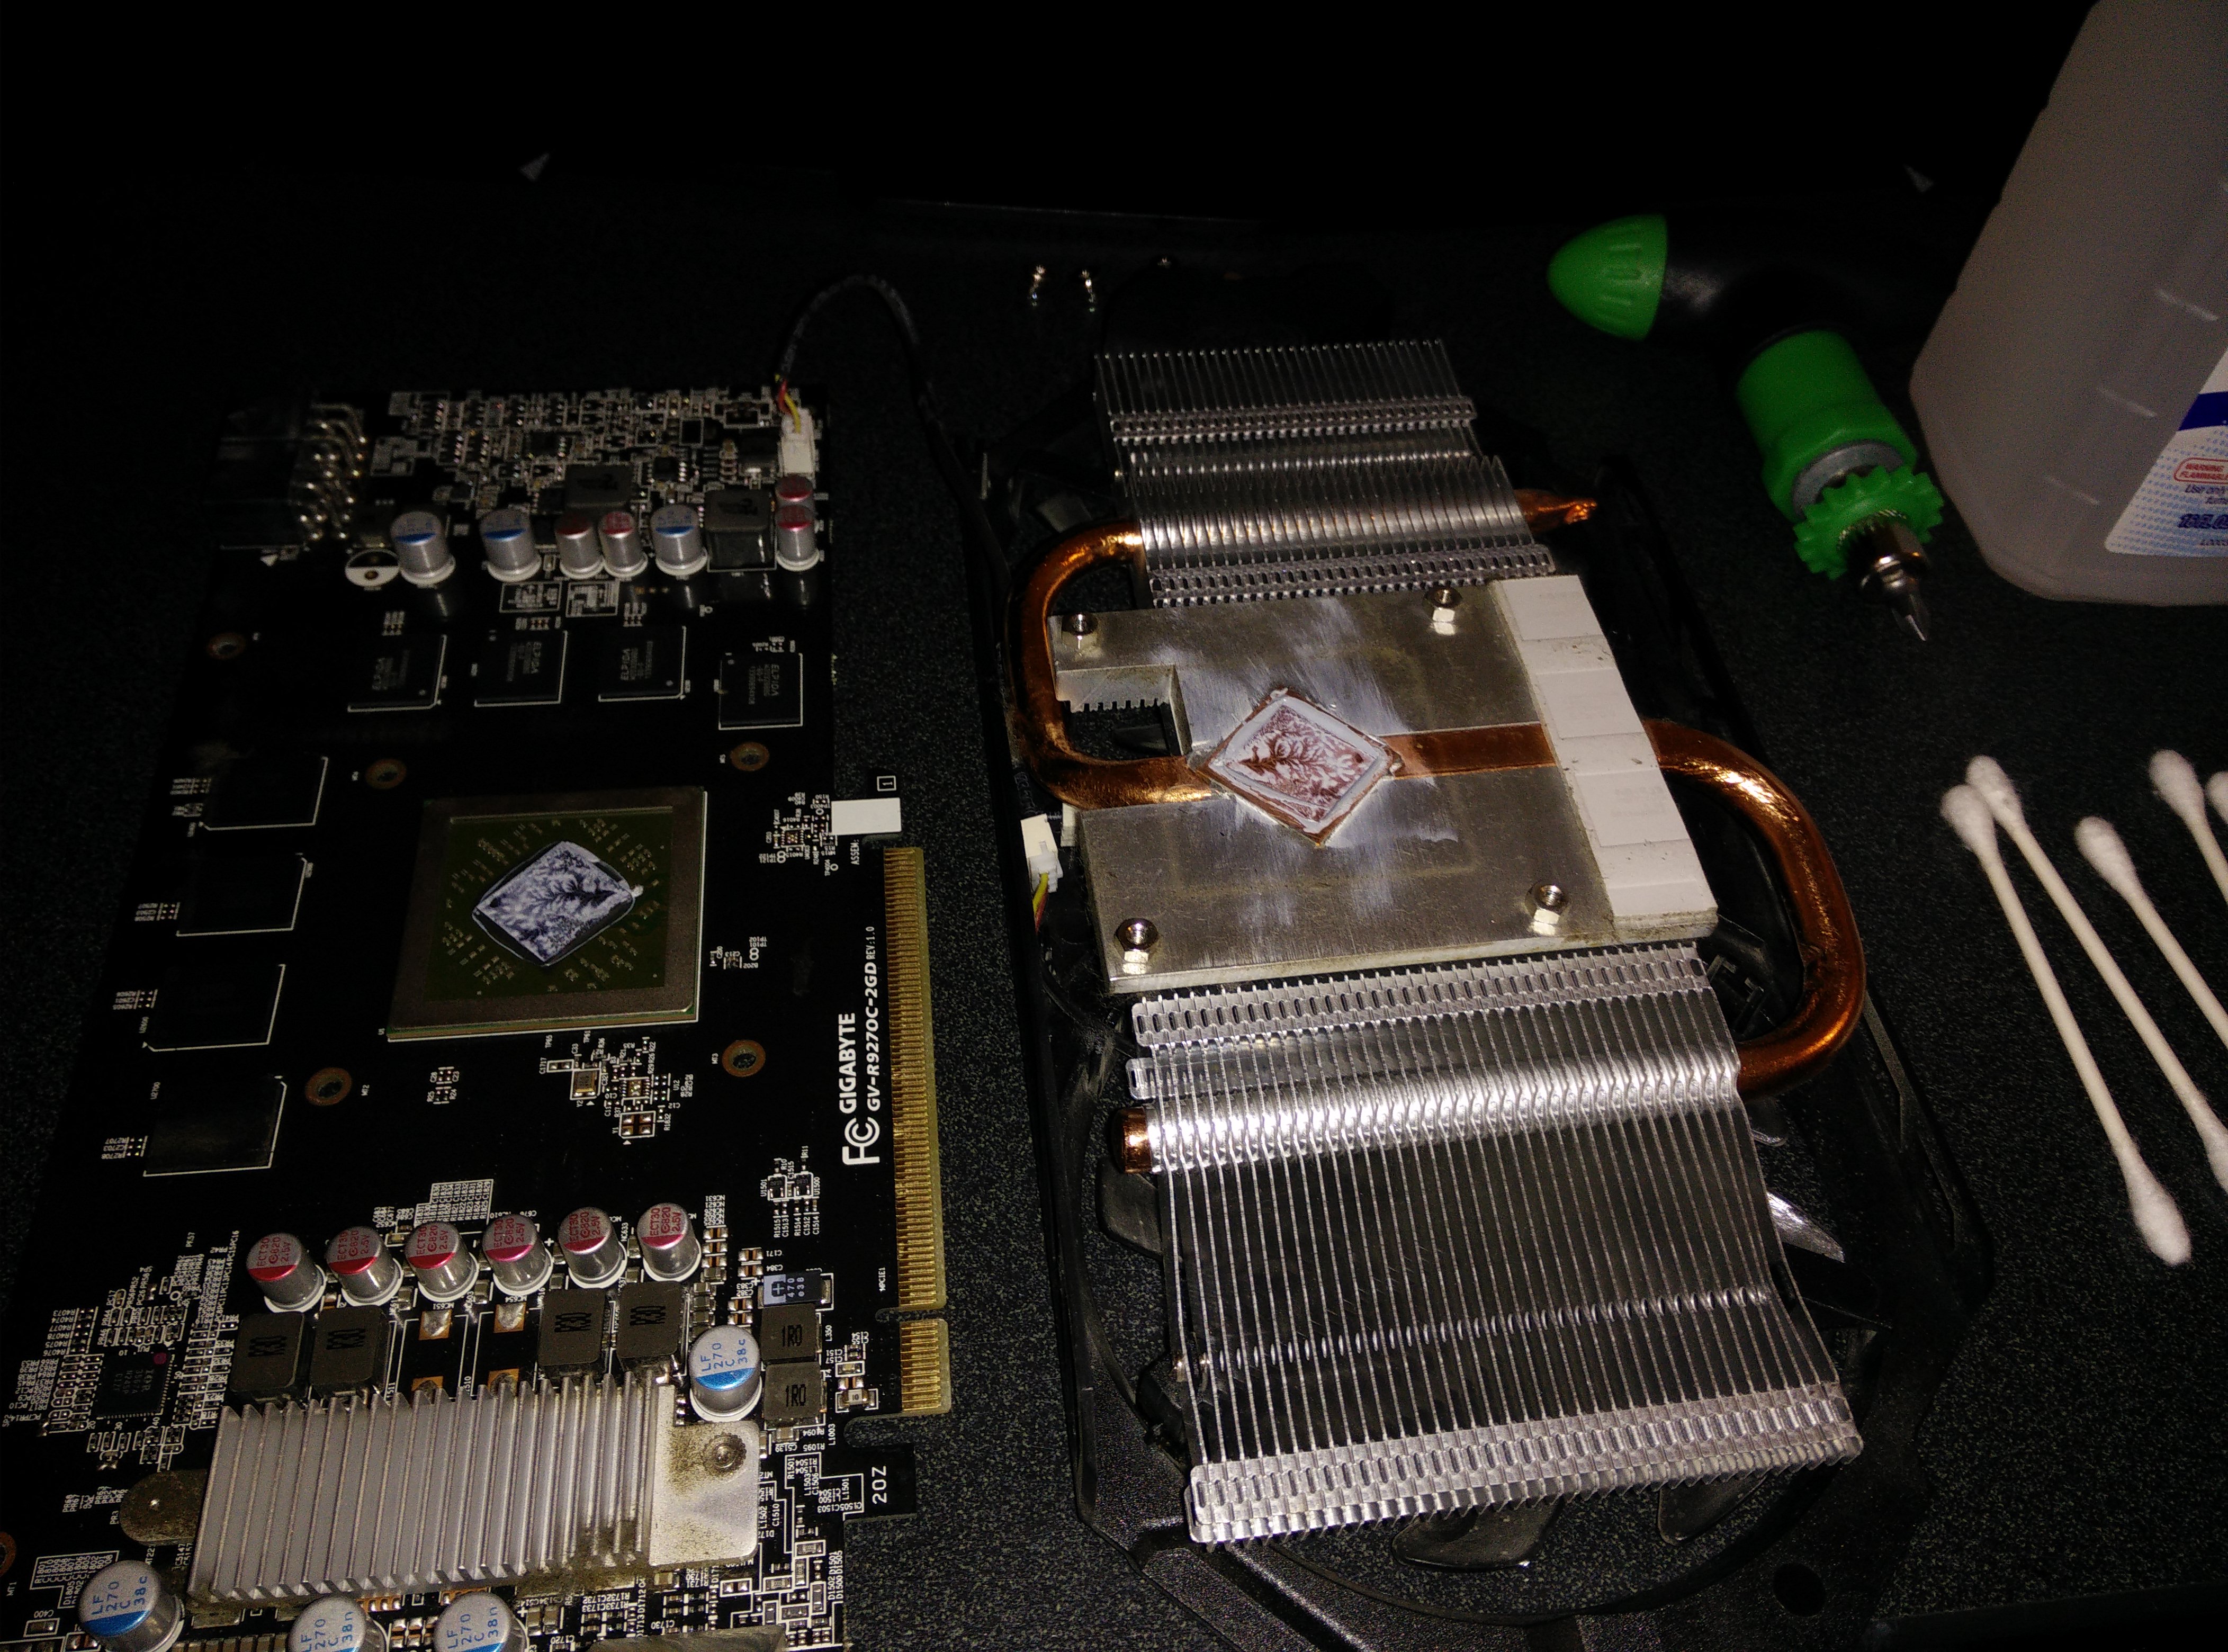
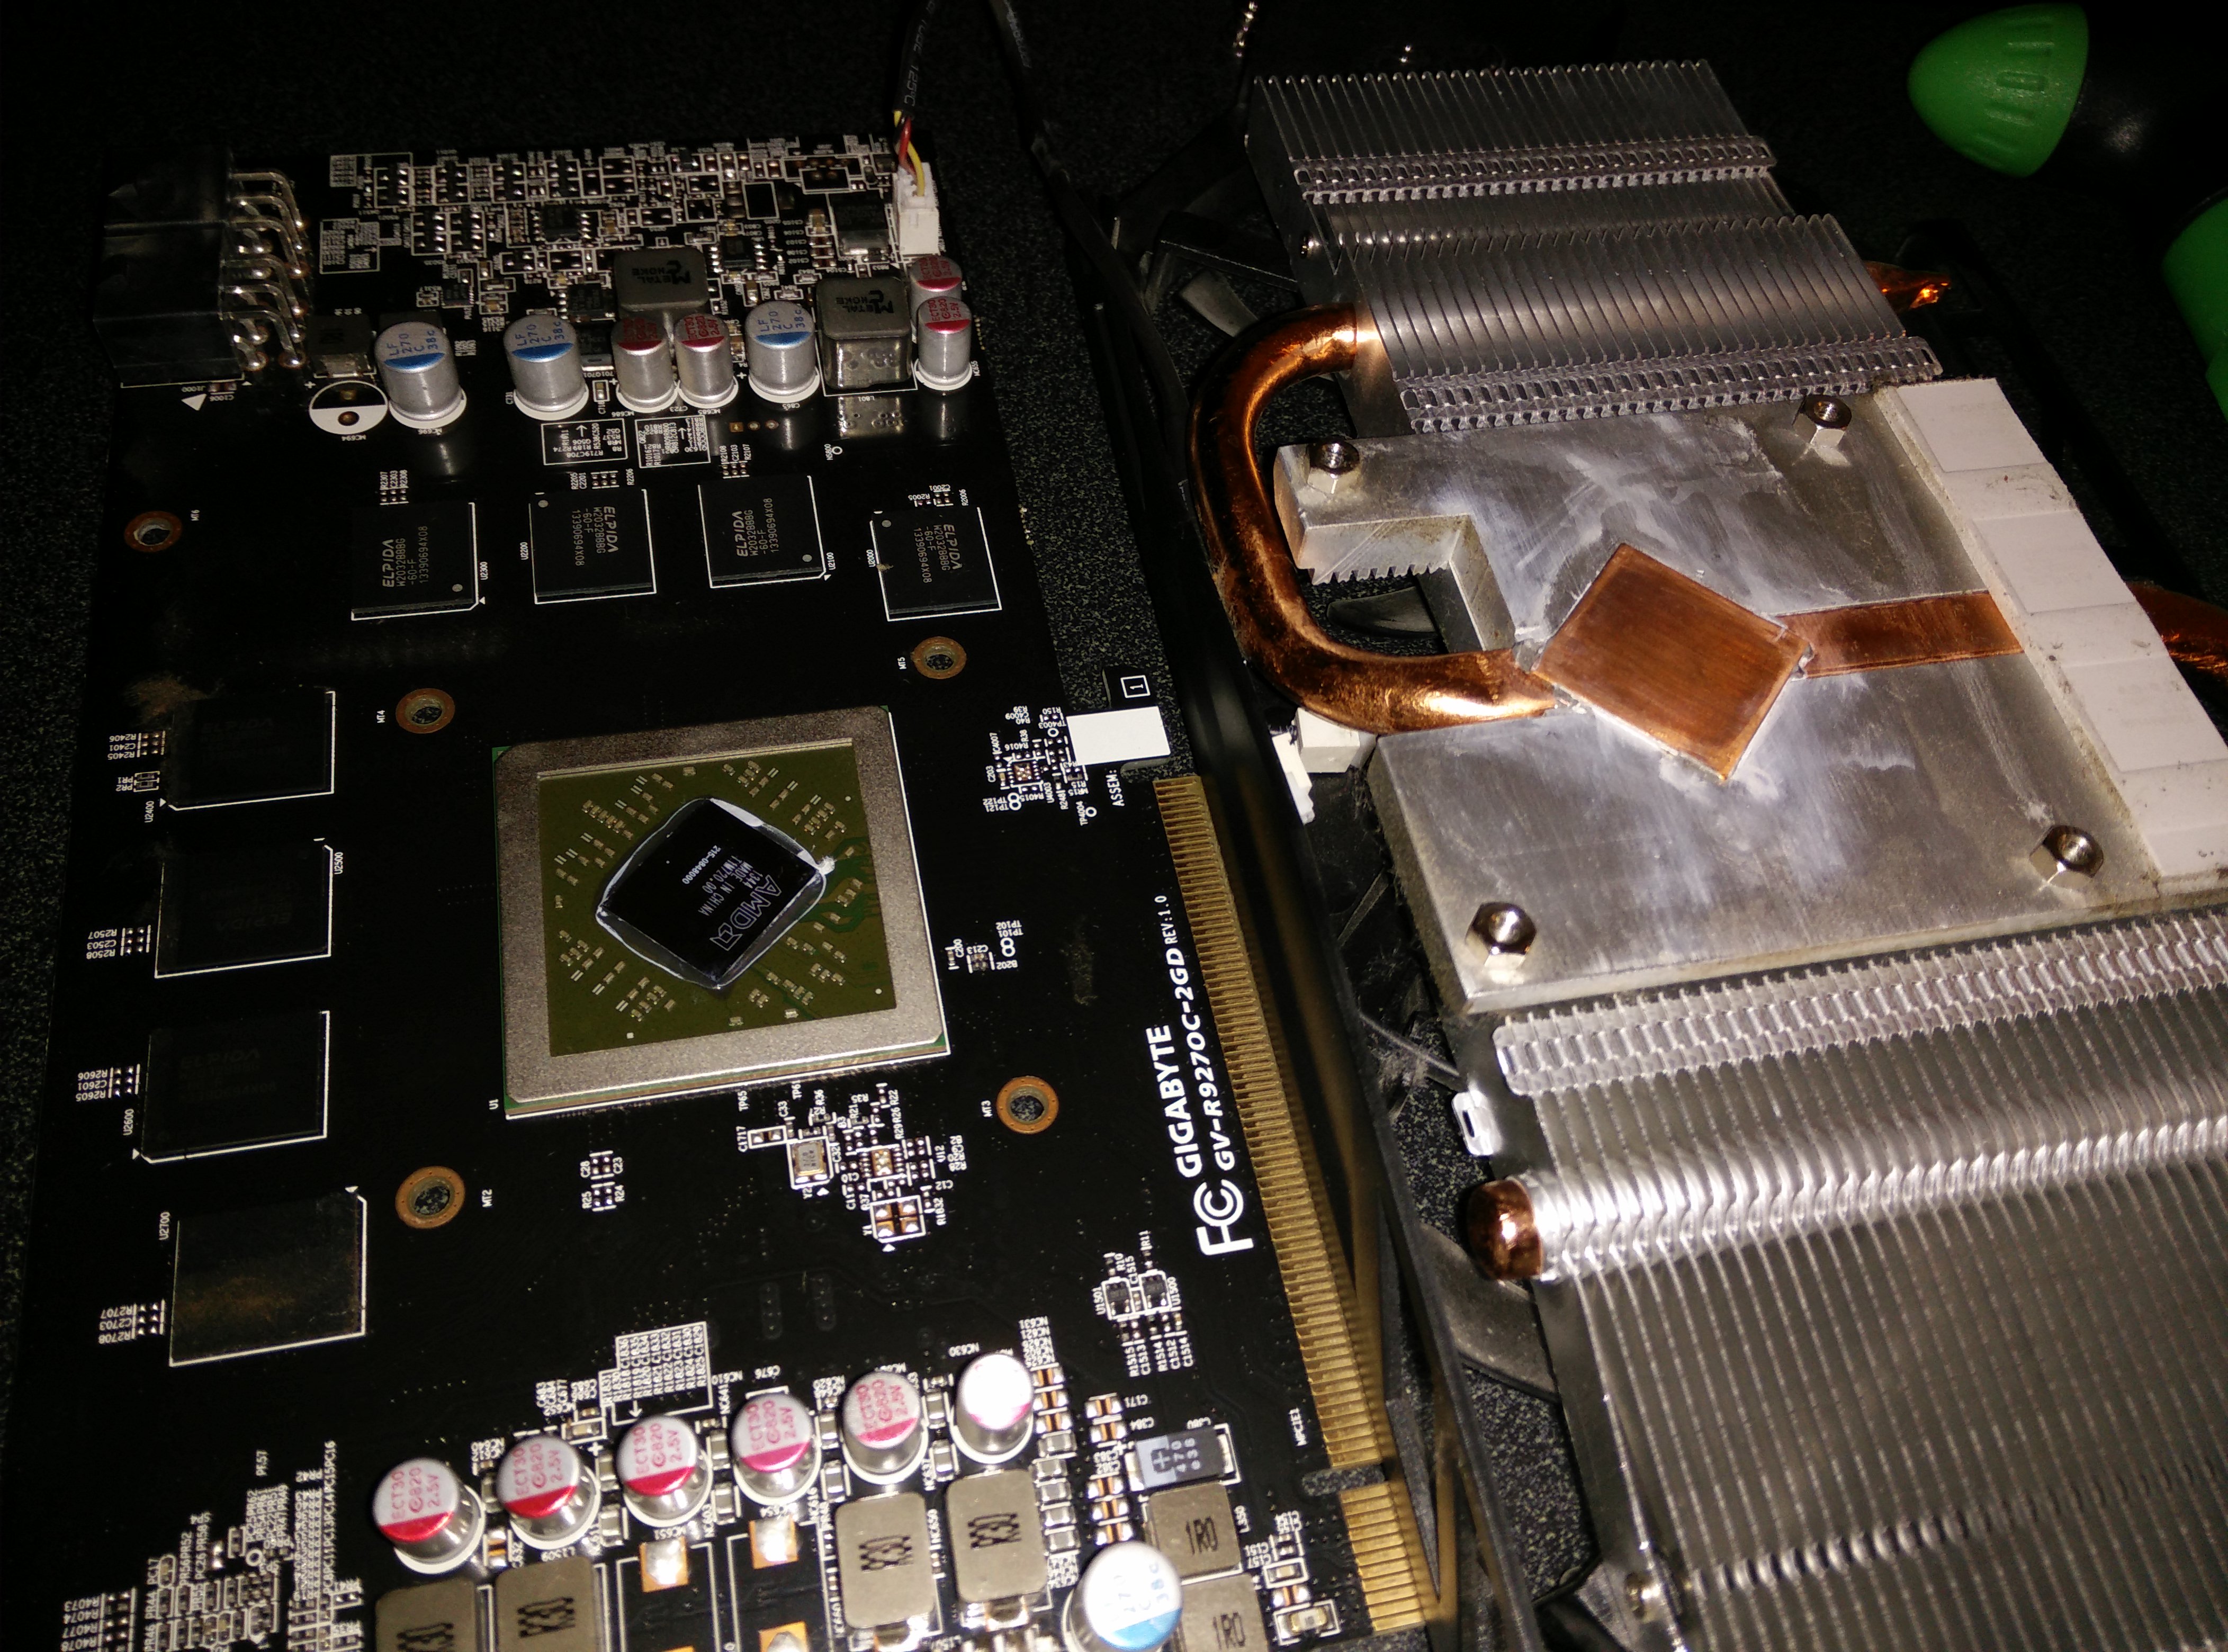
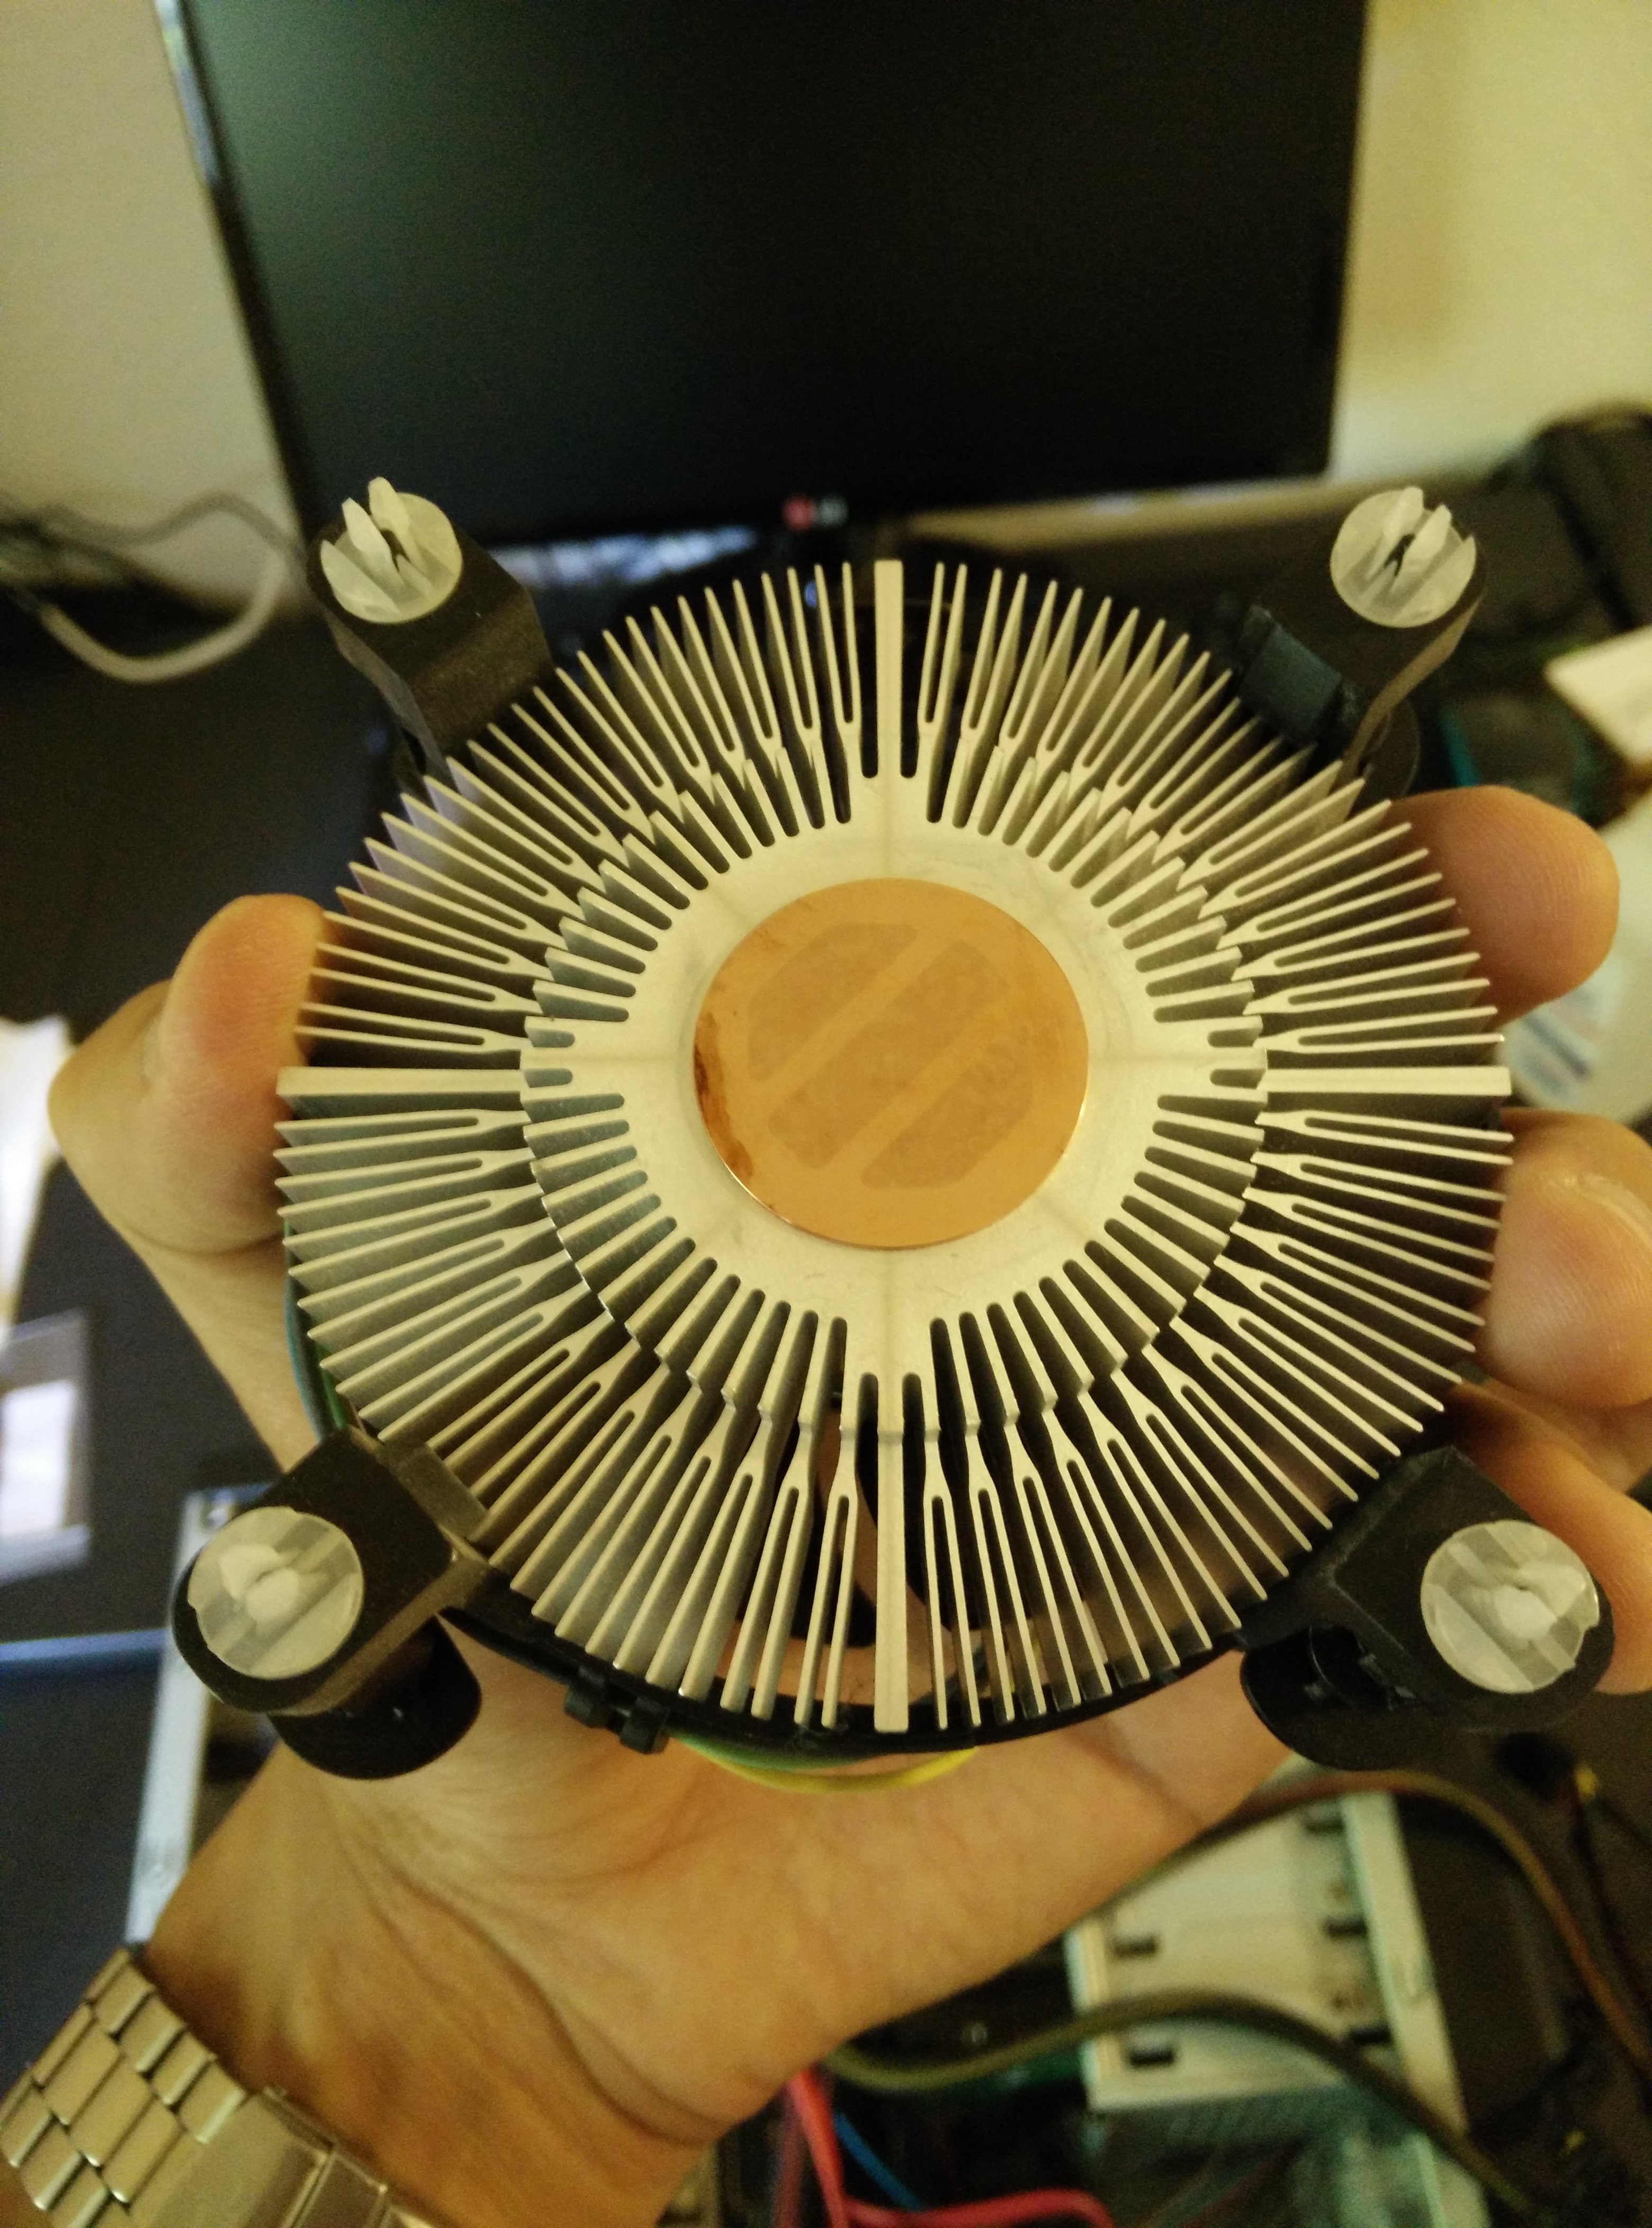
I noticed temperatures were reaching near 90 degrees Celsius while running furmark for 20 minutes. So I decided to open it, clean it, and put some Arctic Silver 5 thermal paste. This dropped the temperatures to 80 while running furmark and while gaming, it is usually in the 60-70 degree range. See the pictures below for how it looks inside. All I had to do was remove the 4 screws on the bottom and the whole heatsink came off easily. I then used isopropyl alcohol and Q-tips to clean it.
The 4 screws to removeThe Nasty Stock PasteAll Clean and Shiny
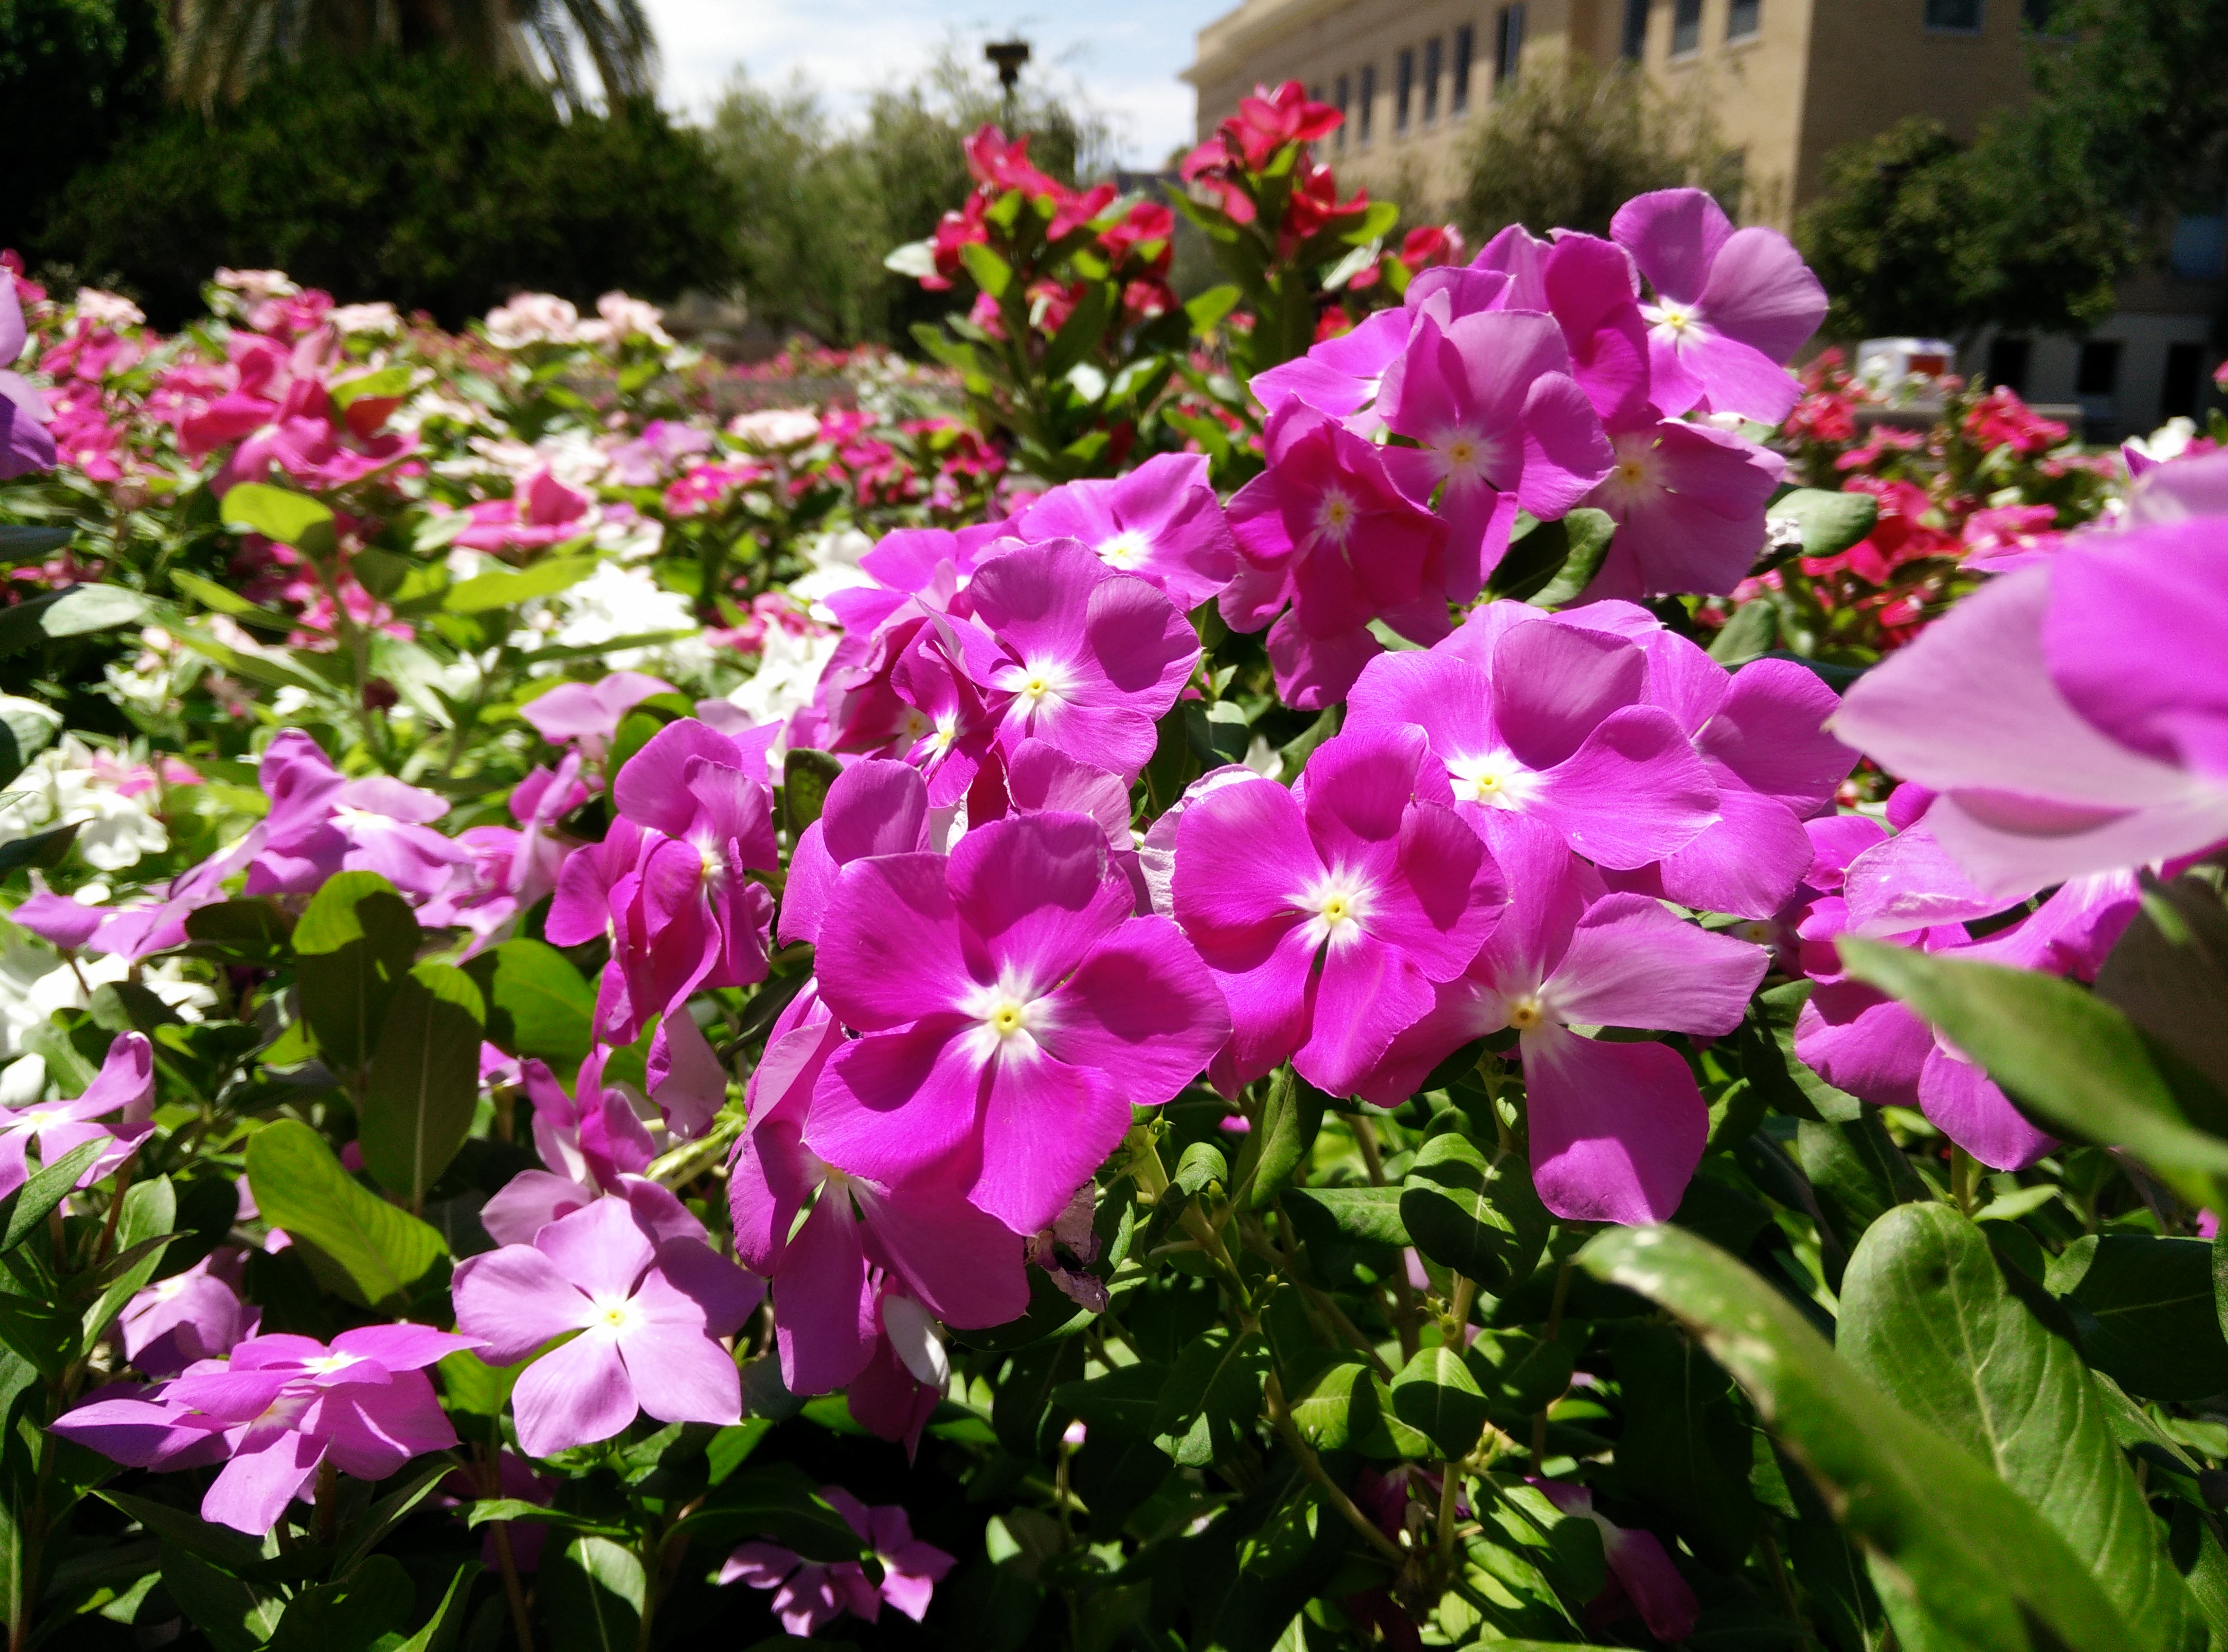
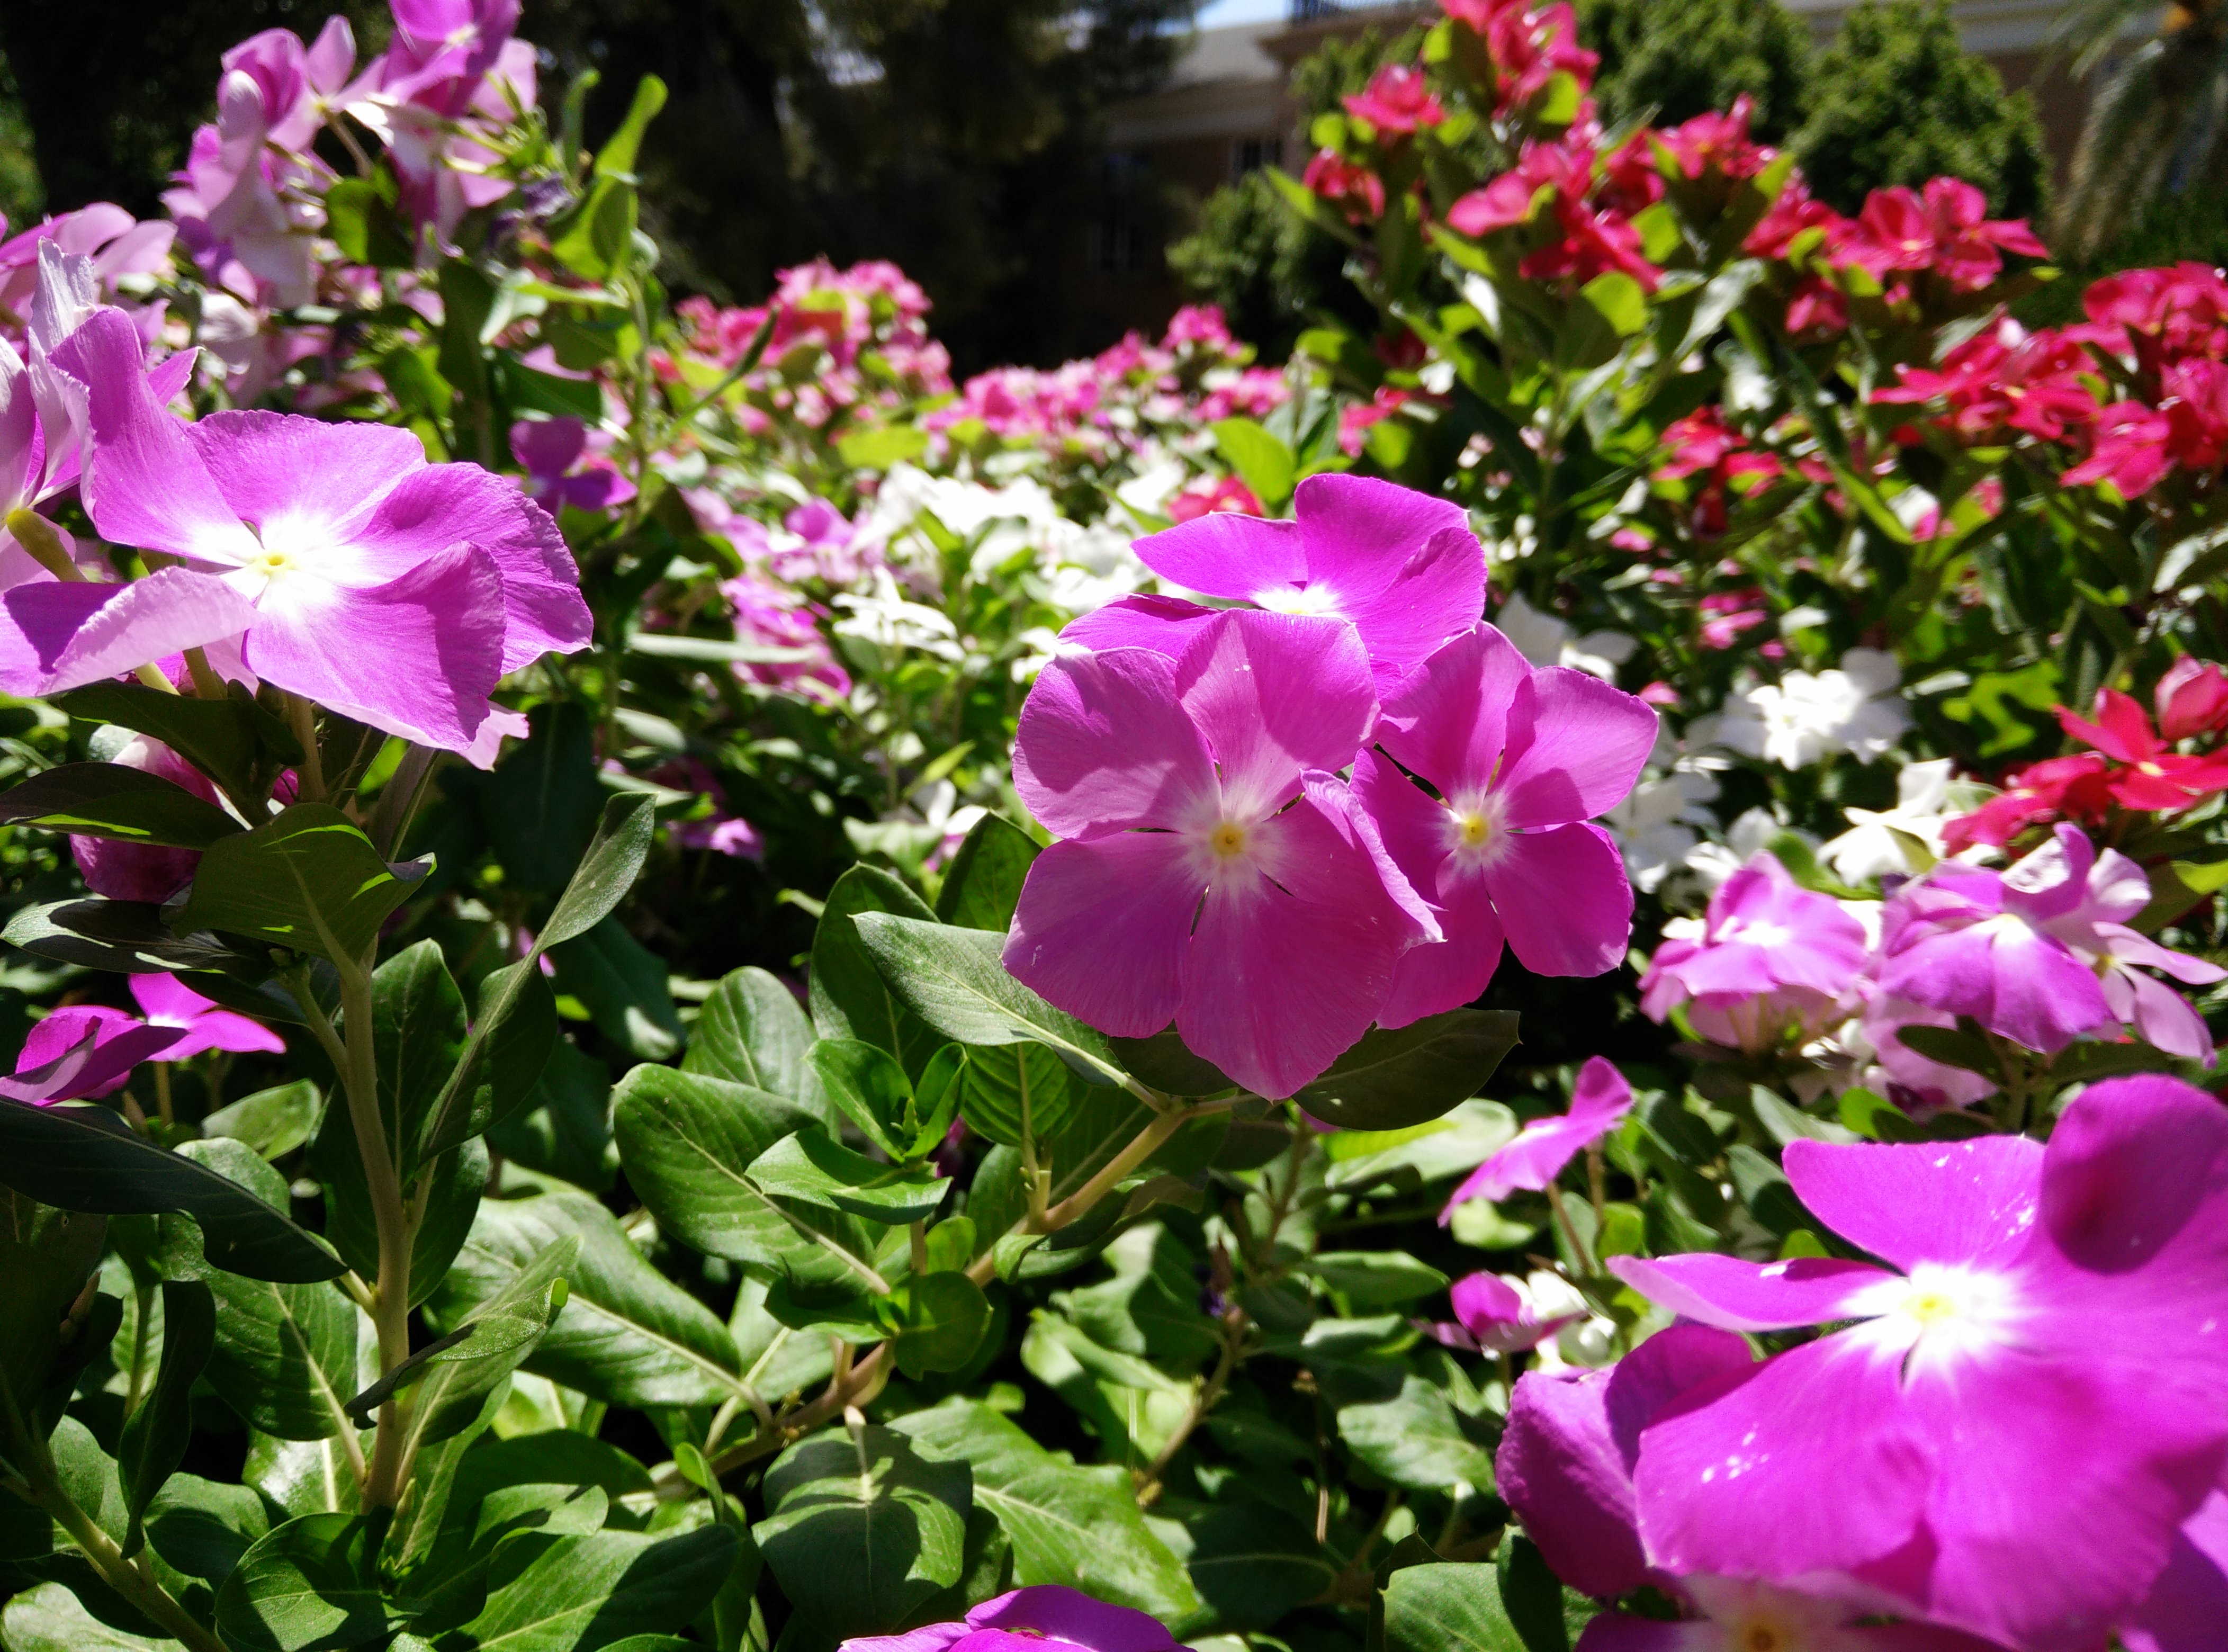
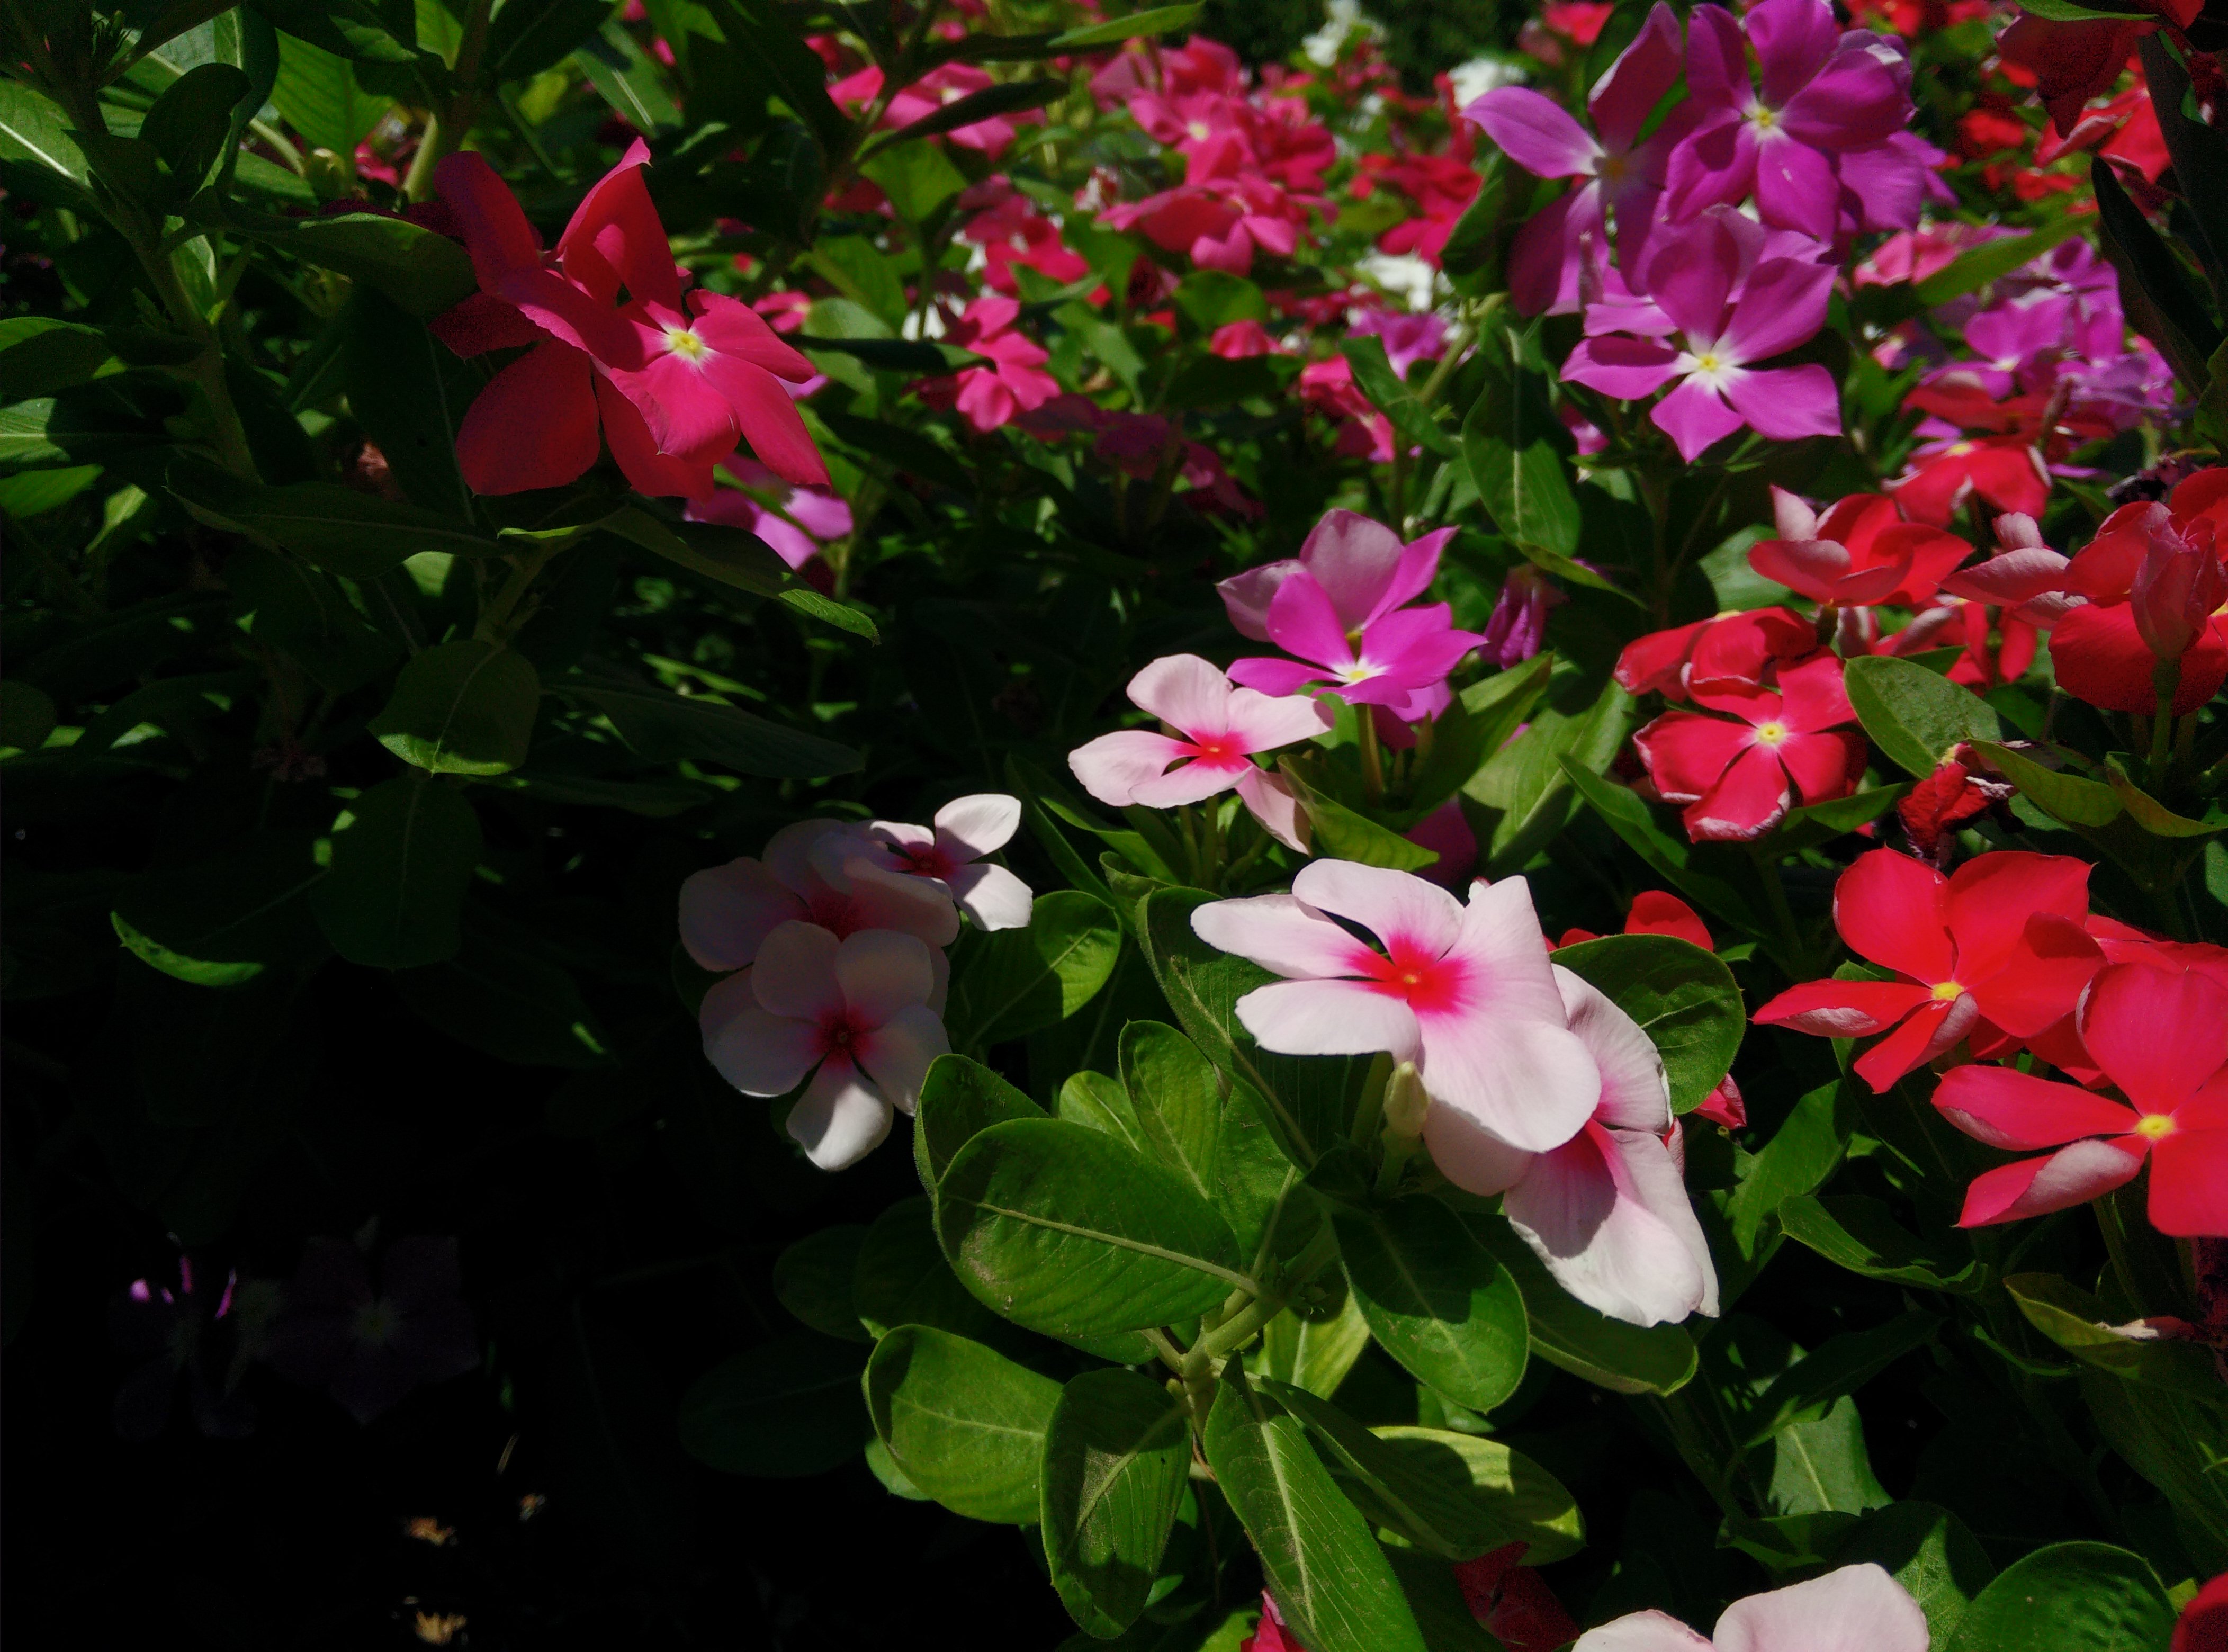
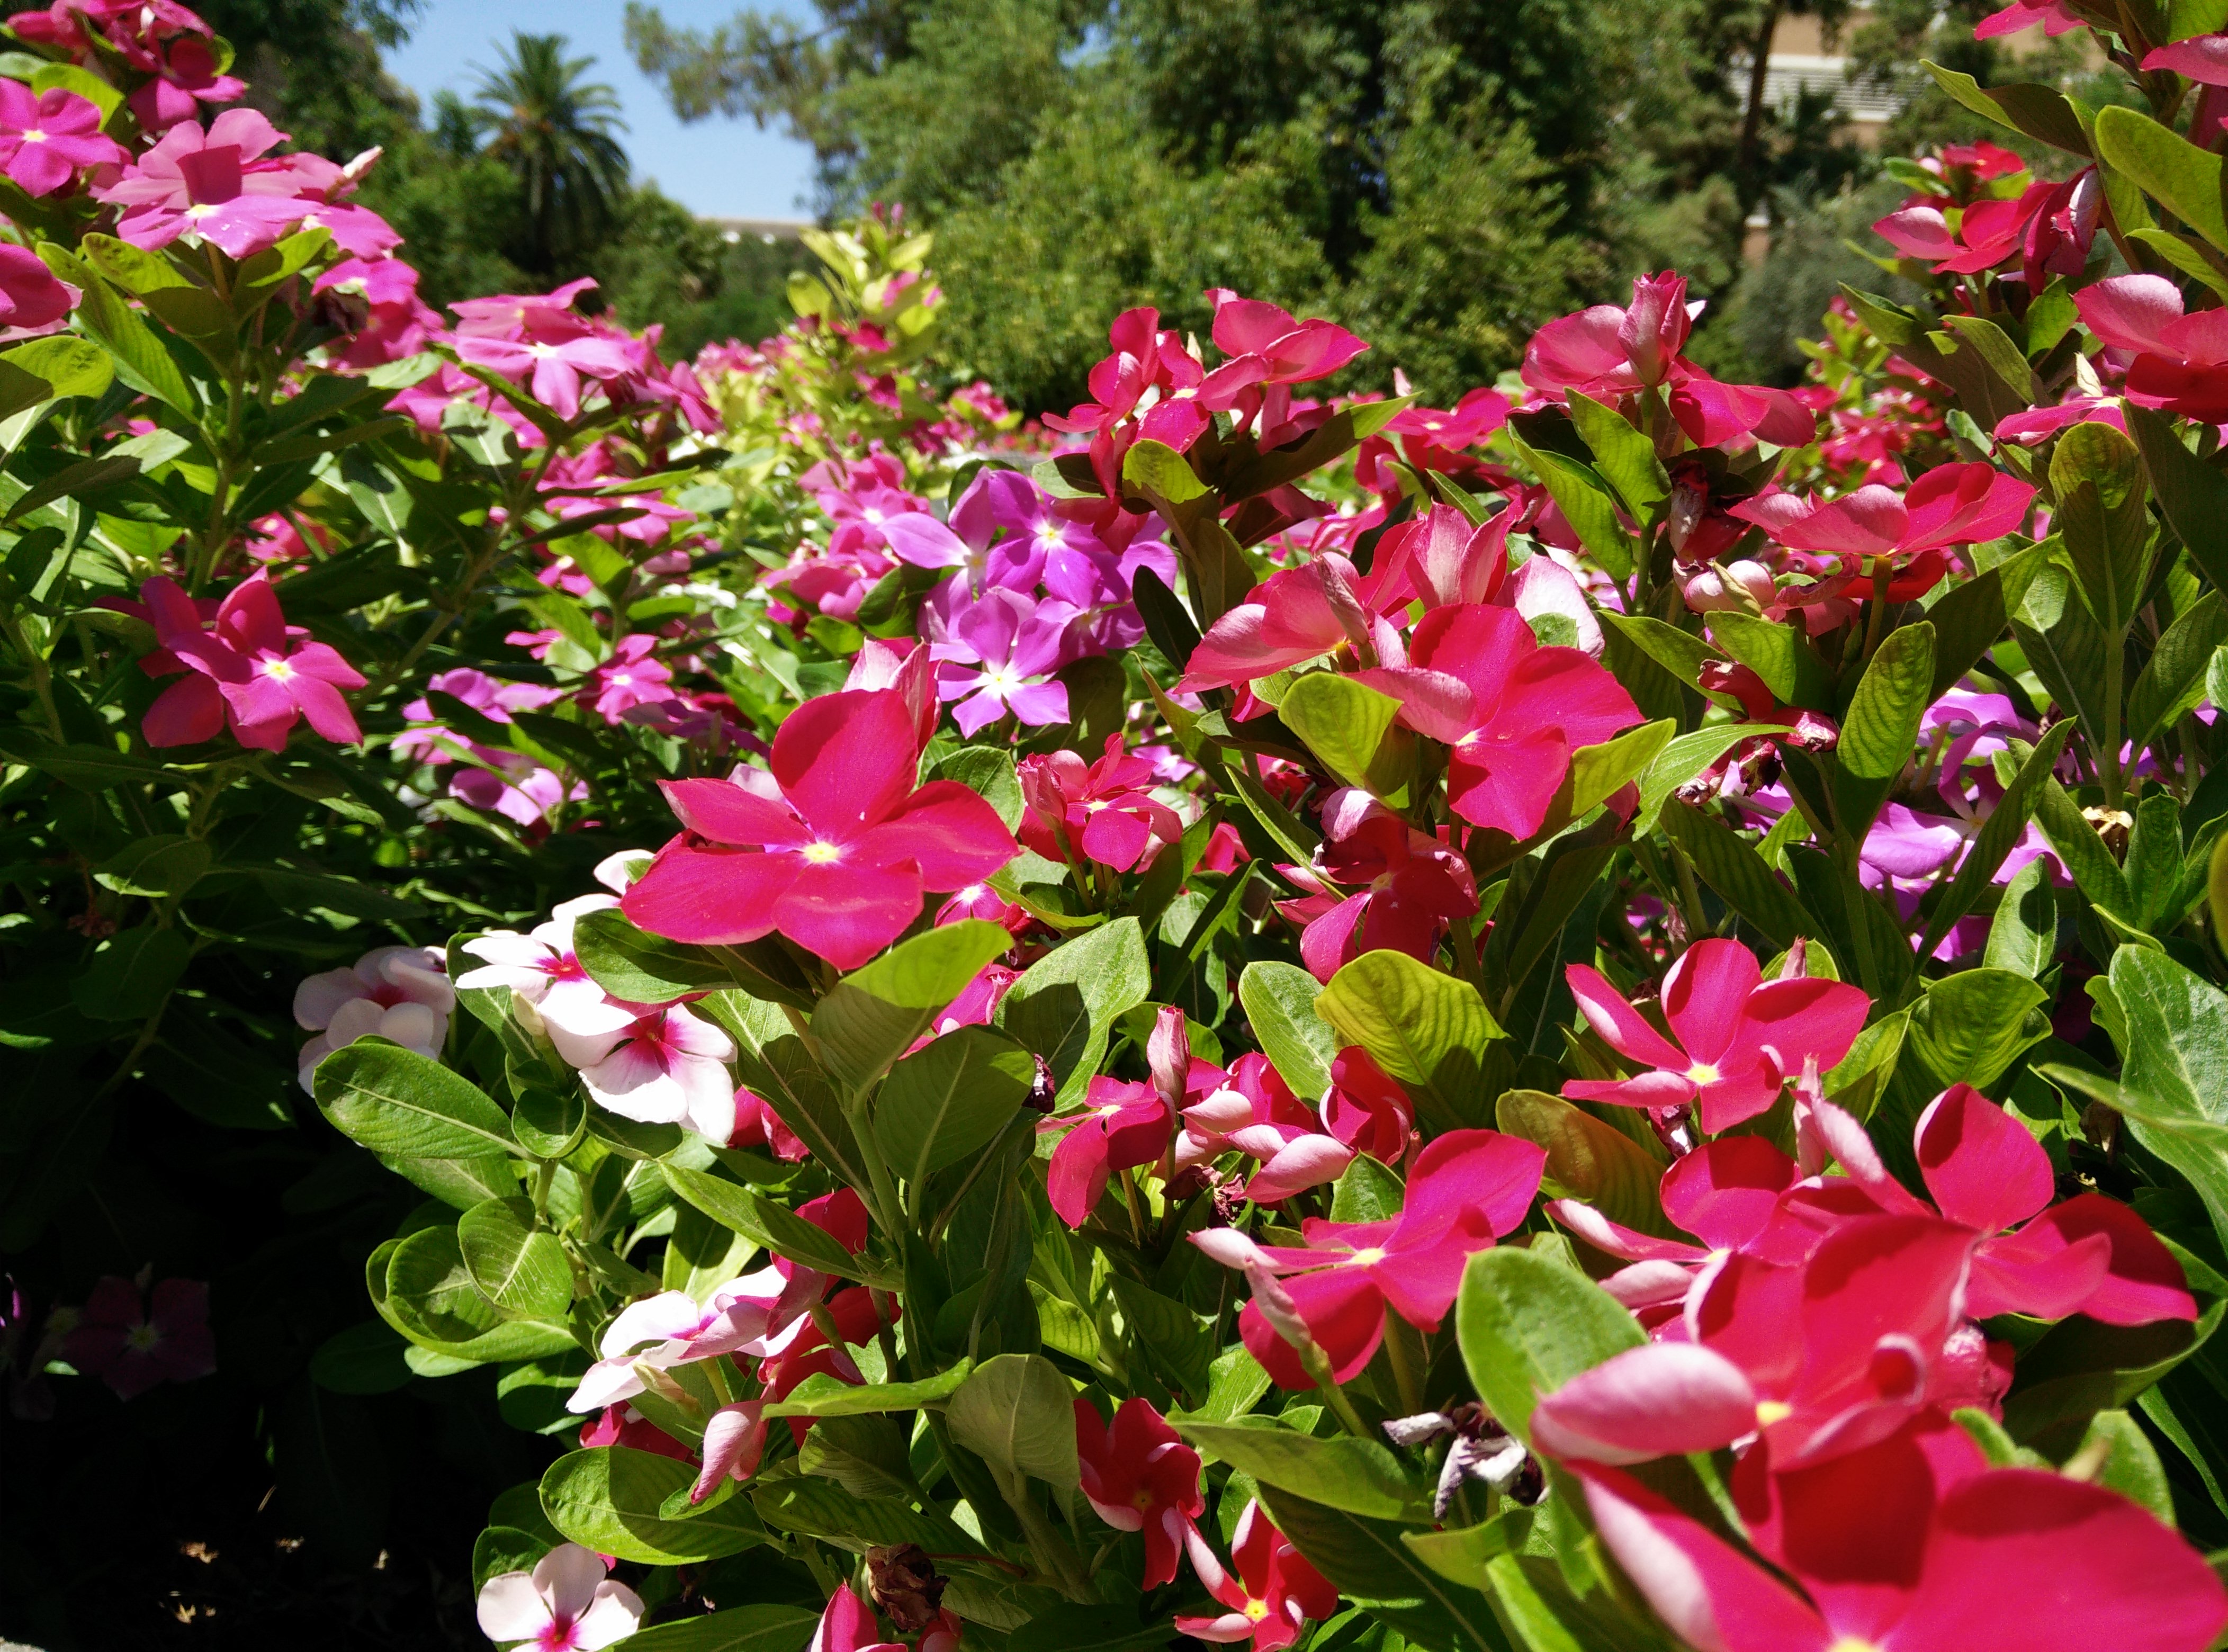
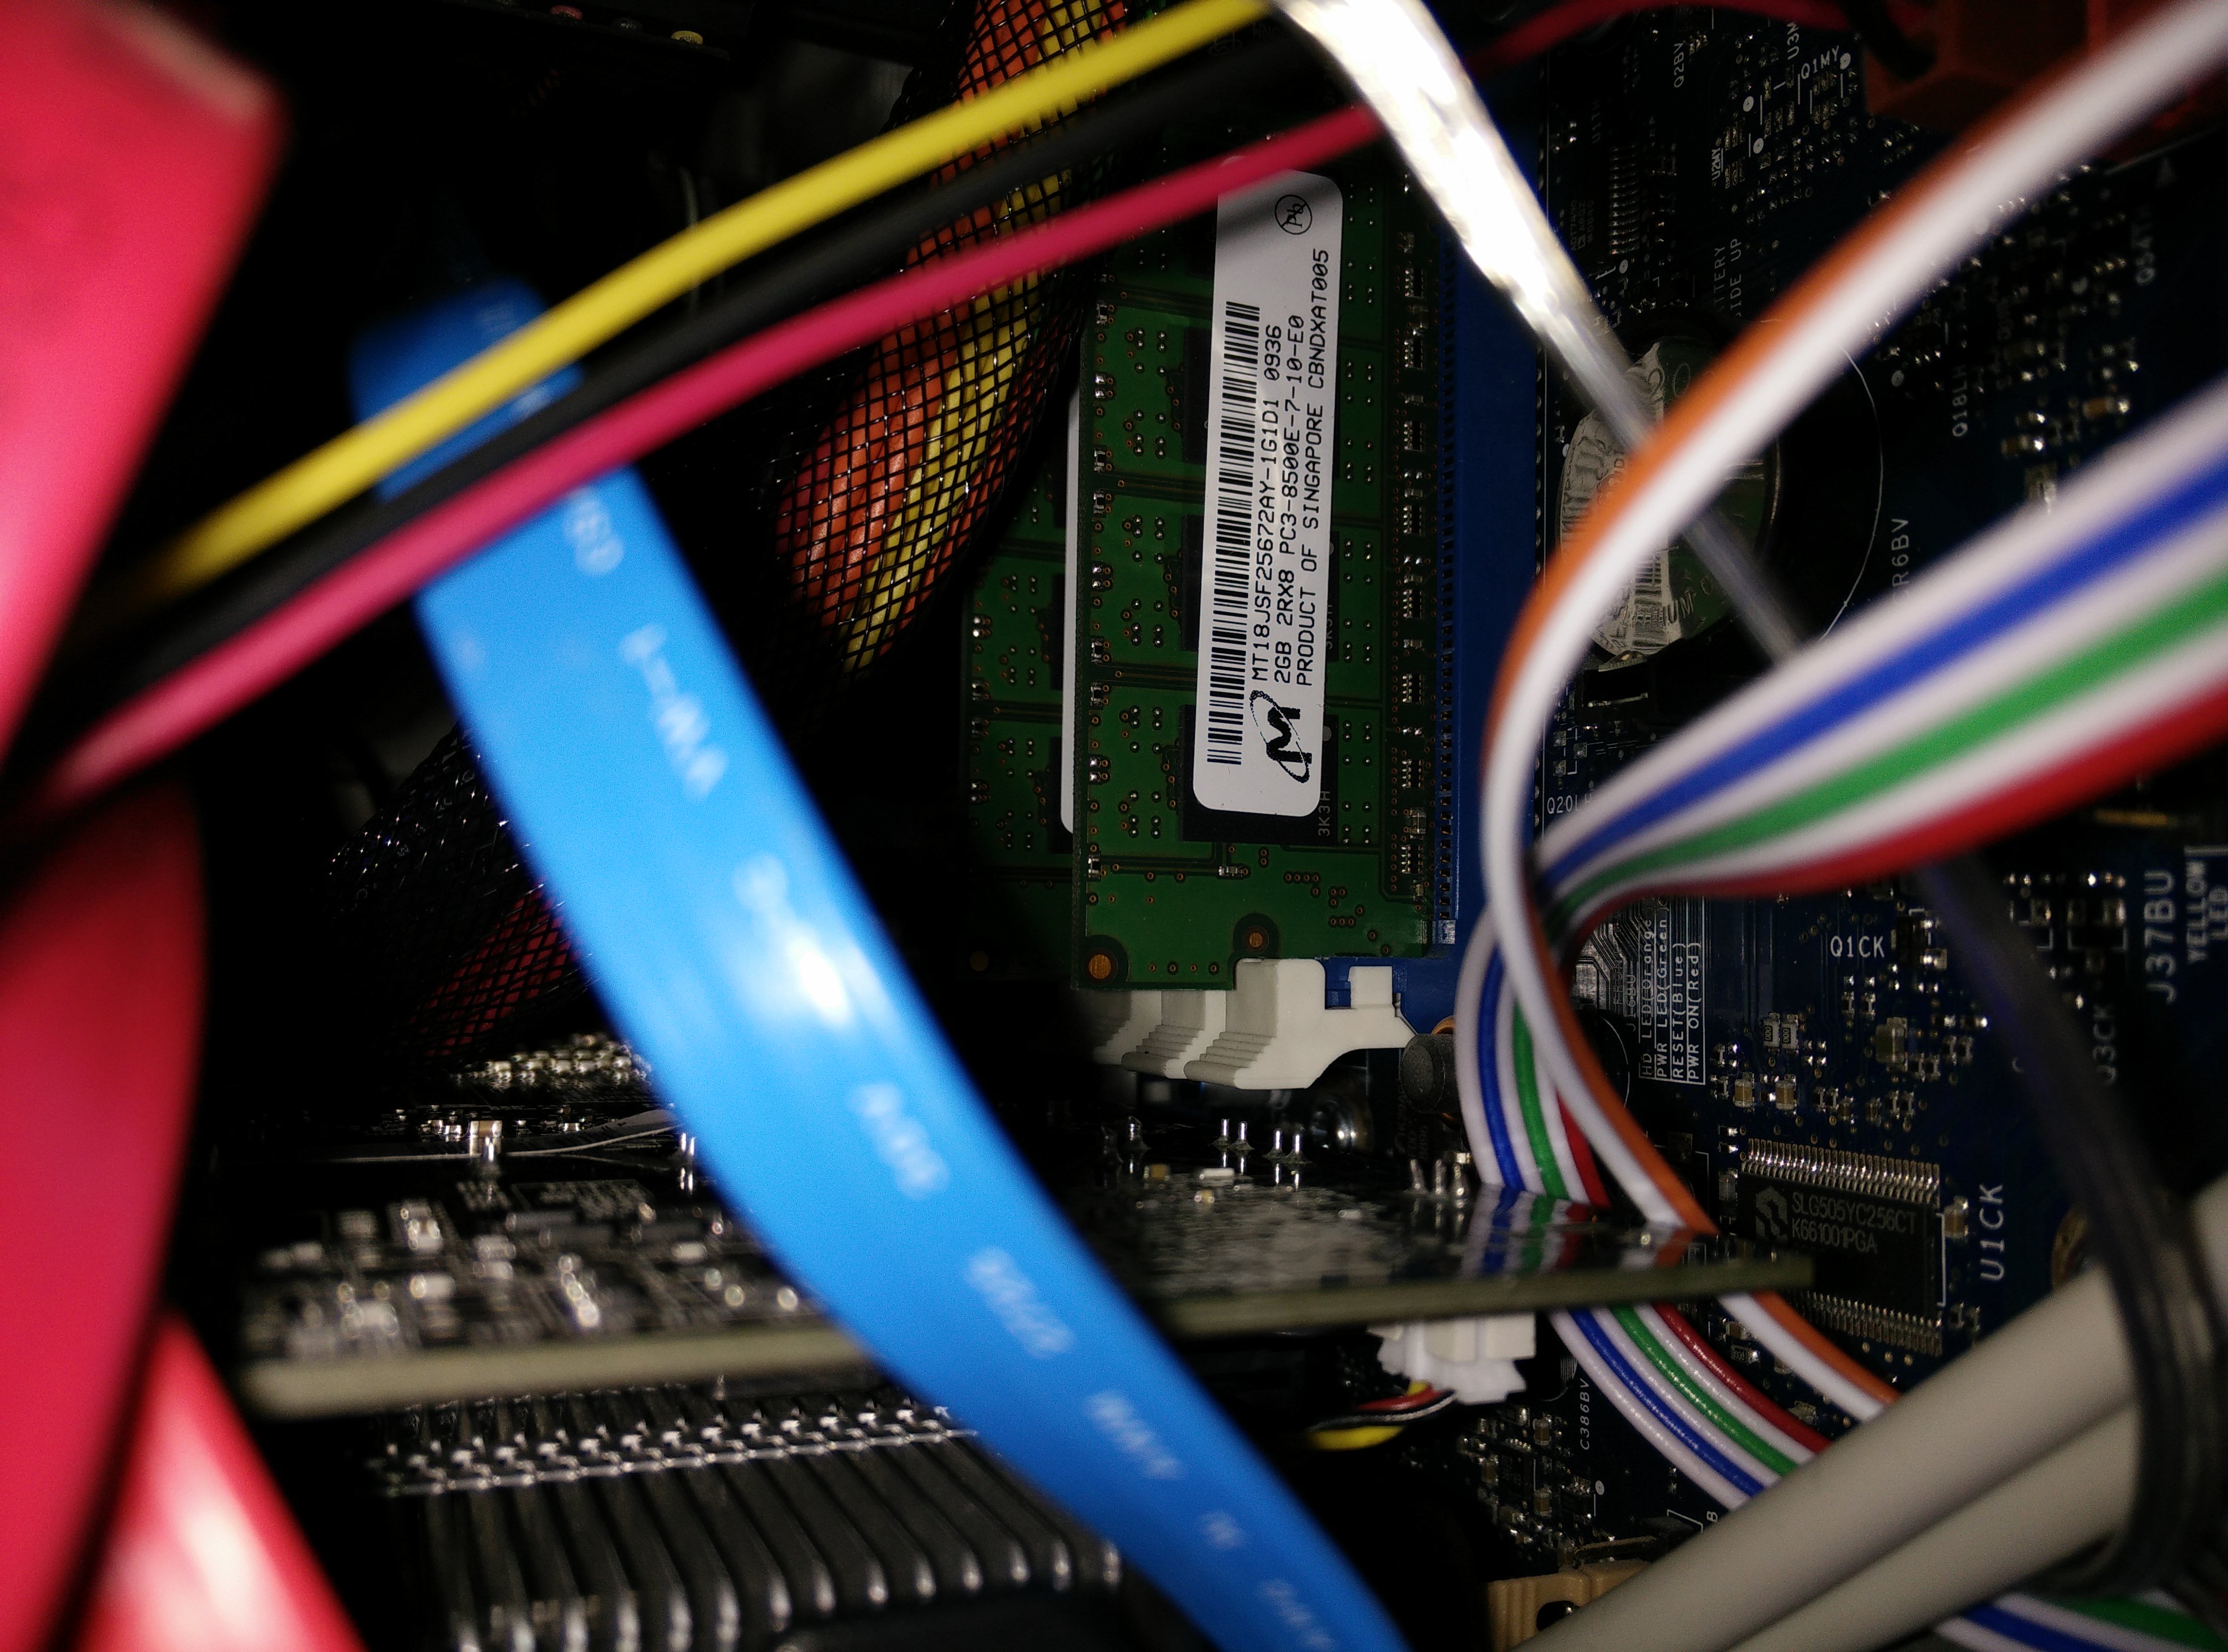
Here are some assorted shots from the last few days. Under each is a description of the mode and click them to view the full size image, and I recommend you do to really enjoy the quality…
Macro Mode. HDR offMacro Mode. HDR offMacro Mode. HDR offMacro Mode. HDR offMacro Mode. HDR offMacro Mode. HDR offHDR offHDR offNight time with FlashNight ModeAuto. HDR offHDR onAuto. HDR offFlash in a hard to reach spot. The phone saved me by allowing me to read my RAM modelHDR onAuto. HDR offAuto. HDR offAuto. HDR offAuto. HDR offHDR onAuto. HDR offAuto. HDR offAuto. Flash on
This video card, even though it is priced well, is a beast. Installation was easy, uninstall the previous card drivers, remove the old card, put in the new card, and install the drivers. Immediately things were running well and much better than they used to. I was previously running a Radeon 5750 and the difference in performance is massive. Even though I have an Intel Core i5-750 CPU, the new card wasn’t bottle necked at all. Performance gains were huge in every benchmark.
Furmark 720 test: Before (1500) After (4000)
Passmark GPU: Before (1500) After (4300)
Windows: Before (7.2) After (7.9)
Homefront: Before (30 fps) After (110 fps)
Bad Company 2 Online Multiplayer: Before (30 fps) After (85-100 fps)
This case is solid, textured well to prevent slip, and protects the screen when flipped over, in other words…amazing. It is available on Amazon for $11.80 and it is well worth it. The colors are a bit off due to the old phone I was using to photograph the One, but in person the color of it contrasts the phone very well.
The textured backYou can see how it is raised above the screen
As I rebuilt my computer, I realized that the heat sink had been dislodged during travel and that the thermal paste had dried out and possibly even become dirty. The CPU was idle at about 60 degrees Celsius and it would reach almost 100 degrees within less than a minute of running Prime95. I ordered a small tube of Arctic Silver 5 Thermal Paste and as soon as it arrived, I cleaned and changed the thermal paste. The temperatures are now around 40 while idle and in the 60s while at full load. Finally, I can game without worrying about the CPU overheating. The process was easy and all I needed were Q-Tips and rubbing alcohol according to YouTube. Pictures of the process can be seen below.
Old Dry PasteOld Dry Paste on the Heat SinkCleaning the CPUThe Cleaned Heat Sink
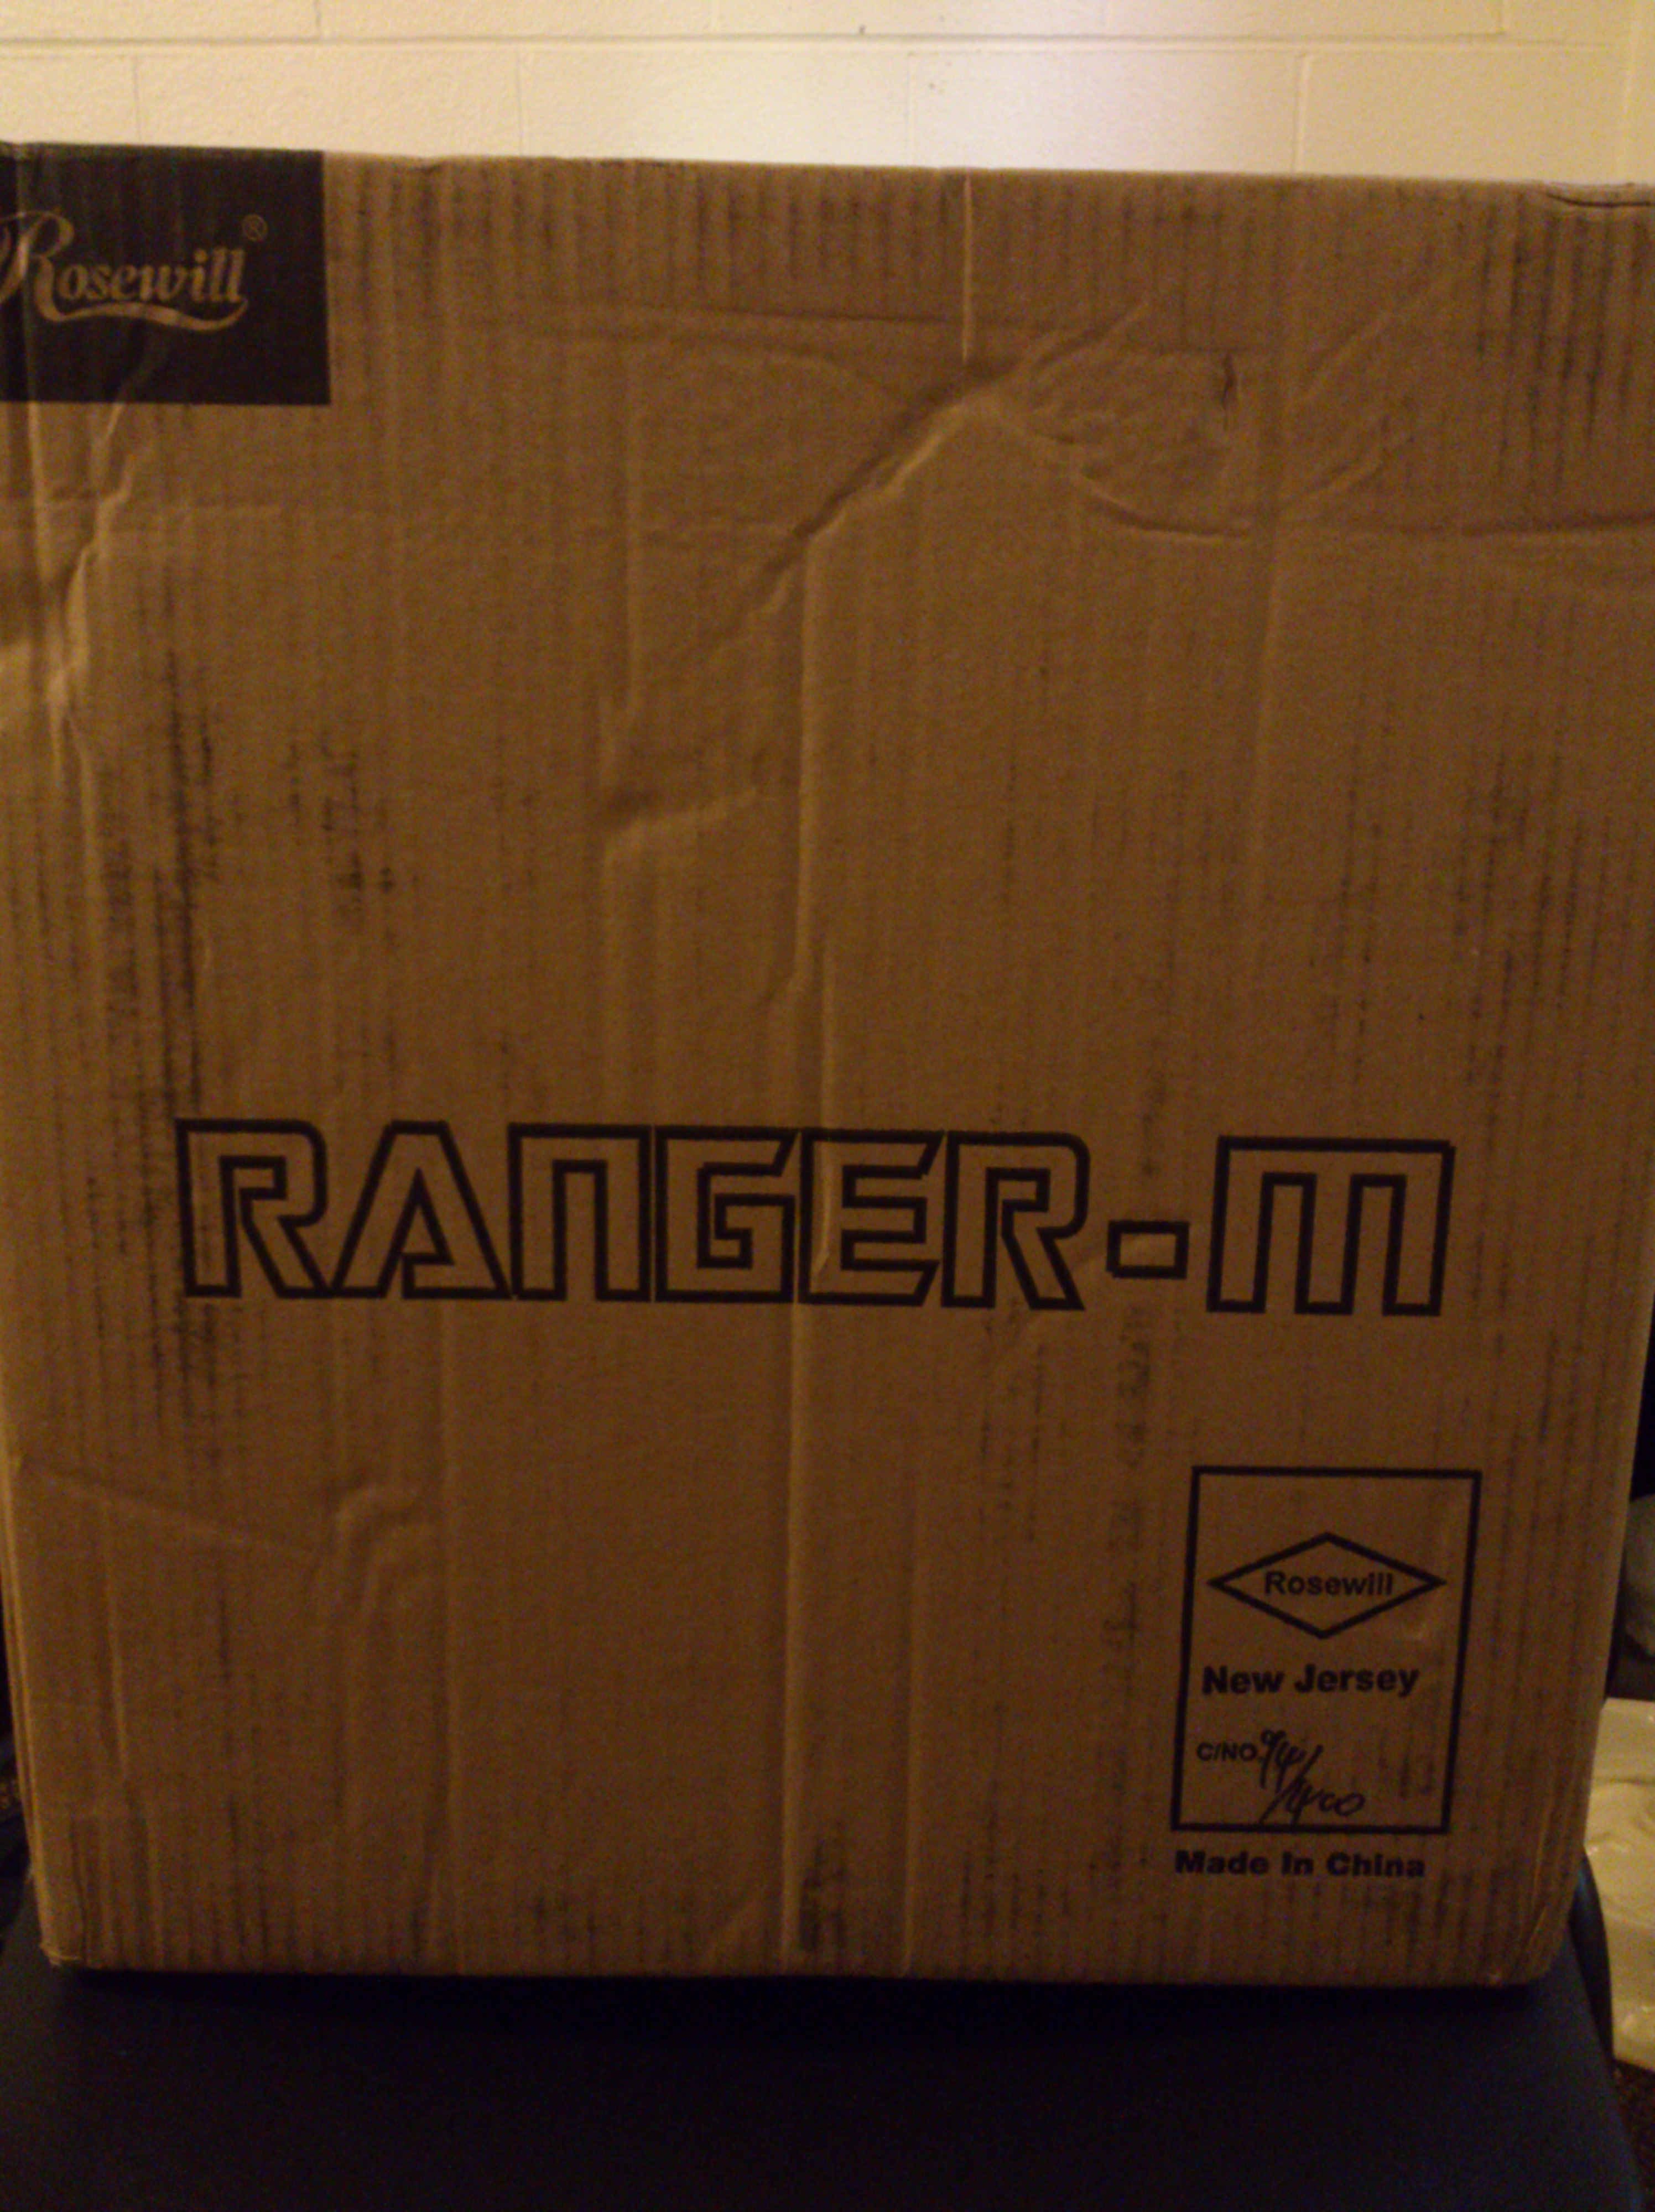
The Rosewill Ranger-M case retails for $39.99 and I found it on eBay being sold from Rosewill for $29.99 with free shipping. This seemed like a bargain for such a good looking case and since I was in need of a case for my components, I went ahead and purchased it.
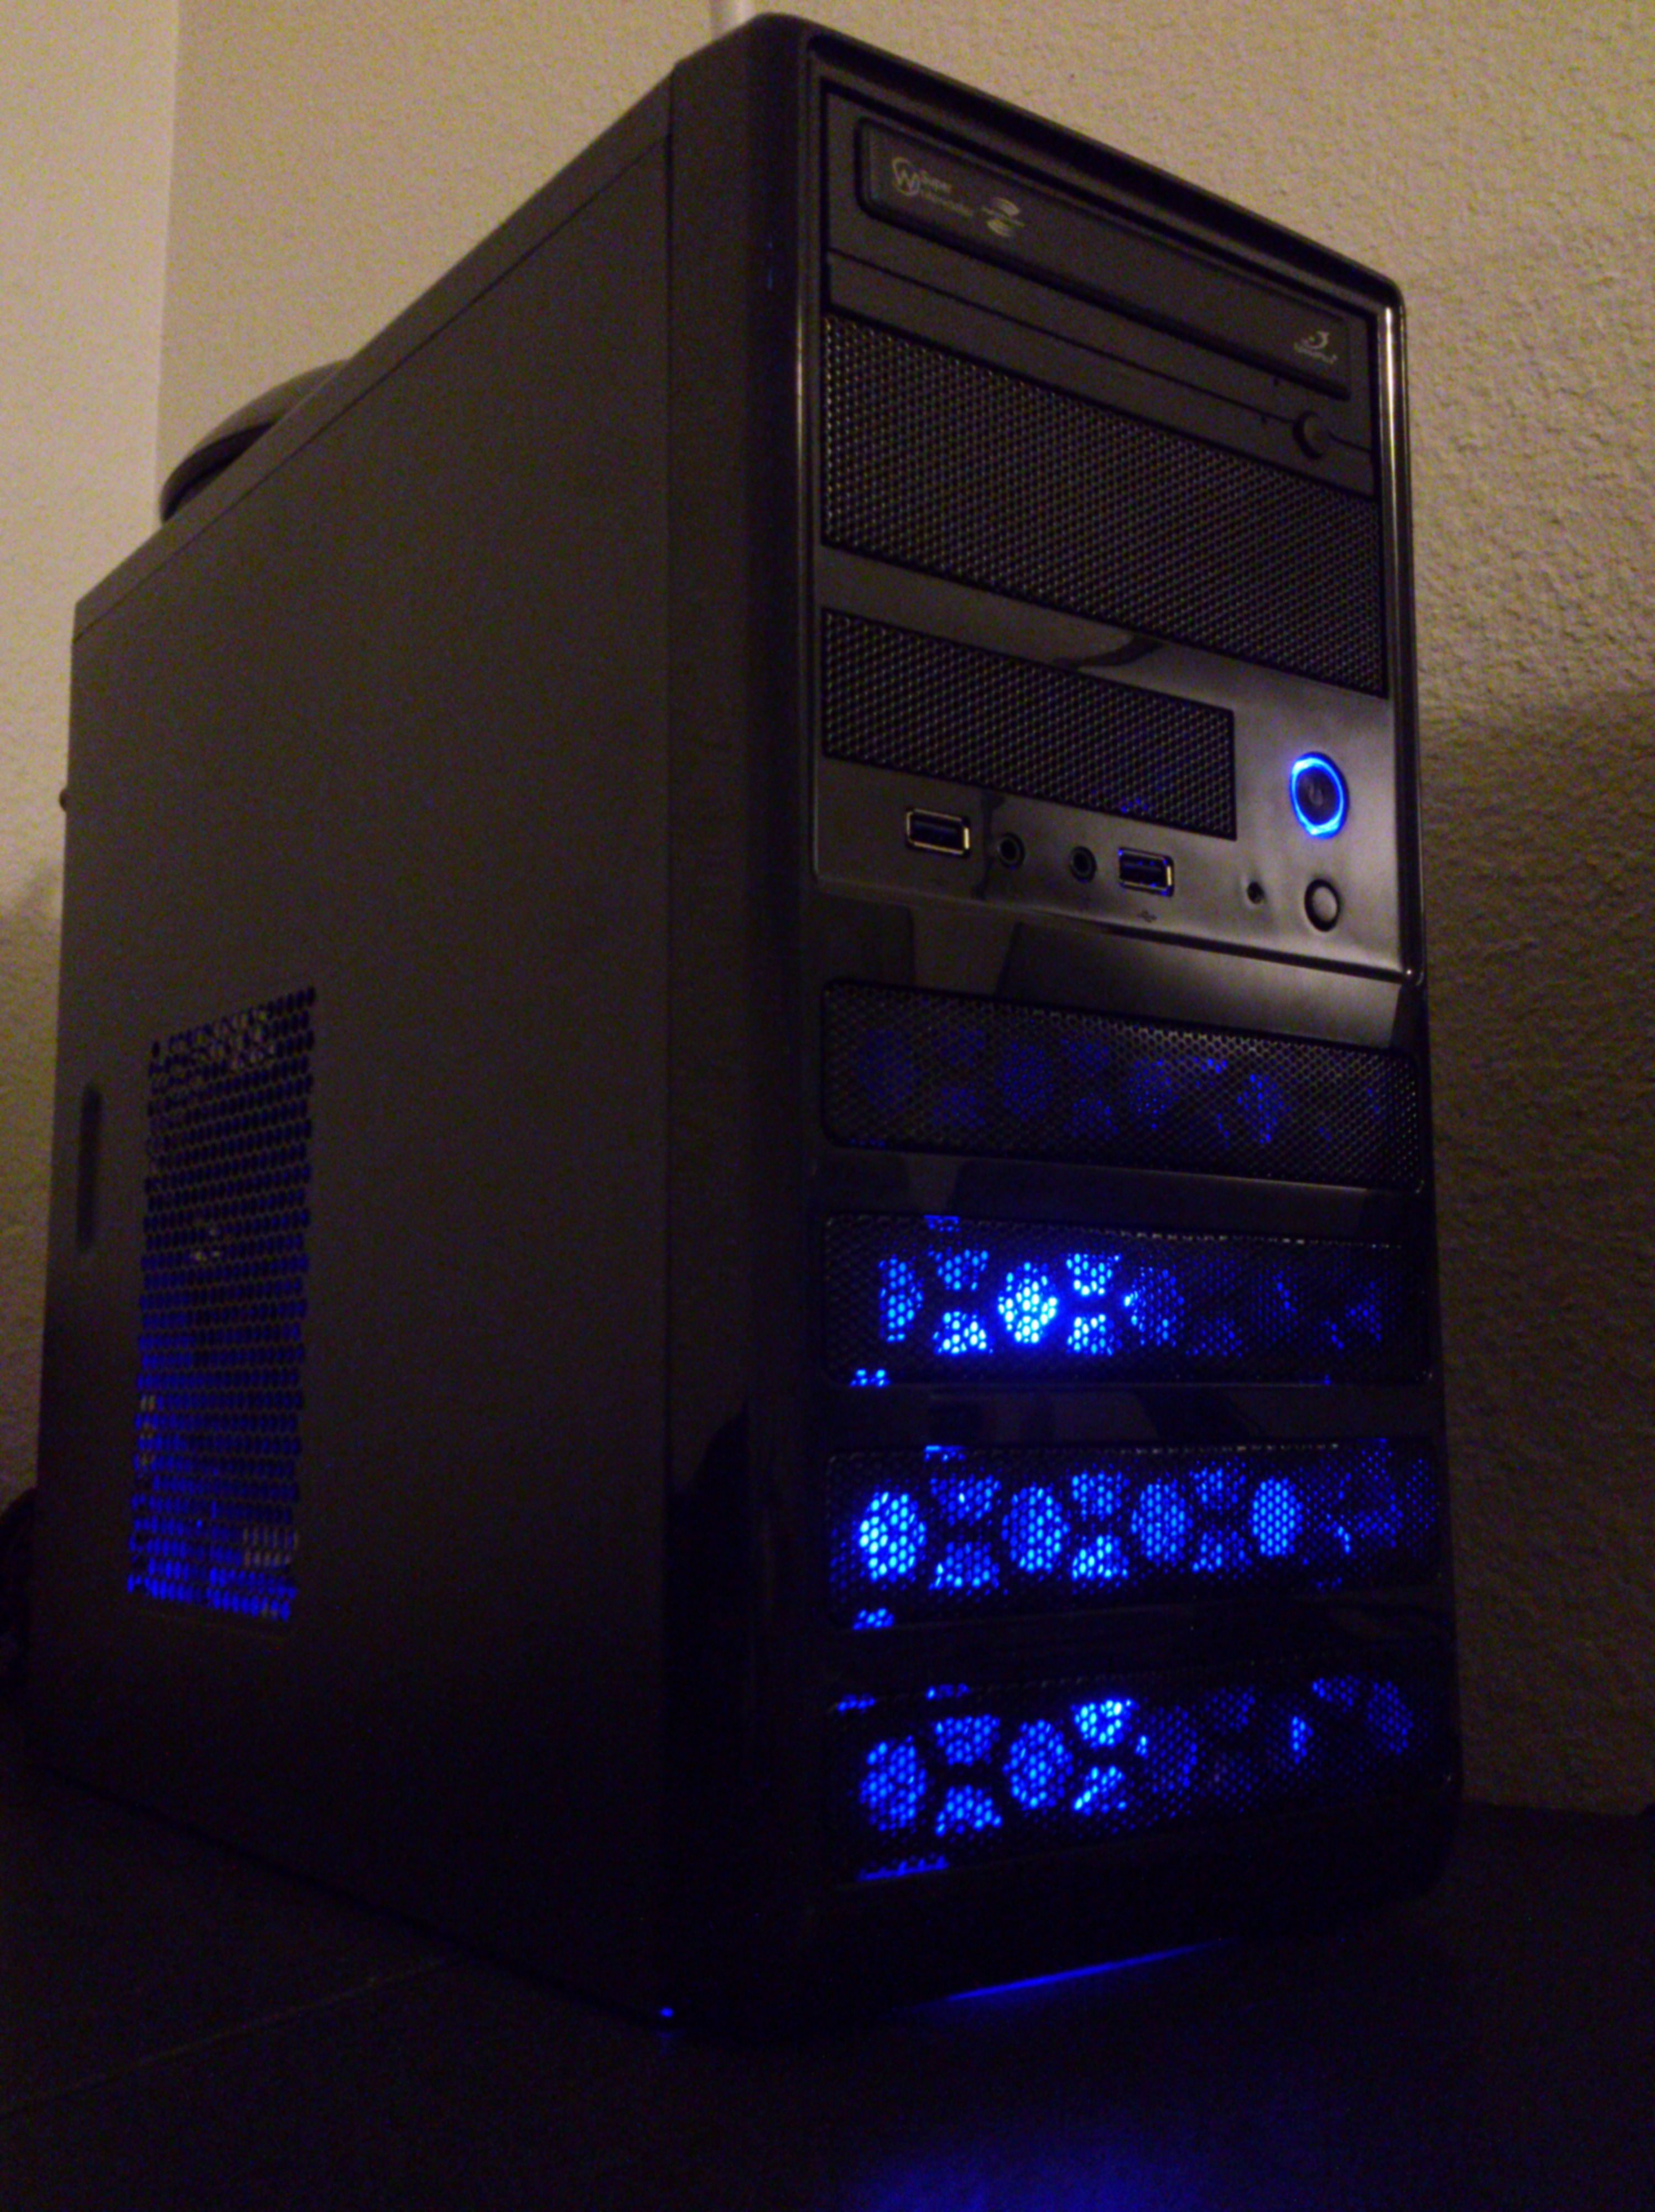
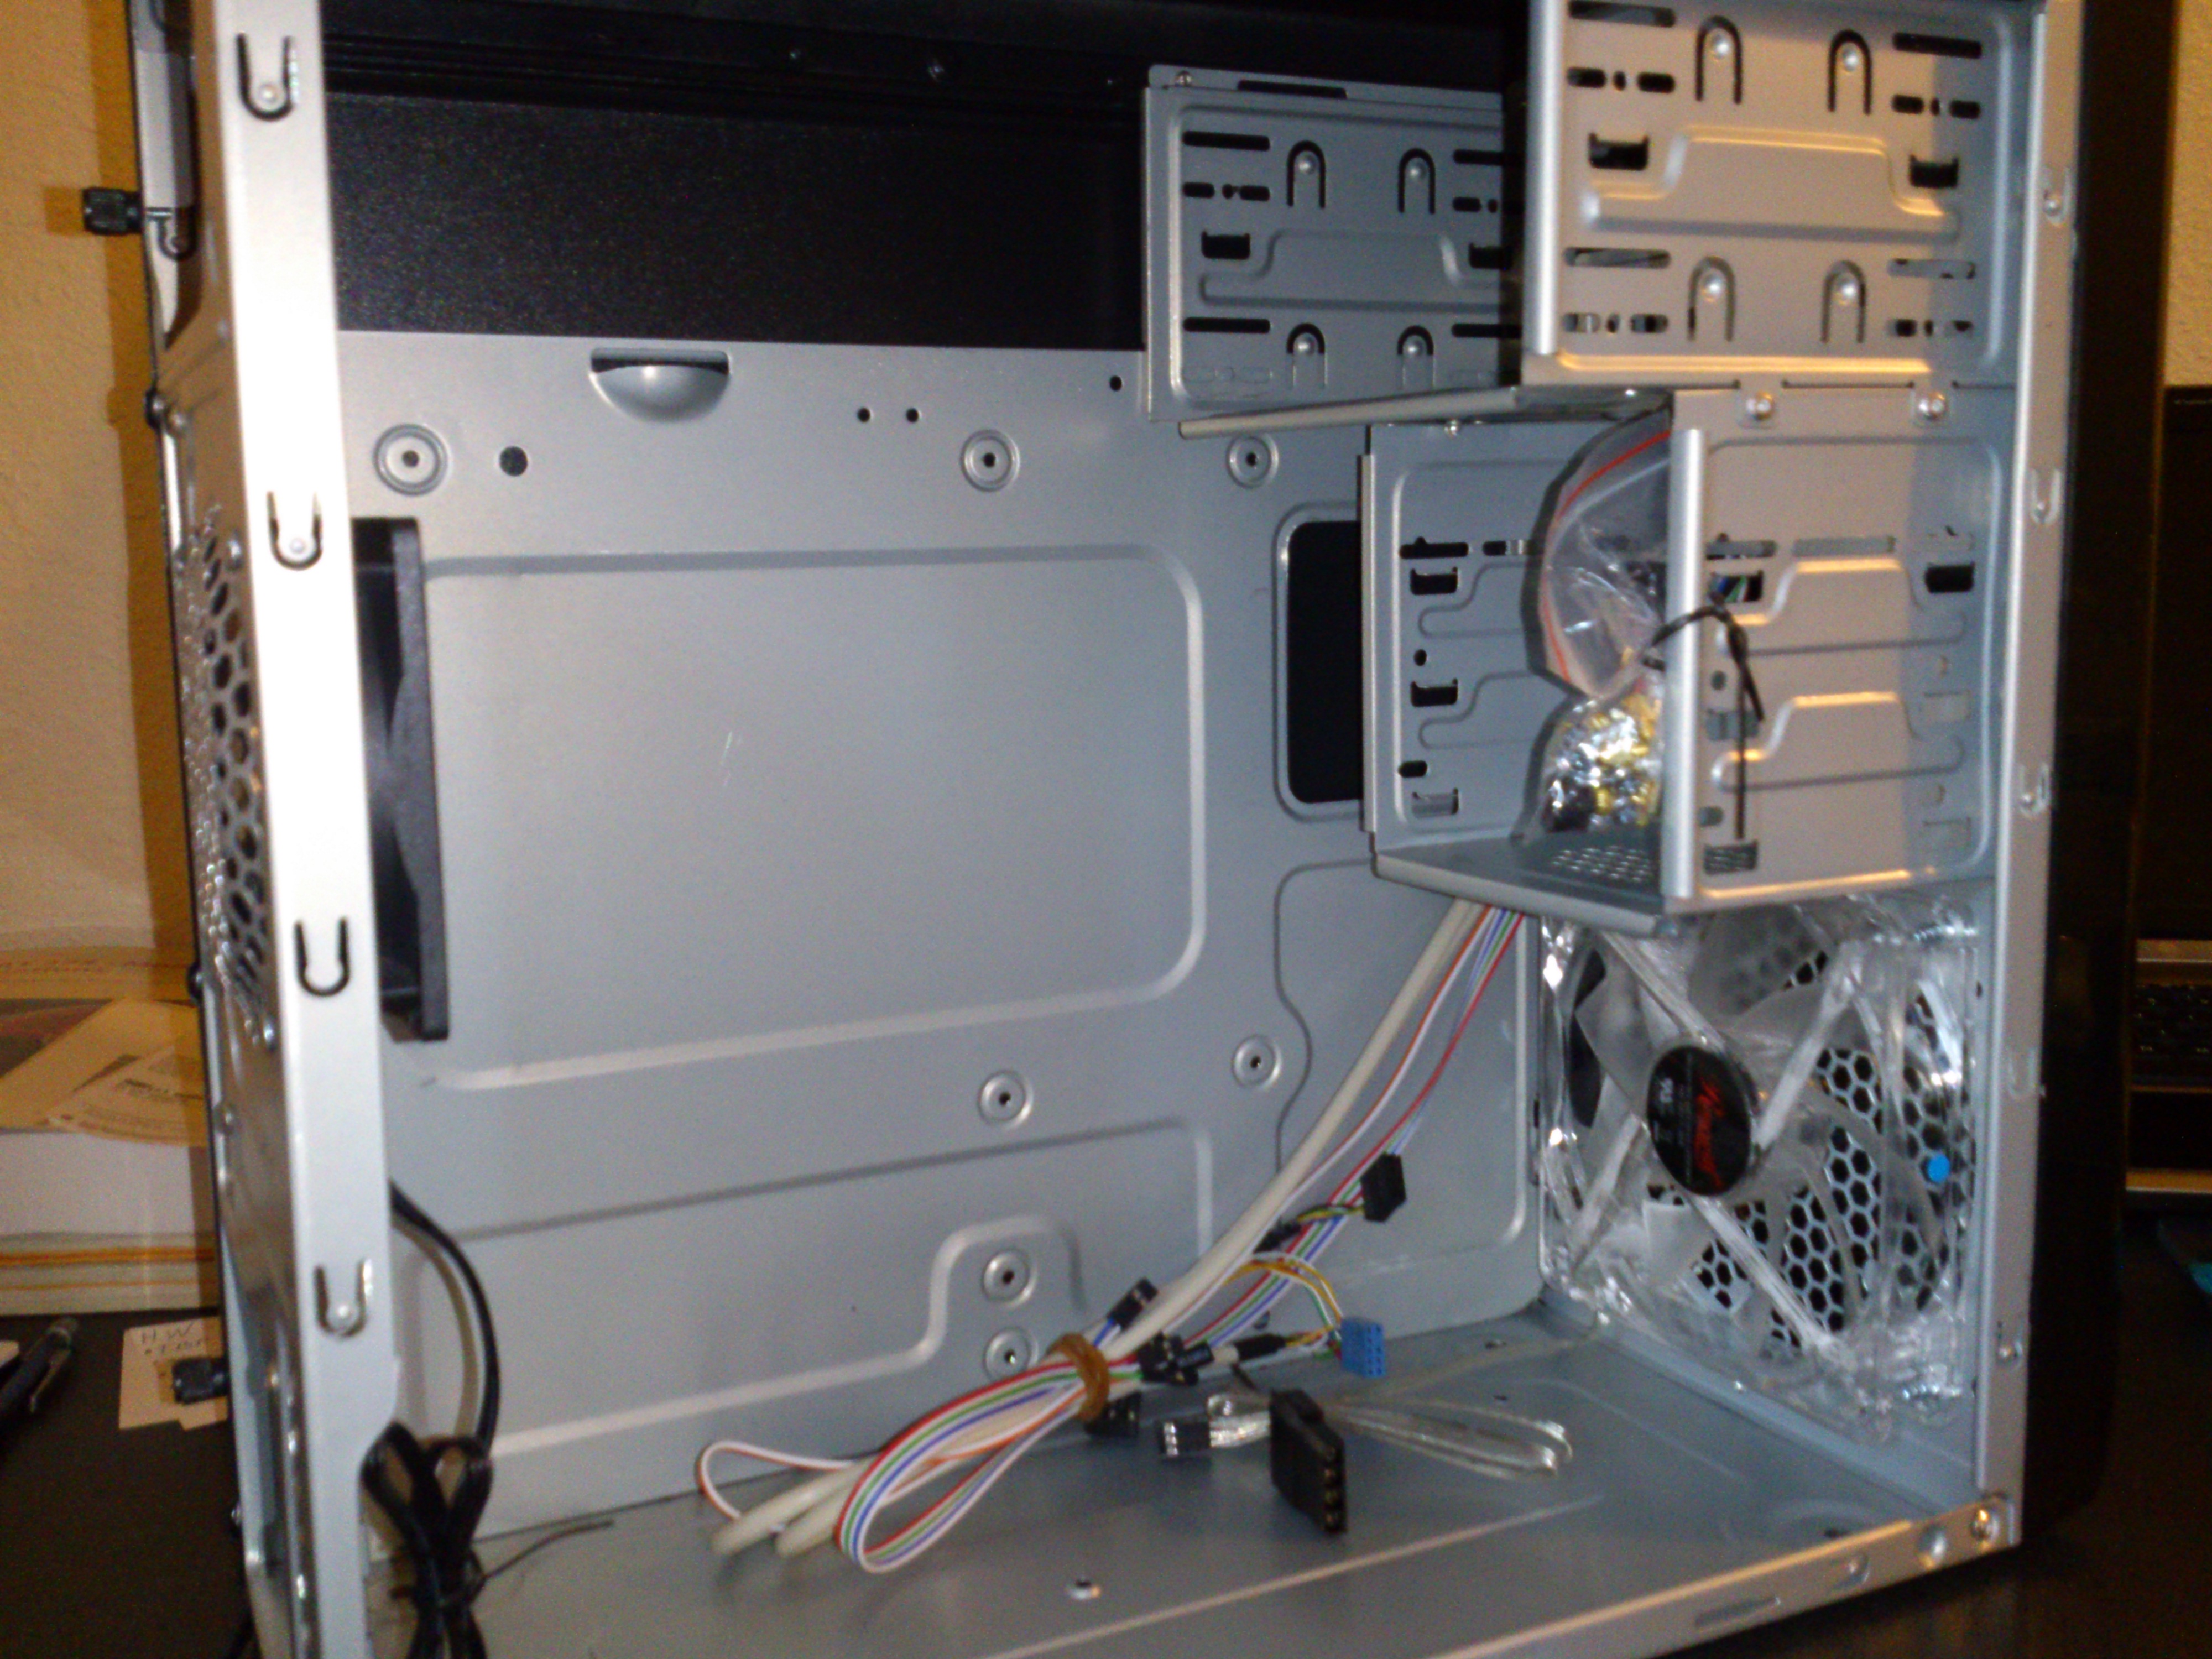
The case is made of aluminum and is very light, the case looks good, and the case comes with a 120mm blue lit fan in the front and an 80mm fan in the back preinstalled. Installation of everything was easy but as you will see below, there really isn’t much space inside to do anything comfortably.
First, the box was small and very light:
Ranger-M Box
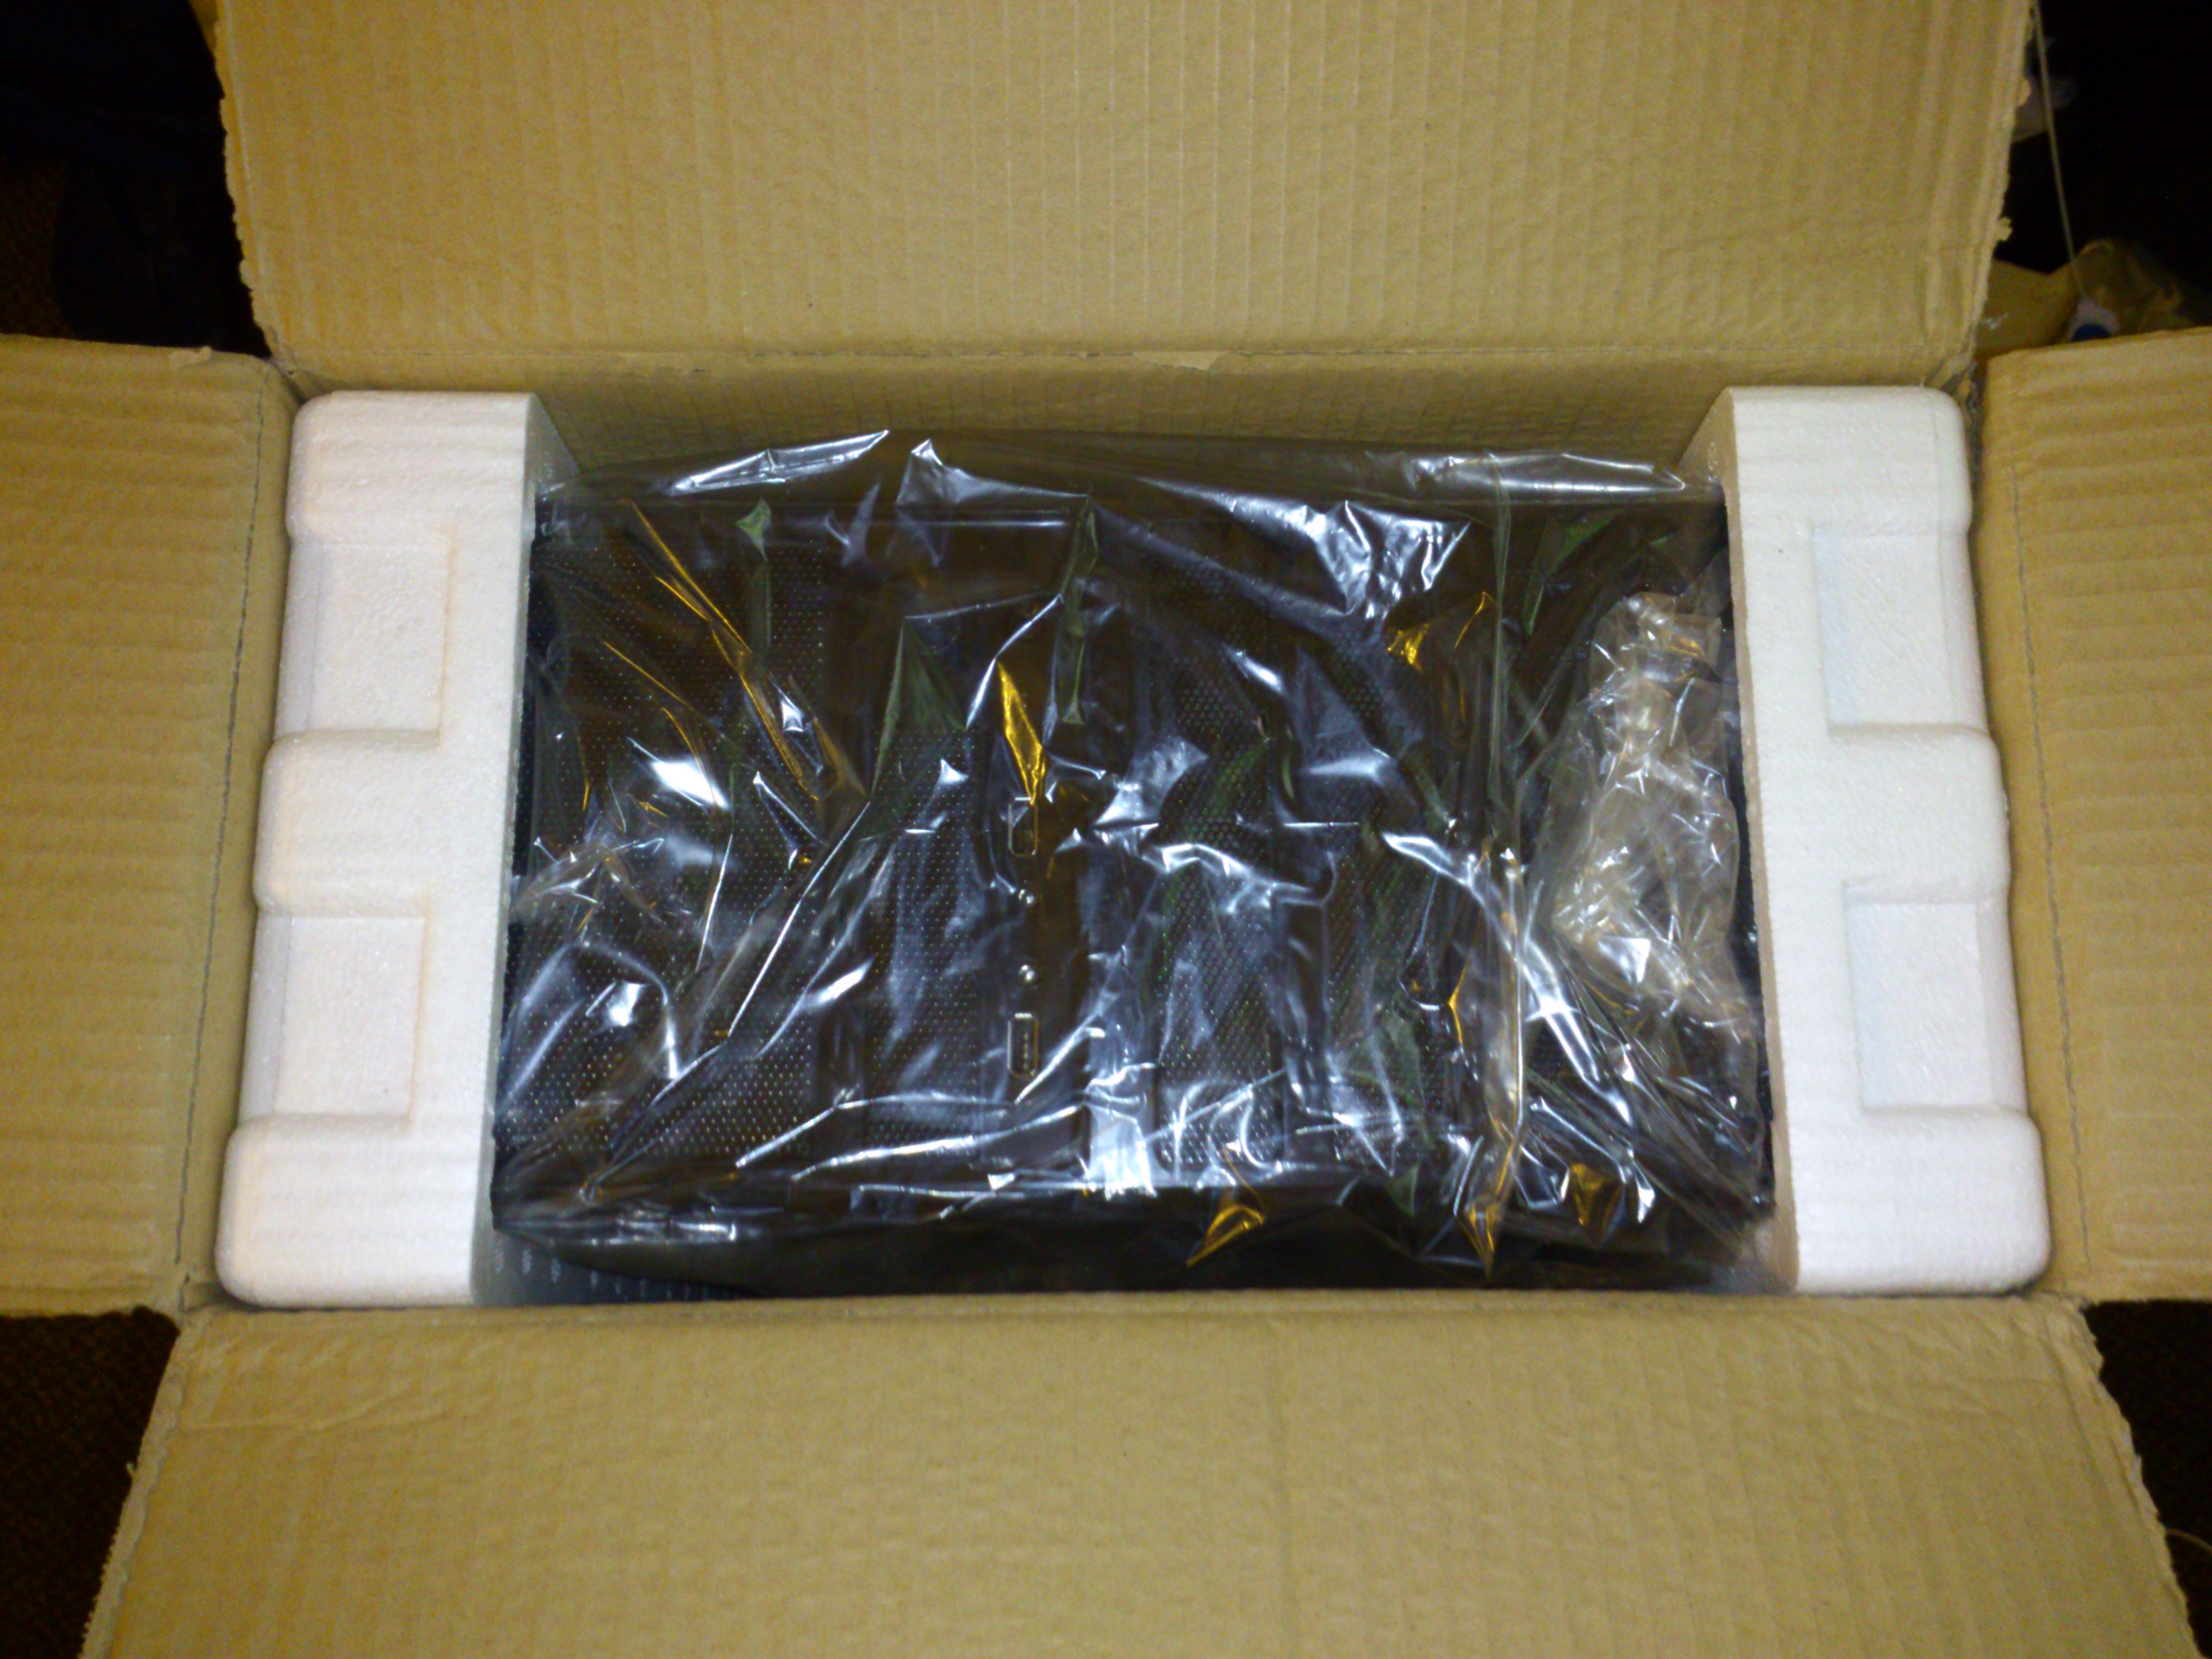
Then, it was packaged well and had all of the screws inside:
Inside The BoxInside with Screws in a Bag
Then, installation was simple but tricky as not everything seemed to fit too easily:
Cramped Inside due to the excess of power supply cables
Finally, the front has built in HD Audio and AC-97 support along with 2 USB 2.0 ports. The Audio worked flawlessly with the Realtek Drivers that I already had installed and the USB ports only worked after I enabled them in the BIOS settings:
Front of the case
Overall, I am very pleased with the case as it looks good, is very functional, and is relatively cheap for the good quality it has. If only it was an inch longer to space the hard drives away from the motherboard 24 pin power input, things would have been perfect. Maybe after I find a way to organize the wires better, it will be perfect.